setting intentions

I love January. Cold, dark, crisp, cozy January. After thoroughly enjoying the Christmas season, I love how spacious, fresh, and tidy our little home feels after all of the decorations are put away and how we settle into the simplicity of the new year. For me, the turn of the calendar is a time of reflection - what were the joys of the past year, what were the challenges (as it was 2020, we all know there were many challenges!)? But more than that, I love to look forward to what the new year holds and I love to lean with intentionality into how we can live this new year to its fullest. There are many opinions about setting resolutions, goals, intentions - call them whatever you want - but I find that taking time to set intentions for what I want our year to hold is so very beneficial. I think it gives vision and direction to the year. It provides an opportunity to put priorities in order and to come together as a family and establish what our true values are. I think to live life well, especially with a family, it is helpful to live life intentionally. So with that, I thought I’d share a few of my intentions with you in an effort to encourage you to take time this year to be intentional - to live the life you want you and your family to live, no matter the outside circumstances. It is your life, your year. What do you want it to look like?

IMG_0273.JPG

Intention #1: OUTSIDE, OUTSIDE, OUTSIDE

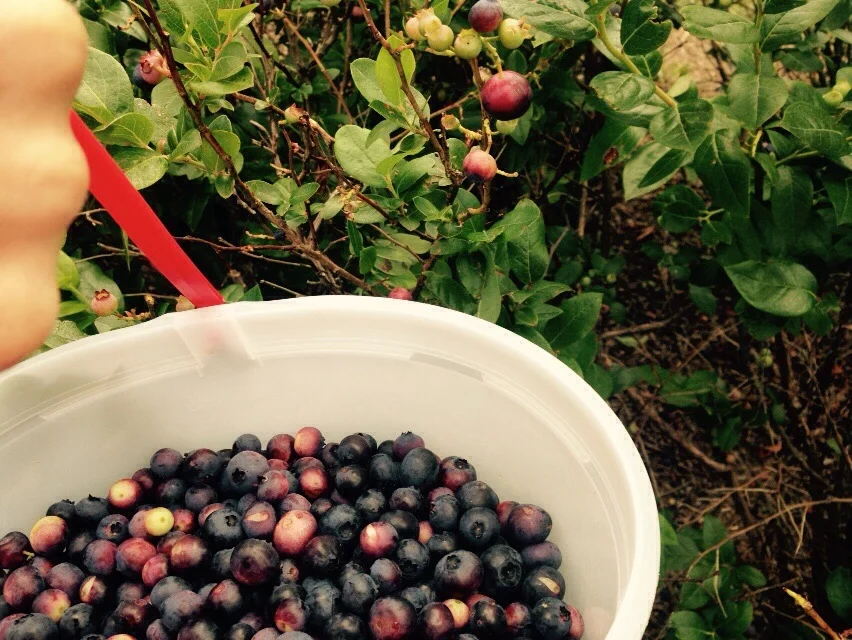
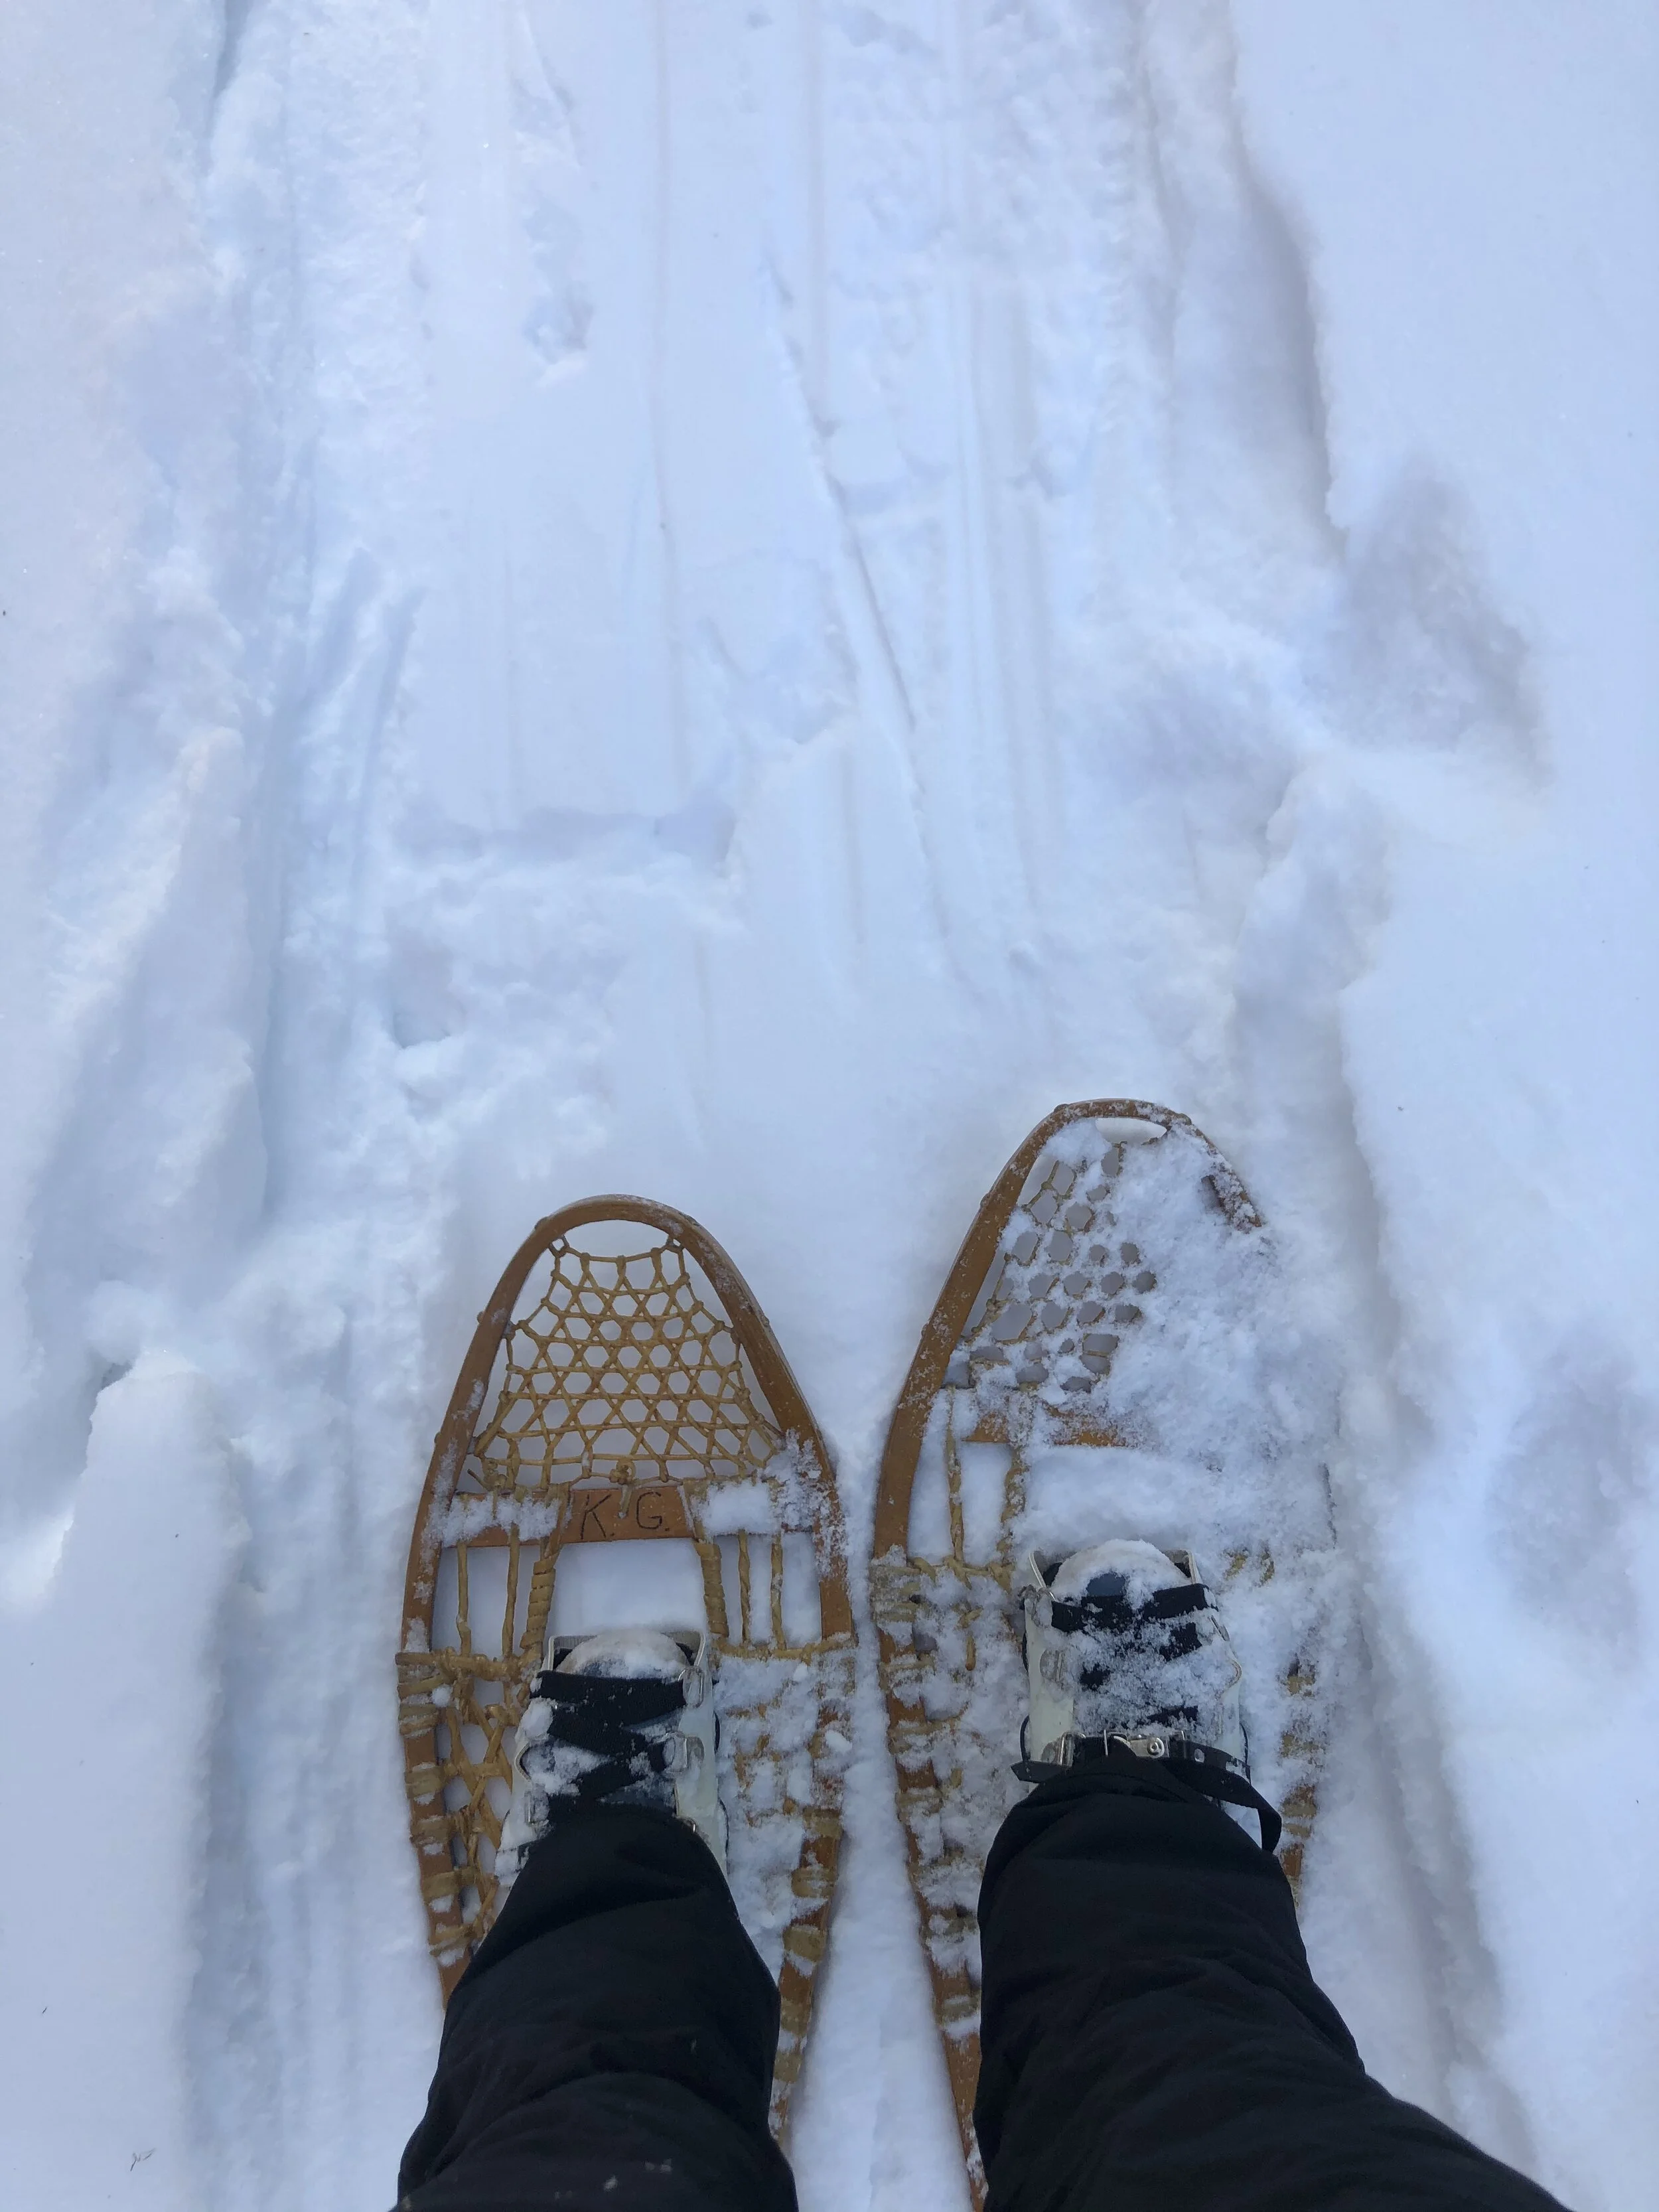
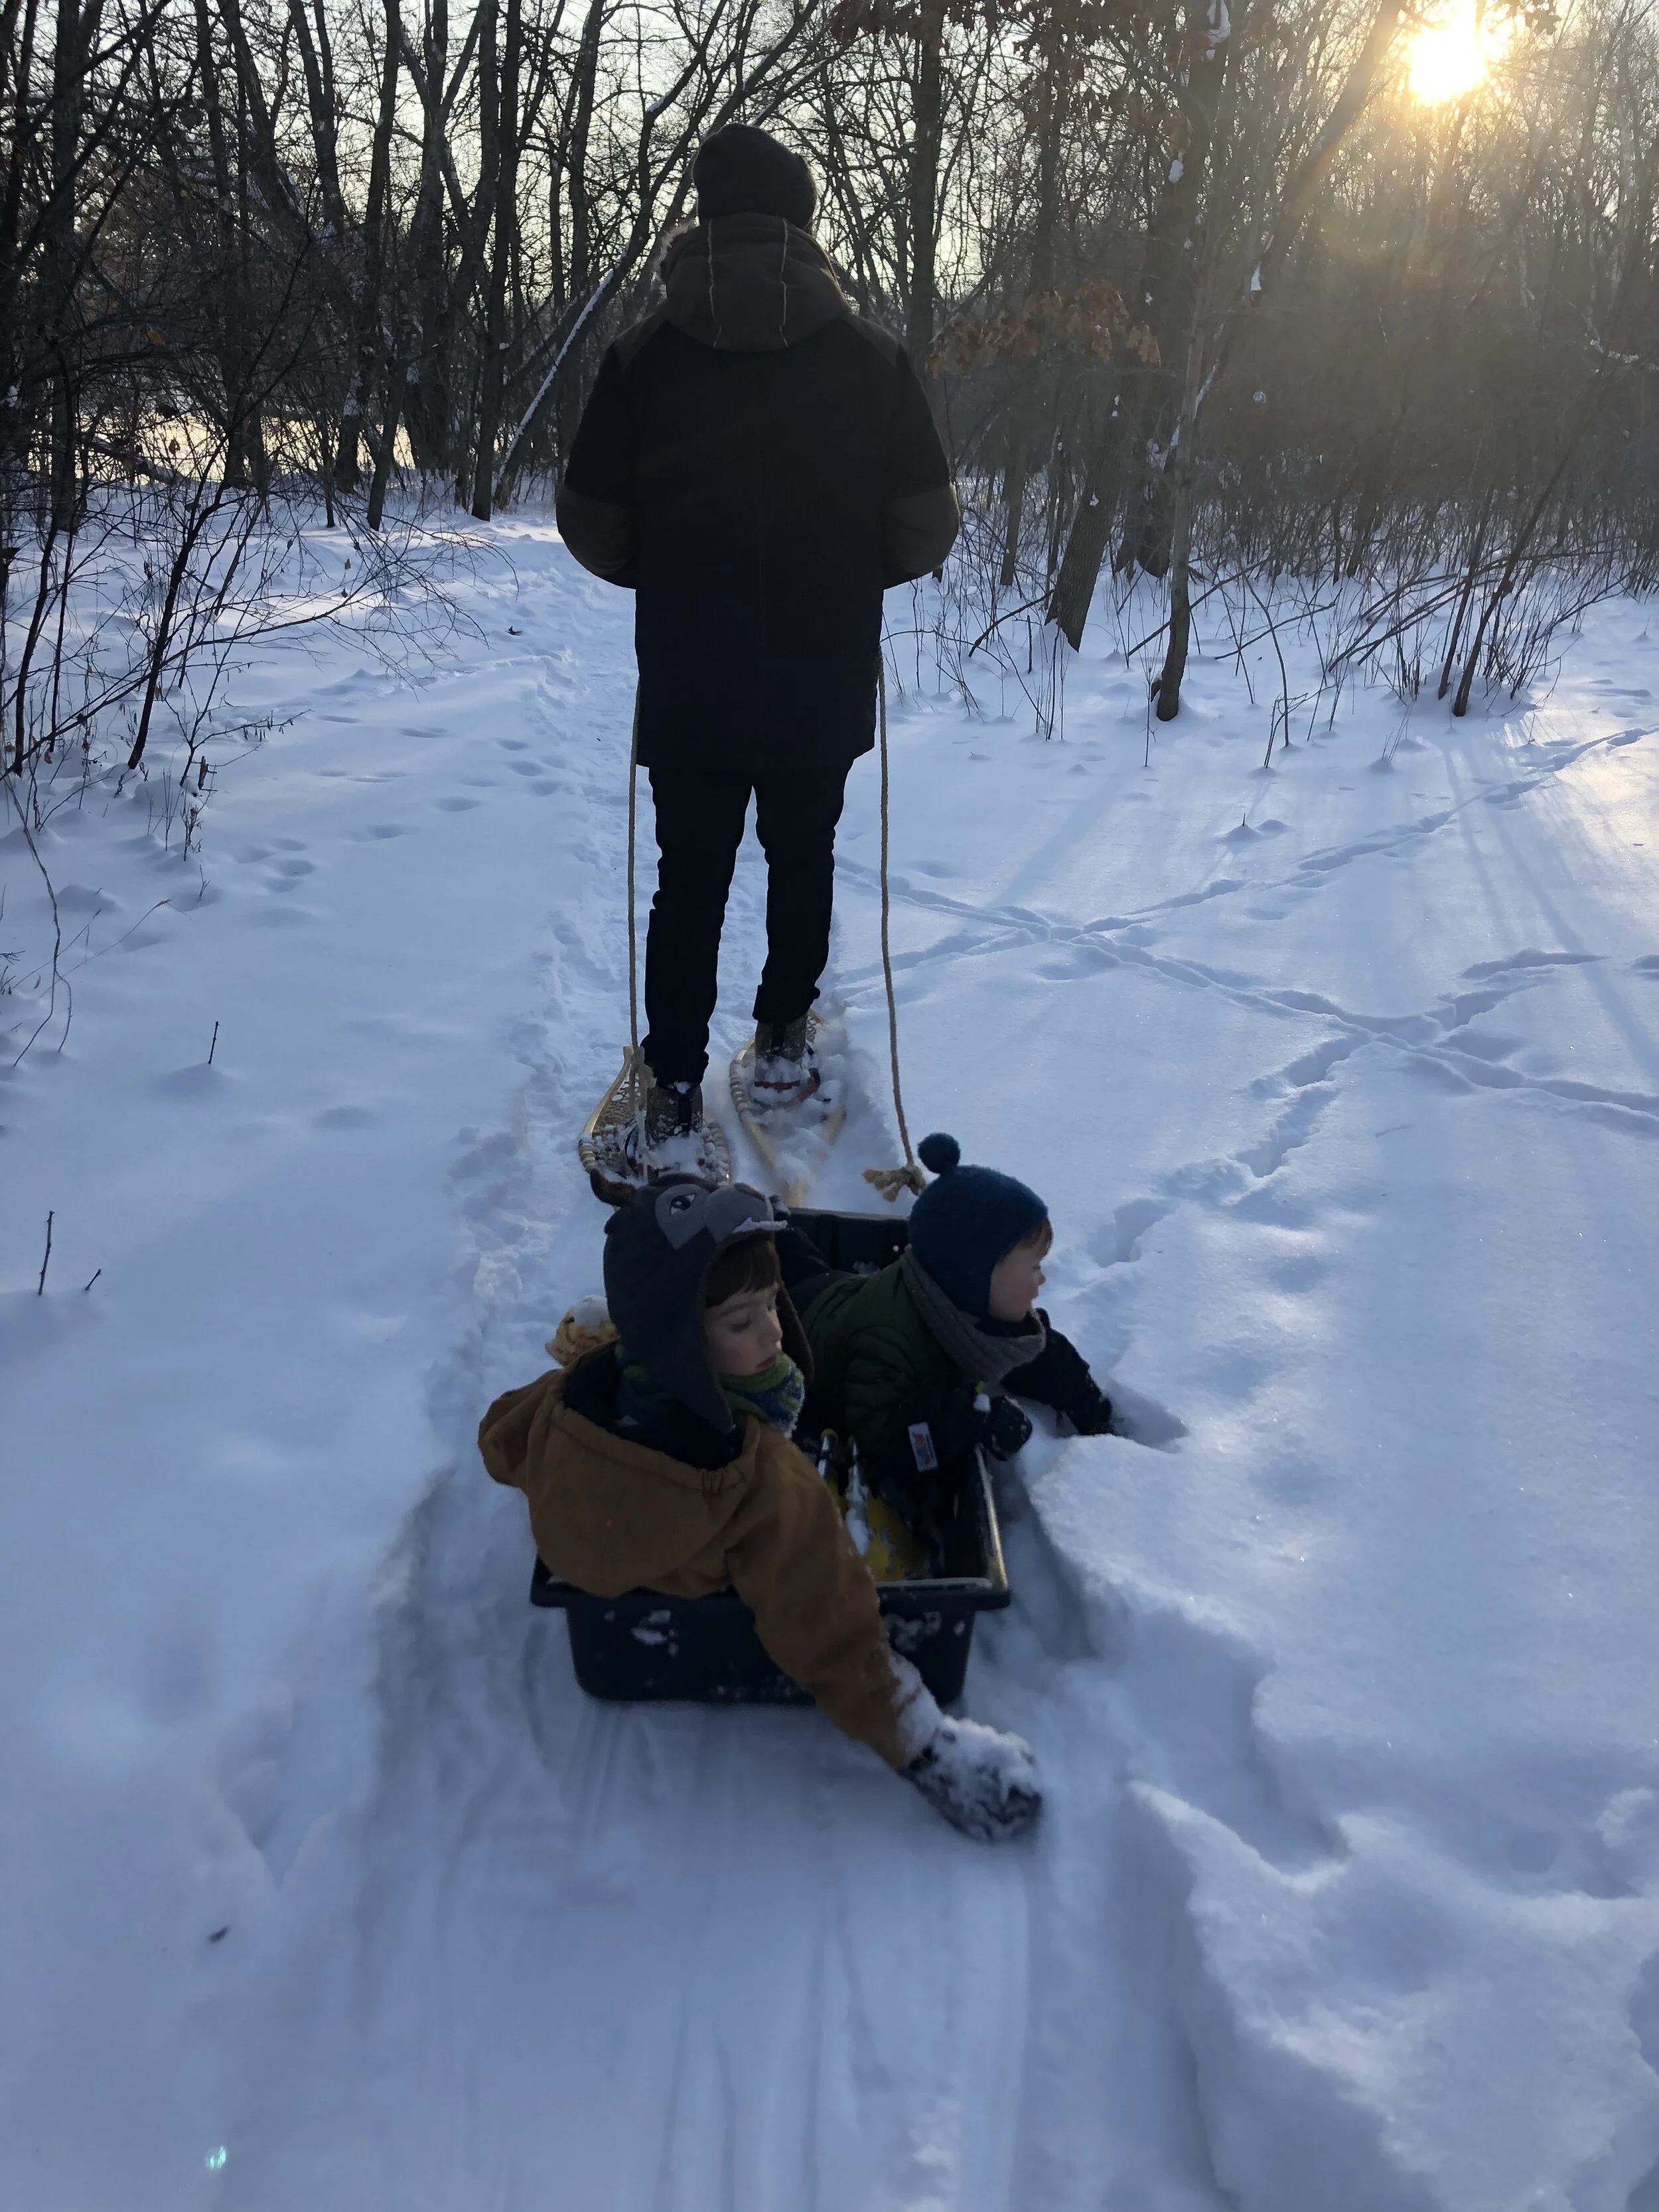
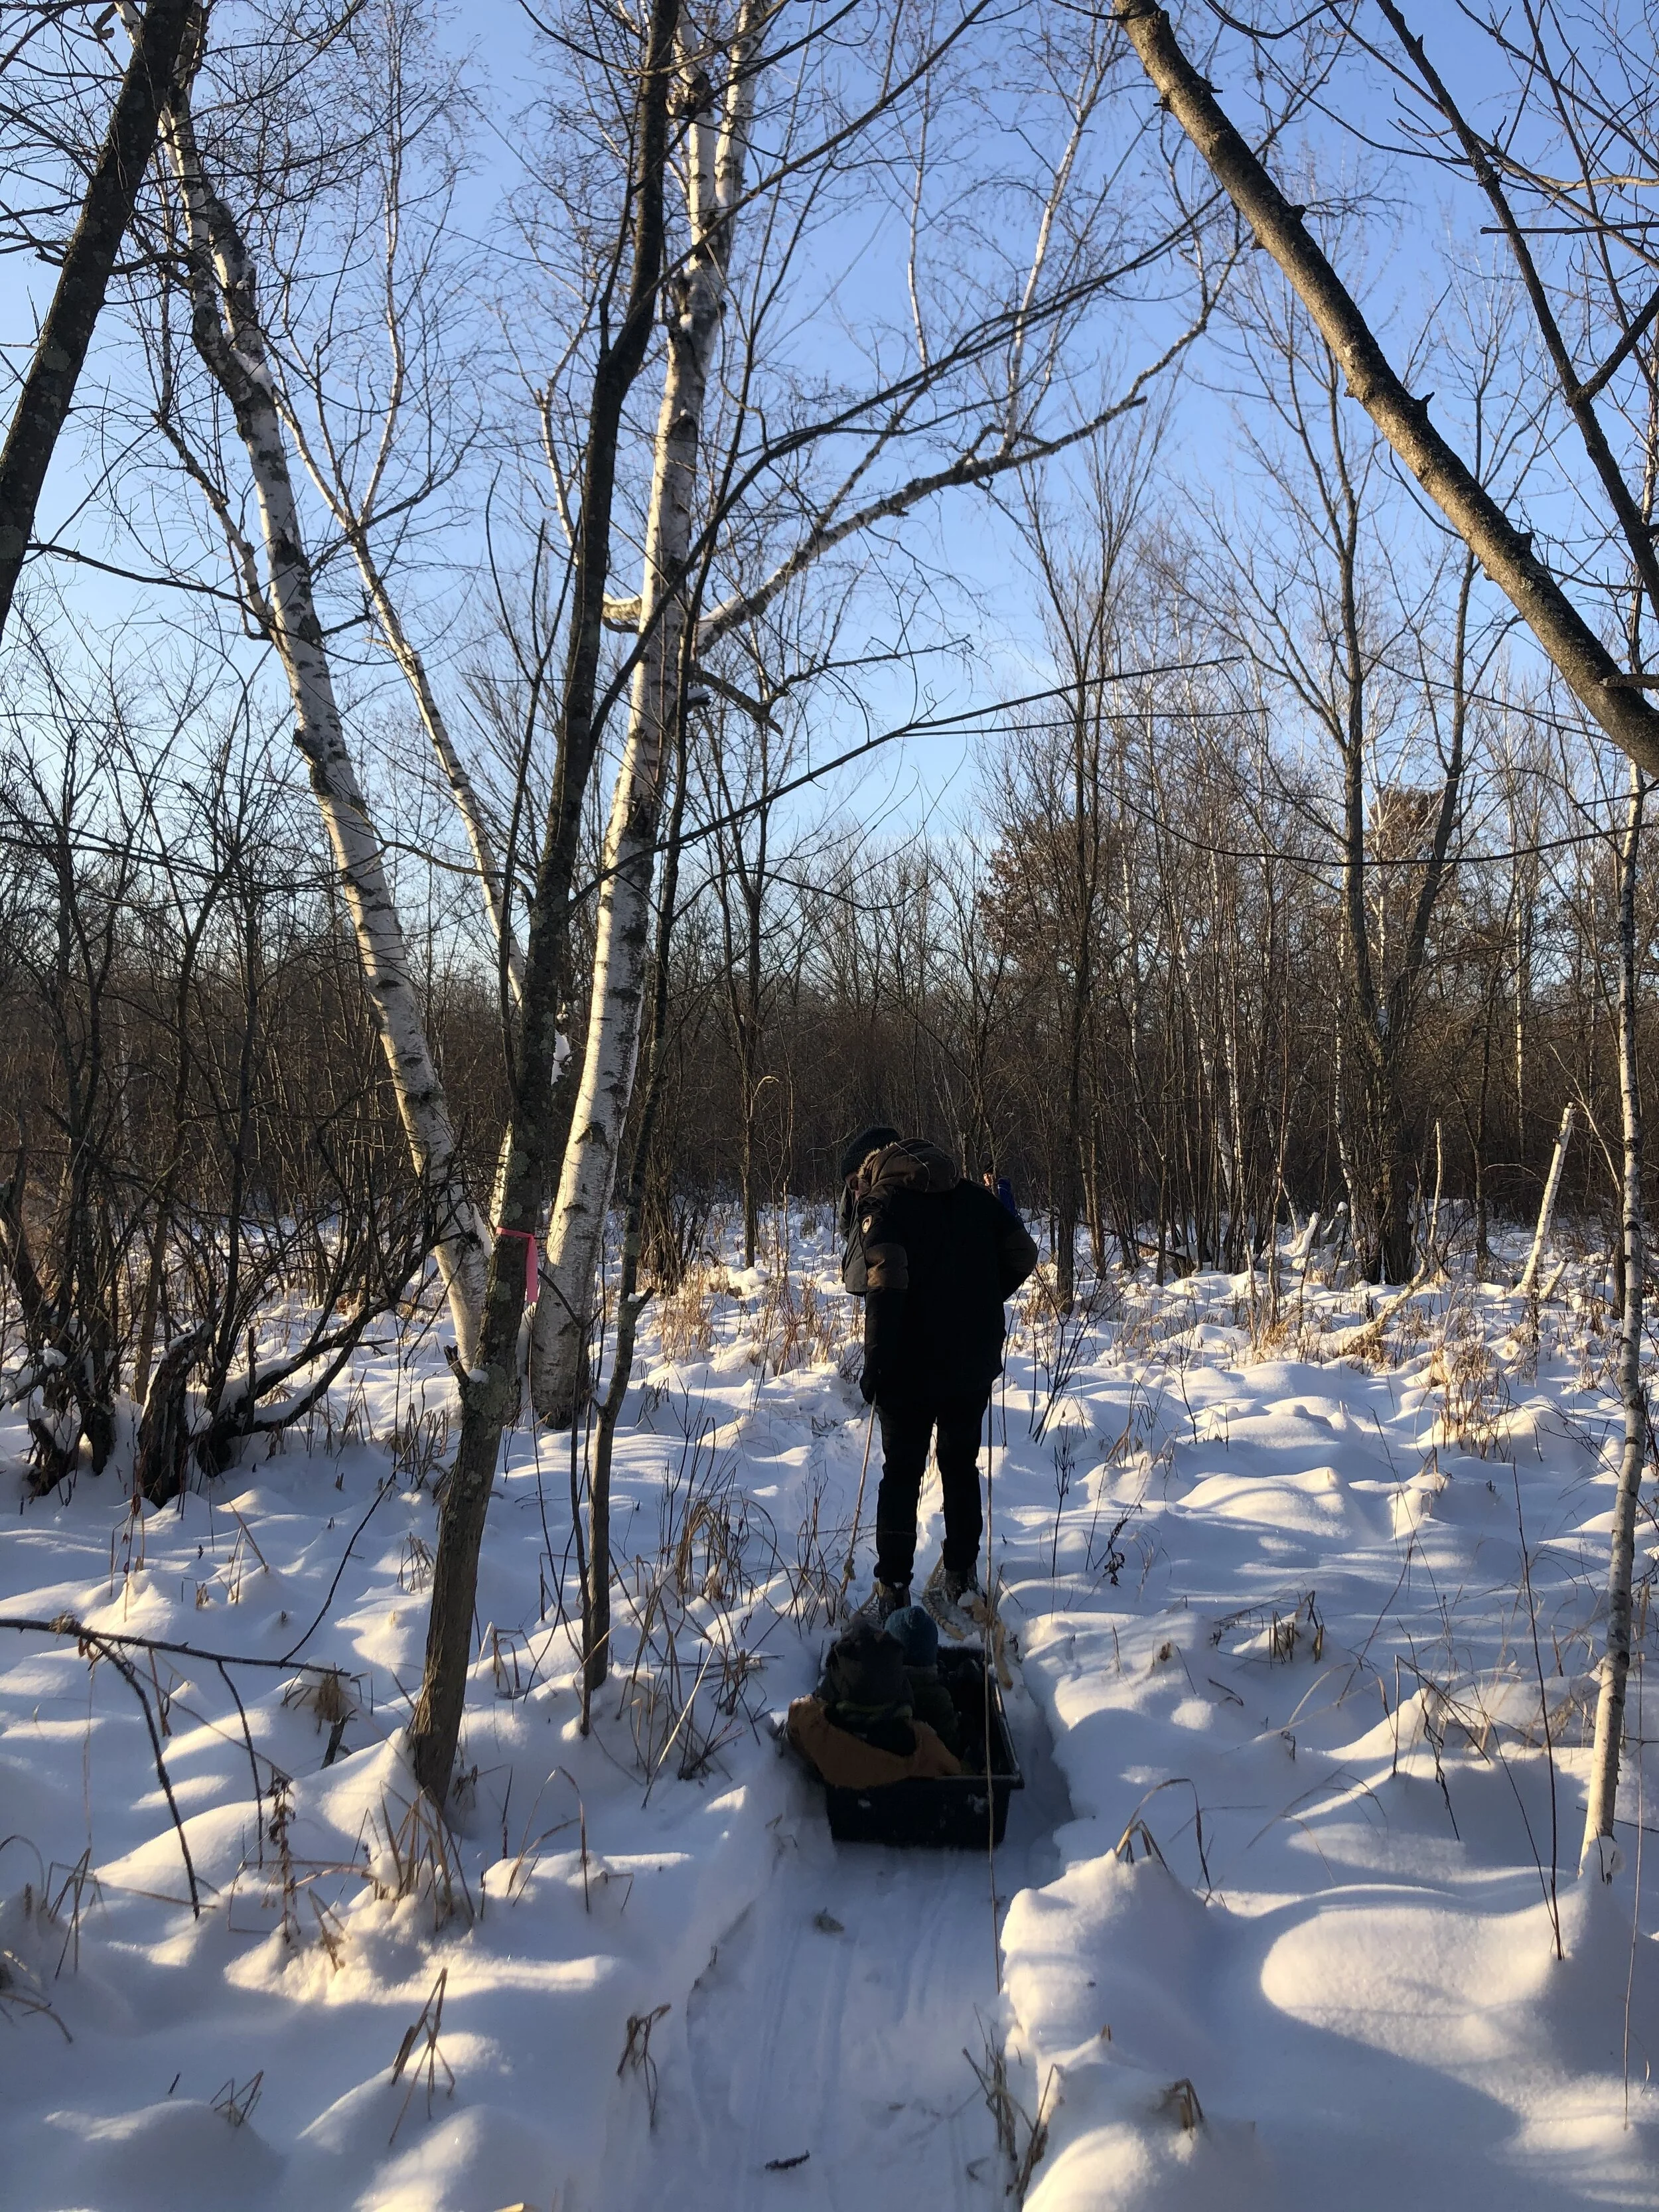
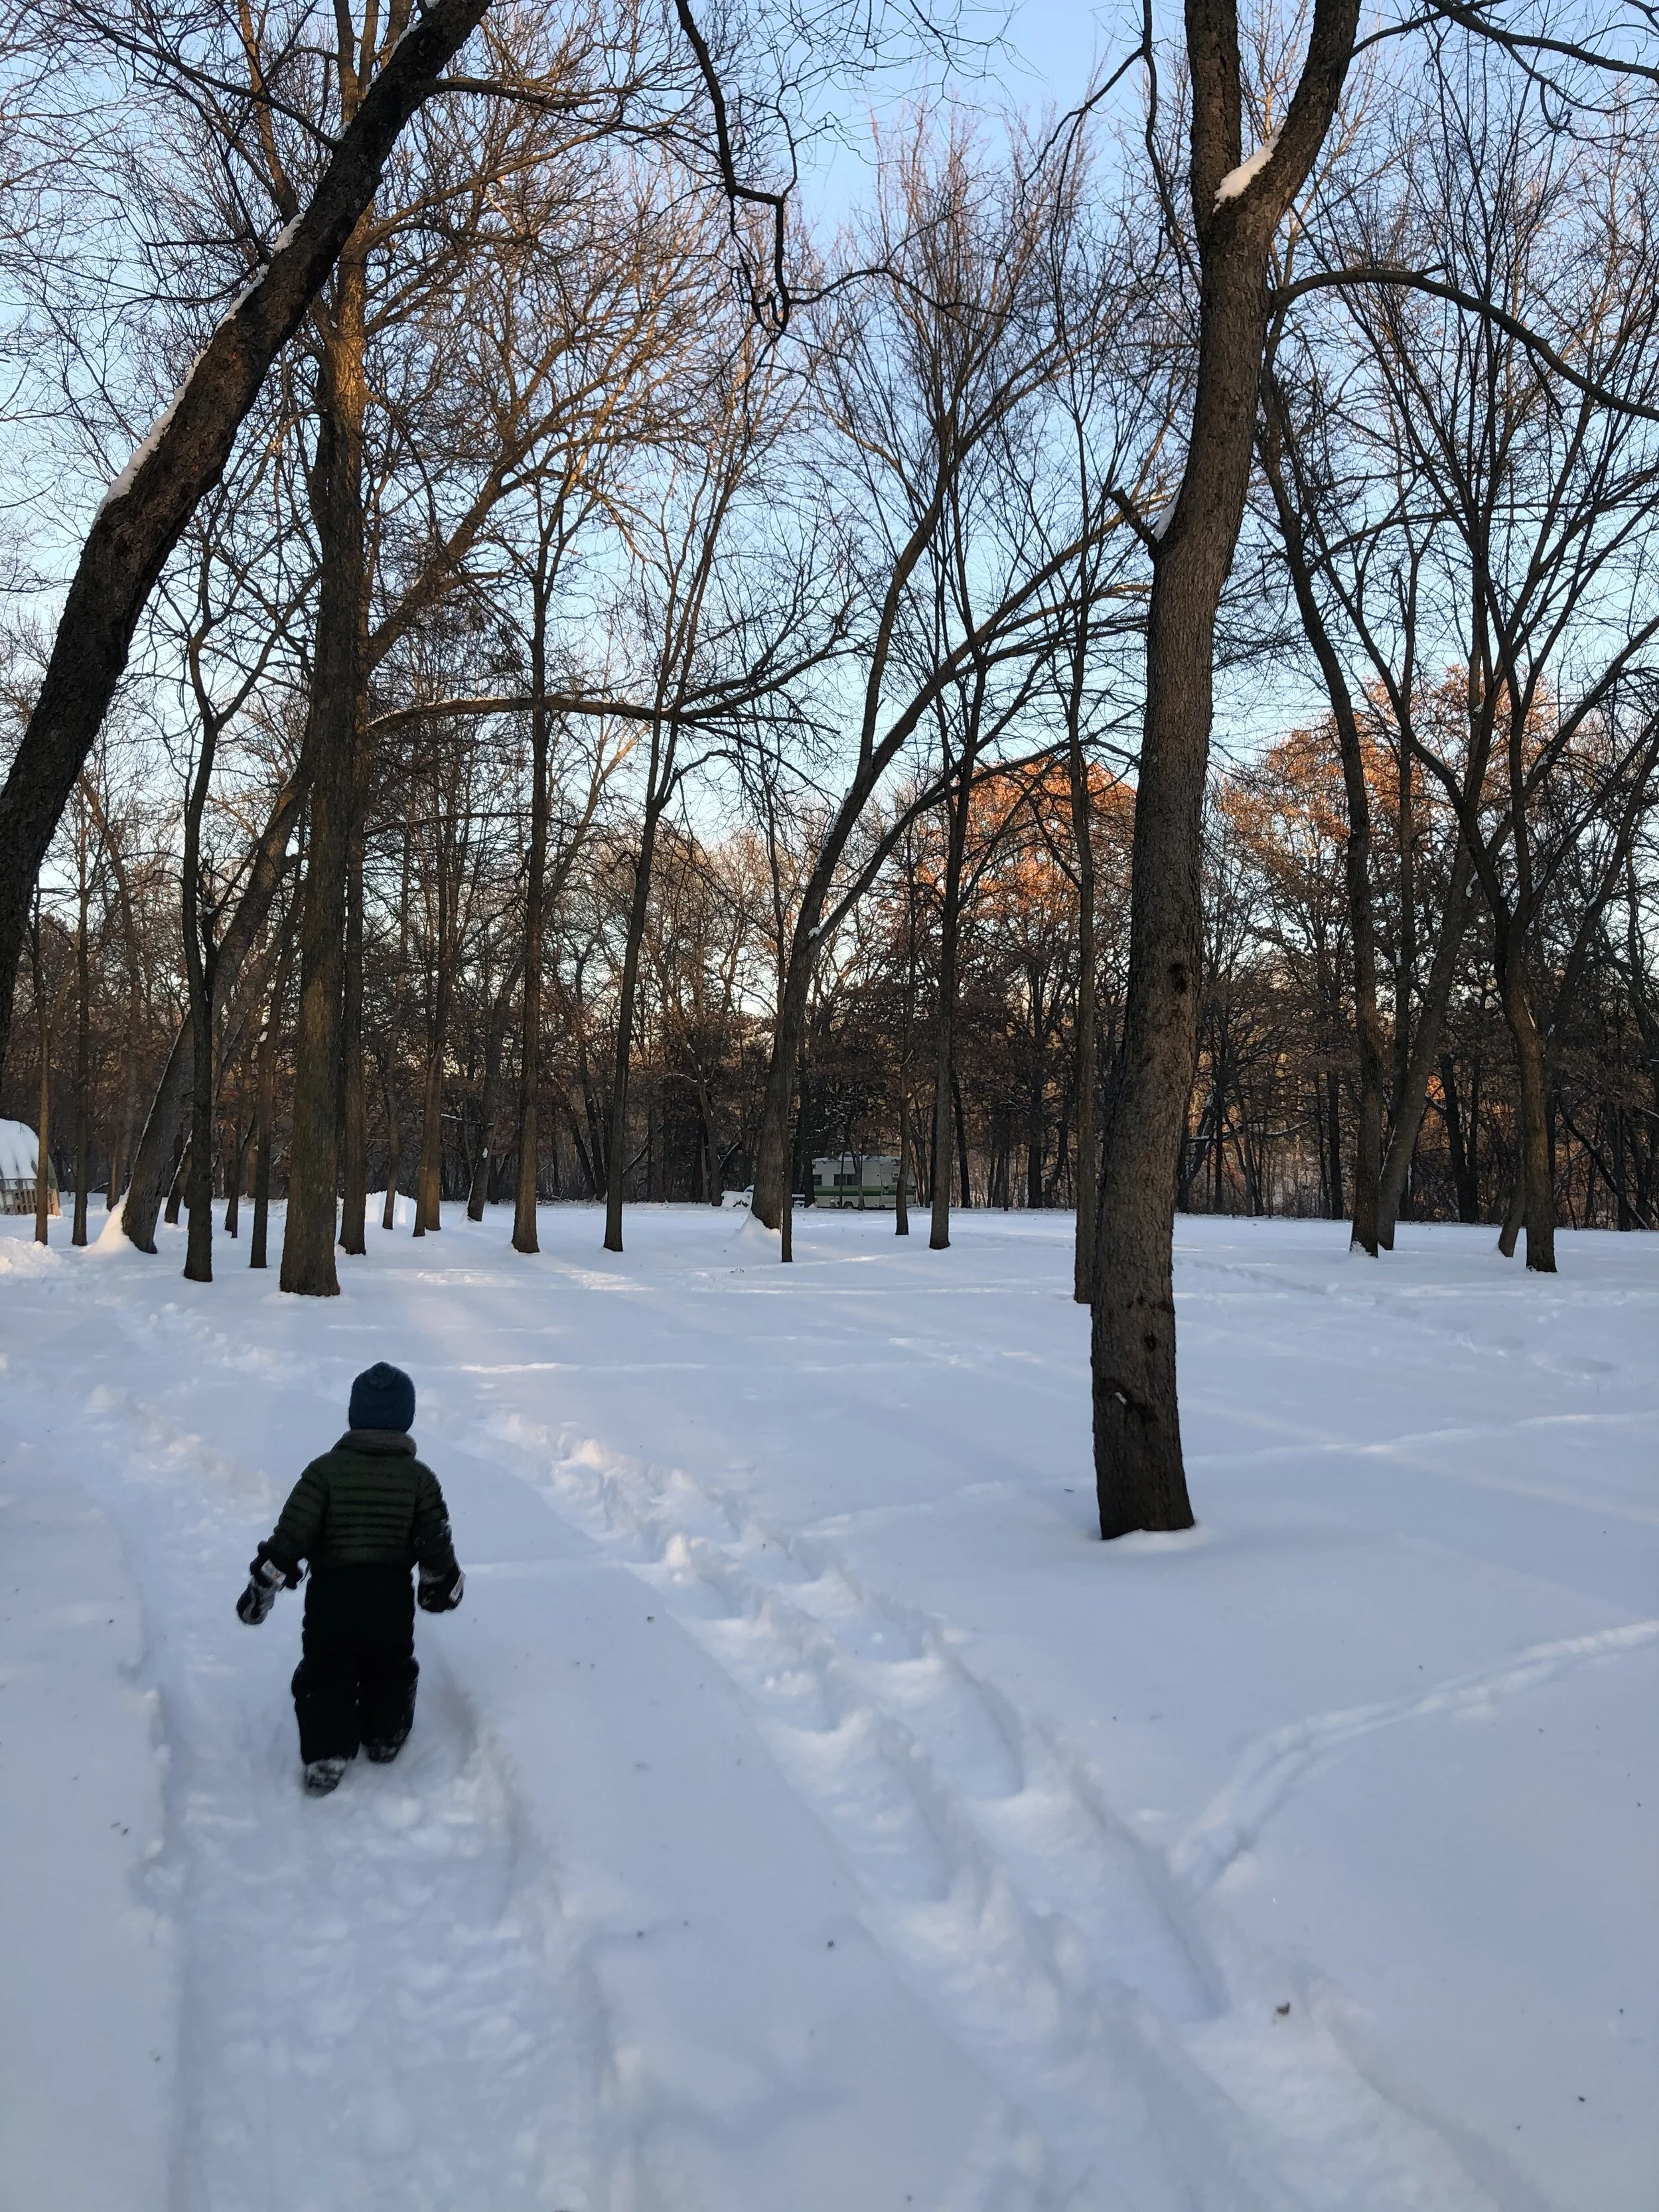
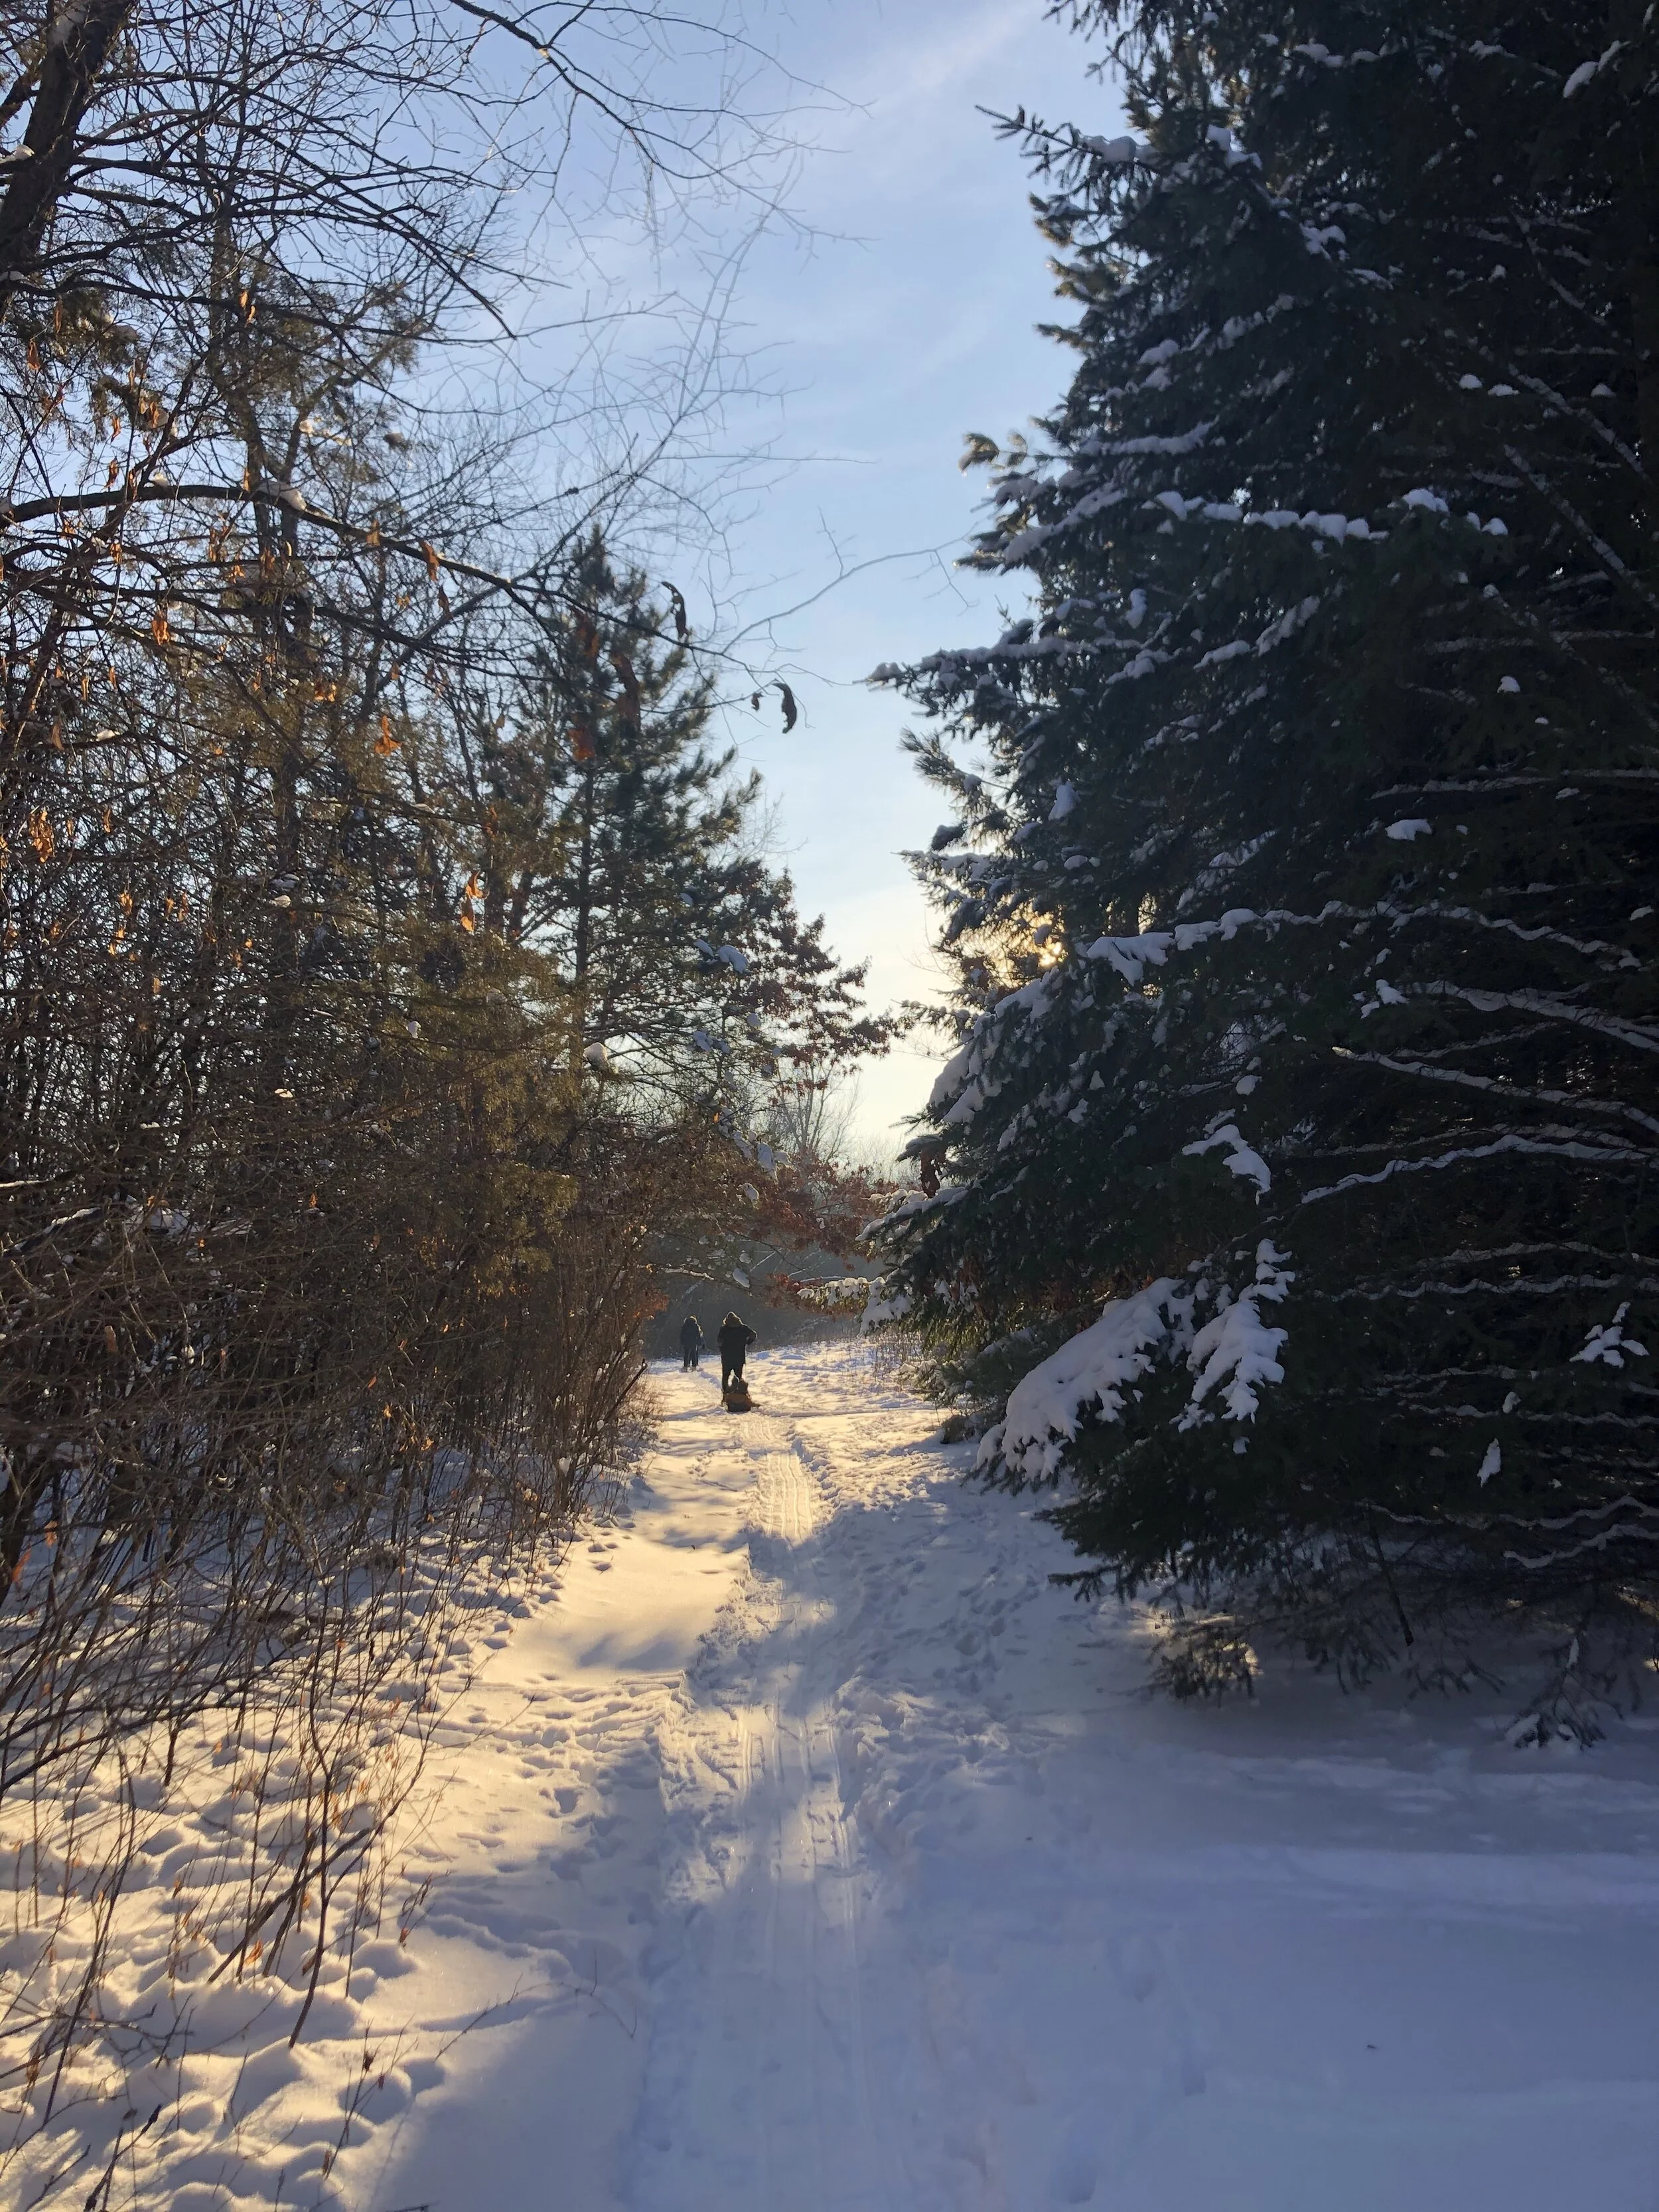
If you follow me on Instagram, you know that we love to spend time in the woods. We have a weekly homeschool group that meets in the woods where the kids run wild and free. We try to get outside everyday, but it can be challenging with errands to run, toddler naps, meal times, early sunsets, and aaallllll the snow gear that winter in Minnesota requires. That being said, the benefits of being outside are immeasurable. And I don't use that word just for emphasis, scientists have still not been able to fully measure/define the benefits that we receive from being out in the natural light. It’s phenomenal! Some of the benefits include bringing balance to our circadian rhythms thus providing better sleep, boosting our immune systems through vitamin D from the sun, strengthening our microbiome through microorganisms in the air and dirt, grounding our bodies by connecting our bare feet to the earth, increasing physical balance and confidence as we move our bodies over unpredictable surfaces such as a rocky path in the woods, the list goes on and on.

So, this year I decided to be more intentional about our time outside in two different ways. First, we’ve decided to join the 1000 Hours Outside Challenge. You can print your own hour tracker on their website and they also have a TON of resources for why spending time outdoors is so good for us, and especially good for our kids. This challenge is going to be a stretch for us as it’s is a lot more hours than what we are used to doing, but I’m so excited for how it is going to grow us, challenge us, and increase our love for being and playing outside.

The second way is that I’m committing to quick sunrise walks several mornings per week. This is something I’m doing all by myself (at least when Dan is not traveling). The benefits for being out in natural light within two hours of the sun rising are fantastic - even if it’s just for a few minutes. So, for now, I’m taking a few minutes before breakfast each day to take a quick walk around the block for some fresh air and bright morning sunlight.

If you are interested in learning more about the benefits of the sun and being outdoors, here are some podcasts and articles that have been helpful for me:

  • https://wellnessmama.com/56086/nature-health-benefits/

  • https://wellnessmama.com/91779/blue-light-improve-health/

  • https://www.westonaprice.org/health-topics/sunlight-and-vitamin-d-theyre-not-the-same-thing/

  • https://www.westonaprice.org/podcast/why-getting-cold-this-winter-is-a-good-idea/

  • https://www.1000hoursoutside.com/blog/exposure-to-morning-sunlight

IMG_0274.JPG

Intention #2: BREAK UP WITH MY PHONE

Ok, I’m not actually going to completely break up with my phone, but I’m putting some serious limits on our relationship. Gross. The fact that we can even say we have a relationship with our phones is gross. Isn’t it?!?

First, we bought analog, battery operated alarm clocks. They haven’t arrived yet, but I’m so excited! I found these solid wood ones on Etsy that have a gentle beep and the hands of the clock do not glow in the dark, making them a great choice for sleeping without artificial light (which is very beneficial, btw). Once we have our alarm clocks, we are hoping to keep our phones out of our bedroom. This will reduce our exposure to blue light before and after sunrise, which is beneficial for proper melatonin production and good sleep, and it will also reduce our exposure to EMF’s (electro magnetic fields), which can be harmful for our bodies in many ways.

Second, I’m committing to not checking my phone before sunrise and before spending time with the Lord in the mornings. I’ve actually been doing this since August when I participated in an Instagram challenge called #wordbeforeworld hosted by Well-Watered Women Co. For 30 days I spent time reading the Bible in the mornings before looking at my phone and I’ve kept it up ever since as I found it was a FAR more fulfilling way to start my day. Now I’m taking it a step further by not allowing myself to look at it until after the sun has risen (which really only applies in the winter for me here in the frozen north), or even better, until after my morning walk. It is beneficial to receive the full spectrum of light that we get from the sun before exposing our brains and eyes to the blue lights from our screens.

Several of the links above go into more depth on the importance of full spectrum sunlight verses blue light. Here are some resources about EMF exposure:

  • https://www.westonaprice.org/podcast/272-the-shocking-truth-about-electricity-emfs-with-arthur-firstenberg/

  • https://wellnessmama.com/129645/emf-exposure/

  • https://wellnessmama.com/podcast/emfrf/

  • https://wellnessmama.com/podcast/emfs-wifi-radiation/

  • https://articles.mercola.com/sites/articles/archive/2020/03/15/emf-home-remediation.aspx

IMG_0276.JPG

Intention #3: Read More Books - Real, Paper-Bound Books!

We read a lot in our home. It’s hasn’t always been this way, but the past 5 years have seen exponential growth in the amount of time we spend reading and it’s one of my favorite things. Our boys LOVE books. When I bring new books home from the library, it’s like Christmas! They can’t wait to sit down and page through each one. Oak spends time almost every day listening to audio books of his favorite chapter books in his room during his quiet time. And Dan and I have both started reading so much more fiction in the past couple years and we often end our days together reading before bed. The past few years have included a lot of travel for us and so I had started reading more ebooks in an effort to simplify travel. I still think this is a great option for travel, but since 2020 tethered us to our homes, I decided to put the ebooks away and to reach for the paper-bound books instead. I think a pretty paper-bound book is so much more inviting than another screen at the end of the day (and then there’s the whole screen/blue light thing again…)

Last year I made a goal to read 8 novels. I read 7.5 and I’m technically giving myself until the middle of January to finish that last book. My goal, my rules. Once I finish that last book I’ll set my 2021 goal. I’m thinking I’ll go for another 8. I also read a lot of non-fiction and would like to set a goal of reading a non-fiction book every month of two this year. One of the things I’m most excited about reading this year is the Bible. Ha. I’ve read the Bible most days of my life since I was a teenager, but it’s been a long time since I’ve read it through in a year and this year I’m going to do just that! I think reading the Bible in it’s entirety in a year gives us an opportunity to see the love story of God as it has been woven throughout history and it helps us to see our place in that story - which is a beautiful thing to behold. This is the plan I’m using this year.

IMG_0279.JPG

Intention #4: Foster more independence and family helpfulness

I love the mindset that raising kids is really about raising adults. How do we raise adults who are loving and kind humans and who also know how to and desire to meaningfully contribute to society?? As Oak nears the age of 5 we are working on fostering more independence in him while also helping him to see and understand his role in this family. Simply put, he’s learning how to do chores! Ha! But the deeper side of that is that we want him to learn the why behind the chores. It’s not “because I told you so.” It’s “because you used a dish and so now you clean it up because we all have a role to play in order to live well together as a family.”

Some resources that I’ve found helpful on this topic are:

  • Parenting with Love and Logic, by Foster Cline and Jim Fay

  • Loving Our Kids on Purpose, by Danny Silk

  • https://wellnessmama.com/podcast/how-to-raise-an-adult/

  • https://farmhouseschoolhouse.com/rhythm/whistle-while/

IMG_0272.JPG

Cheers to you and yours as you begin 2021. May it be a year of growth, intentionally, and purpose. We get one life to live. Let’s live it well.

birth blends

I apologize to all of you readers out there who are not interested in all of the baby things that I've been posting lately...but they are consuming my thoughts and life and so there has been little else to post about!  Ha!  As we prepare for birth and to welcome this little one into our home and arms, I wanted to make a few essential oil blends that would aid us in that process.  As I've mentioned before, I love essential oils, but I'm not a fan of the hype that often surrounds them.  They have fabulous uses, but I like to keep it on the simple side and I buy brands that are readily available and affordable to me.  You can read a bit more about my take on essential oils here.  With that being said, I also love to make my own blends!  It's so fun to learn about all of the different oils and then to blend them together to make just the aroma that I'm looking for.  So, for baby and myself I made two different blends.  

The first one I made I called Sleep, Baby Sleep.  It's a calming blend that promotes sleep, calm, and peace for the new little one (as well as us).  I have a feeling that a few drops of that in the diffuser will likely become a regular bedtime ritual in our home.  

The second blend I called Mama Love and I plan to diffuse it and possibly use it topically during labor, birth, and in the weeks following.  The blend is very similar to the Sleep, Baby Sleep blend as it also promotes calm, rest, and relaxation.  However, it also includes Clary Sage which is a good oil to promote labor and lactation.  I also plan to use this blend in the future for a mood lifter and pain reliever during that trying time of the month.  


Sleep, Baby Sleep

50 drops lavender

40 drops rose geranium

30 drops bergamot

30 drops lemon

30 drops sweet orange

20 drops roman chamomile

20 drops ylang ylang


Mama Love

25 drops bergamot

25 drops clary sage

25 drops lavender

25 drops sweet orange

10 drops lemon

10 drops rose geranium

5 drops roman chamomile

5 drops ylang ylang


How about you??  Are there certain essential oils or blends that you love to use for these purposes or other purposes?  I'd love to hear about them!

baby bottom salve

The baby creations and preparations continue around here!  This is one that I'm excited to try and see how well it works.  Having read quite a lot about herbs that are good for skin dryness and rashes, I came up with this mixture of herbs and oils and turned it into a salve to be used both as a baby bottom salve and a nipple salve.  The herbs in the mixture are calendula flowers, which are known to promote healing of rashes and skin issues, as well as calm and soothe the affected area, plantain leaves, which are great for treating any kind of skin issue or irritation, and chickweed leaves, which are great at soothing skin irritation.  I was able to find all of these herbs in my backyard!  The calendula I grew this summer and the plantain and chickweed are both considered weeds and I was able to find both in my yard.  You can also find all of them online in dried form at Mountain Rose Herbs.  After letting these herbs infuse in some olive and almond oil for awhile, I mixed them with some beeswax and essential oils.  I chose lavender and tea tree for my essential oils.  Lavender for its smell and soothing/calming qualities, and tea tree for its antiseptic properties.  The salve that I ended up with has a faint scent to it and can easily be applied to skin.  I'll let you know in a few months how well the finished product works!  Stay turned for the update!  

How about you??  Do you have a favorite natural remedy for diaper rashes??


Baby Bottom Salve

1 cup of oil (I used half olive oil and half almond oil)

a small handful of calendula flowers, plantain leaves, and chickweed leaves

1-2 tablespoons of beeswax

15-20 drops of lavender essential oil

5-10 drops of tea tree essential oil

Pick the flowers, plantain leaves, and chickweed and let them wilt in the sun for an hour or so.  After they are slightly wilted (and some of the water has evaporated out of them) combine them and the oil in a glass jar and close tightly with a lid.  Let infuse in a warm sunny place for 4-6 weeks.  After the infusion is complete, strain out the herbs and place the oil and 1 tablespoon of the beeswax in a double-broiler.  Heat until the wax has melted and been thoroughly incorporated into the oil.  Place a small amount on a spoon and put into the freezer until it has cooled.  Test the salve for consistency and add more beeswax, if needed, to reach the desired consistency.  Once you are satisfied with the consistency, add the essential oils, stir to combine, and pour into jars.  

put up and put away

It's official!  The canning season in this house has come to an end!  My canning supplies have been crowding our kitchen for the last few weeks in hopes that a batch of apple butter would somehow find its way into my canner and onto my shelves, but this past weekend, I resigned myself to the reality that we're not going to have apple butter this year (nor any jam for that matter...darn strawberries and raspberries!).  And so, with that sigh of resignation, I moved the canner and it's accompanying parts back down to the basement and put them away.  Away until next June when the strawberries return and the gardens begin to once again produce their bounty.  

Along with that sigh of resignation, however, came a sigh of relief.  THE CANNING IS DONE!!!!  Hooray!!!!!  This means that winter is on its way and with it will come a much slower pace--quieter weekends, quieter evenings, and more time to knit, sew, and read.  Yes, a sigh of relief, indeed!  I love August and September and my many hours spent in my kitchen prepping veggies and such in order to preserve them, but after awhile, it gets a bit exhausting to plan my life around ripe tomatoes and the like.  The freedom that follows putting that canner away is quite lovely--not to mention the shelves full of preserved summer goodness!  

This summer, I was able to put up jars of tomatoes, tomato soup, tomato sauce, salsa verde, corn, applesauce, pickled tomatoespickled cucumbers, pickled mixed veggies, and fermented jalapeños, as well as a gallon of frozen blueberries, a gallon or so of frozen green beans, and a few different types of dried herbs.  Running down to the basement to grab some of that home-preserved goodness never gets old!  I find it rewarding each and every time I open a jar, add its contents to a meal, wash it up, and put it back on the shelf for next summer.  It feels so fulfilling, so resourceful, and so very satisfying.  

Yes, putting away the canner for the season is good, but by the time next summer comes around, I'll be very ready to take it back out again and start the process over.  

baby bump butter

With this little one on the way, I've been busy making and thinking up body care product recipes for both me and Baby! As this belly of mine expands, I figured the first recipe that I should focus my attention on should be a belly butter that will help my skin stay moisturized as it stretches and grows to safely house this baby for another few months.  For the past couple months, I've been using a homemade Shea moisturizer and a coconut and neem oil moisturizer off and on.  I've had great results with both and my stomach has yet to show signs of being overstretched.  While it may be too early to know for sure, I still thought it would be good to make a belly butter just for this occasion.  The following recipe has a luxuriously creamy butter texture and the smell is absolutely divine!  The added rose water and essential oils not only add a lovely fragrance, but all of them are also good for skin elasticity and overall skill health.  Most of the ingredients below can be purchased through Mountain Rose Herbs, or found at your local health foods store or food co-op.  The Shea that I used was by Everyday Shea, a fabulous company that does quite a lot of good in Western Africa.  


Baby Bump Butter

1/4 cup + 2 tablespoons Shea butter

1/2 cup almond oil

1/2 cup rose water (or distilled or boiled water)

2 tablespoons coconut oil

7-8 ounces beeswax

20 drops lavender essential oil

20 drops Vitalize blend essential oil (a citrus blend by Melaleuca, The Wellness Company, you can easily substitute lemon, grapefruit, mandarin, orange, or a blend of these)

10 drops ylang ylang essential oil

Melt the Shea, coconut oil, and beeswax in a double broiler.  Once it has melted, add the almond oil.  In a separate sauce pan, warm the rose water until hot to touch.  Add the essential oils to the rose water and adjust for desired scent.  Pour the melted oils and water mixture into a glass jar and use an immersion blender (I have a special one that I use just for making soaps and lotions, but a you should be able to use your kitchen version and just clean it well) to emulsify them until it reaches a lotion-like consistency.  Continue to blend it every few minutes until the mixture has cooled.  At this point, it will still have more of a lotion-like consistency, but as it cools completely it will turn buttery.  Put a lid on the jar or transfer the mixture into another container for storage.  This recipe fits nicely into a pint-sized mason jar.  To use, apply liberally to belly and breasts (or all over!).  Use within six months for best results (both in moisture and freshness).  


tomato soup

I've said it before, but soup is one of my favorite things to can.  There is nothing quite like grabbing a jar of soup from the basement on a cold winter's night and having a homemade dinner ready in a matter of minutes.  Throw a crusty grilled cheese in there and you've got a perfect comfort food!  If you are looking for a tomato soup recipe, here is the one that I came up with this year.  I'm rather excited about!  I made a double batch and ended up with 6 quarts.  However, I probably could have let it cook down a bit more so that it was a little thicker.  I think the little bit of sugar helps soften the acidity of the tomatoes and wine.  Add more or less to taste.  Enjoy!!

image.jpg

Tomato Soup

12 cups of peeled, cored, and chopped tomatoes

1 large onion, chopped

1/2 cup dry wine (I used a chardonnay, but a red would probably add an even better flavor)

2-4 tablespoons fresh basil, chopped

2 cloves of garlic, chopped

2 tablespoons unsalted butter

1 tablespoon sugar

1 teaspoon salt

ground pepper to taste

Melt butter in a large stock pot.  Cook onions in the butter until translucent.  Add garlic and cook until fragrant.  Add tomatoes.  Bring to a boil, reduce heat, and simmer for 30-40 minutes.  Turn off heat and let cool for a few minutes.  Using an immersion blender, blend until smooth (or blend in a regular blender in small batches until smooth).  Add wine, sugar, salt, pepper, and basil.  Simmer until reduced to desired consistency.  

Pour into clean jars.  Either freeze or can.  Pressure canning is the preferred canning method for soups.  Process the jars at 11 pounds for 25 minutes.  

When ready to serve, add a bit of half and half or heavy cream to thicken and make it creamy.  Yum!

Yield: 2-3 quarts

fermented cucumbers and jalapeños

You know that team building game that people sometimes play where you have to choose what two foods you would want to live on for the rest of your life if you were stranded on a deserted island??  Well...one of my two foods has always been pickles.  I mean, really, if you're stranded on an island what better food to have with you!  They are shelf stable, they are a vegetable, and they are always delicious.  Yum.  My mouth waters every time I think about those sour crispy delectables.   

image.jpg

For the past few summers I've made a couple batches of traditional vinegar dill pickles--and I love them and wouldn't go without them.  But last year I also tried my hand at fermented dill pickles.  It was an experiment--as I've found all fermenting to be.  It's not an exact science the way that hot water or pressure canning is.  With canning you have to have just the right amount of food in the jars, the jars have to be closed just right, the temperature and/or pressure has to be just right, and you have to do it for just the right amount of time, but with fermenting it's totally different.  Your jar of cucumbers can be half full, you can have several different sizes of jars with different types of lids, you can ferment something for a week, two, five, twelve.  Every ferment is different and each one is a bit of an experiment with far too many variables to make it scientific---it's awesome!  Those are my favorite kinds of experiments.  It's like when you make a really delicious meal and your husband says, "Wow! This is amazing!  Can you make this more often?"  And you respond with, "Um...this exact thing?? Probably not.  I made it up."  That's kind of how fermenting works, at least for me.  

Another thing about fermented pickles is that they taste a bit different from their vinegary counterparts.  They are more sour and they are kind of bubbly.  They can make your face pucker and they can be incredibly addicting...but I do think they are a bit of an acquired taste.  If you've never made or really eaten homemade vinegar pickles, then tasting your first fermented pickle may be quite a shocker.  They are very different from the jars of pickles that line the grocery store isles.  However, if you are a homemade pickle lover, then I encourage you to try fermenting a batch.  The best part is that you can start with a little pint jar and if they don't turn out or you hate them, you can compost those babies without it being a big deal at all.  

The basics of fermenting cucumbers include packing pickling cucumbers (I get my mine at the farmers market) into a jar with pickling spices, garlic, and fresh dill, and then filling the jar with a brine of salt water.  You then tightly cover them and leave them in a warm place for a bit.  If your kitchen is warm (mine was in the 70's and 80's this week), then it may take just 5-7 days for the pickles to be ready.  If it's on the cooler side (consistently below 75) then it may take a few weeks for them to finish.  Once they have changed from bright cucumber green to dull pickle green and the liquid is bubbly and cloudy, then they are ready to taste.  When you bite into them, they should look pickled all the way through.  If they are still bright green in the middle--they are not done, or if they taste really salty they are not done.  When they get to the sour level of your liking and they are pickled all the way through---they are done!!  Hooray!  Then you can wipe down the jars (in case they've dripped a bit in the fermenting process) and move them into the refrigerator where they'll keep for 6 months to a year.  So easy and so good!

Also, adding traditional fermented foods to your diet can be so good for you!  Unfiltered and unpasteurized fermented foods are full probiotics that help to build a healthy gut flora.  Stop buying those expensive probiotic supplements and start eating fermented pickles and you'll be set!! I wrote a bit more about this in a post last summer, if you're wanting to find out more.  

If you are looking for a recipe to get you started with fermenting cucumbers, this Nourished Kitchen recipe looks like a good one.  The one I used this time around is from The New Midwestern Table by Amy Thielen.  It's a fabulous cookbook that includes so many great updated traditional midwestern recipes, which is great if you want to cook using local and season ingredients.  I fall more in love with that cookbook each time I use it.  

For my fermented jalapeños, I just added some garlic and used the same salt water brine that I used for the cucumbers.  They take a bit longer to ferment (you can see the changing green colors in the picture above; once they are all the duller green color, I'll start checking them), but I find that fermenting them is a great way to preserve the handfuls of jalapeños that come in from our garden as I can ferment them as soon as I have a pint jar full.  

image.jpg

How about you??  Have you tried your hand at fermenting??  If so, what are some of your favorite things to ferment?  

blueberries!!!

One of my favorite parts about summer is preserving all of the wonderful bounty that grows around here in our short summer months.  And fresh, local berries are top on the preserving list!  My summer berry picking usually starts off with strawberries, and then moves on to raspberries and blueberries.  With all of the berry picking that I usually do, we typically don't buy any berries throughout the remainder of the year (expect for special occasions).  This year has been a bit of disappointment in the berry picking department, though.  Due to our traveling this summer, I completely missed the strawberry season!  It was a bit shorter than normal due to heavy rains, which abruptly ended the season on the same day we got back into town.  And then this week I was all ready to go blueberry and raspberry picking when I found out that the farm I usually go to for both types of berries had a worm infestation in their raspberries and they closed them for the season.  So sad (both for the farmers and for me)!!  I did, however, get a bumper crop of blueberries and I found a pint or so of worm-free raspberries.  I've decided that blueberries are one of my favorite berries to freeze!  They are so easy to incorporate into muffins, pancakes, deserts, and more in their frozen form, unlike raspberries and strawberries, which are better eaten fresh.  So, in the end, it worked out.  We won't have any strawberry or raspberry jam this summer, but that's ok.  I've realized that we really only need 1-2 batches of fruit preserves to get us through the year.  So, this may be an apple butter year.  And I'm just fine with that.   

image.jpg
image.jpg
image.jpg
image.jpg
image.jpg

I picked an ice cream bucket full of blueberries, which gave me 12 cups to freeze for muffins, pancakes, smoothies, and whatever else we want them for.  I also set aside 6 cups for a blueberry pie (yum!!!) and 4 more cups to be used this week and for fresh eating.  So far we've made blueberry pancakes, blueberry muffins, blueberry kombucha, and of course eaten many more of those berries fresh out of the fridge.  

How about you??  What types of berries do you like to pick and how do you use them??