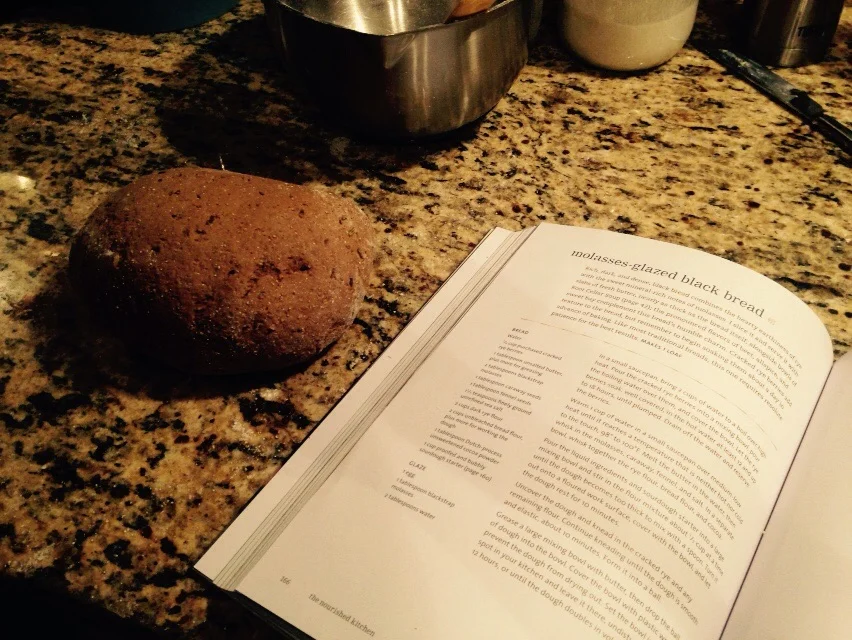
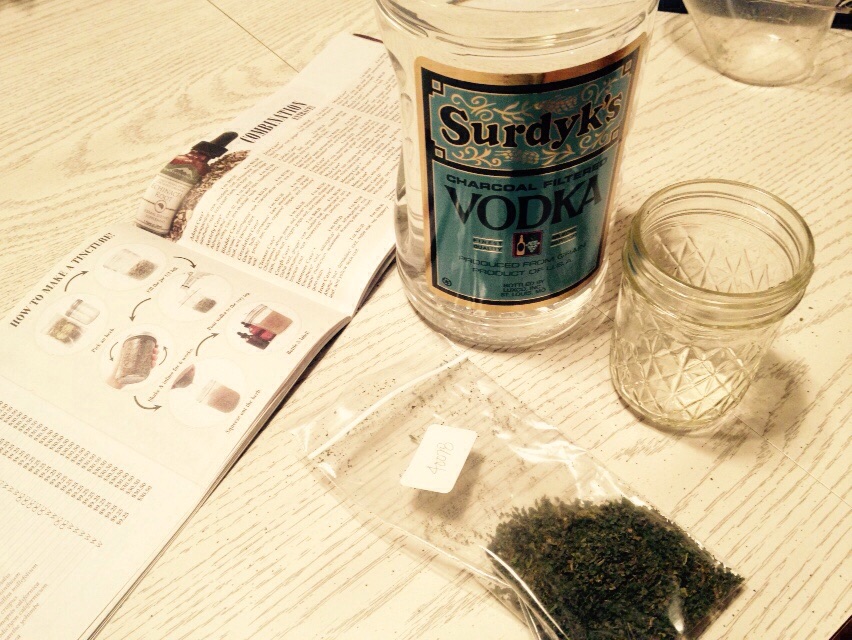
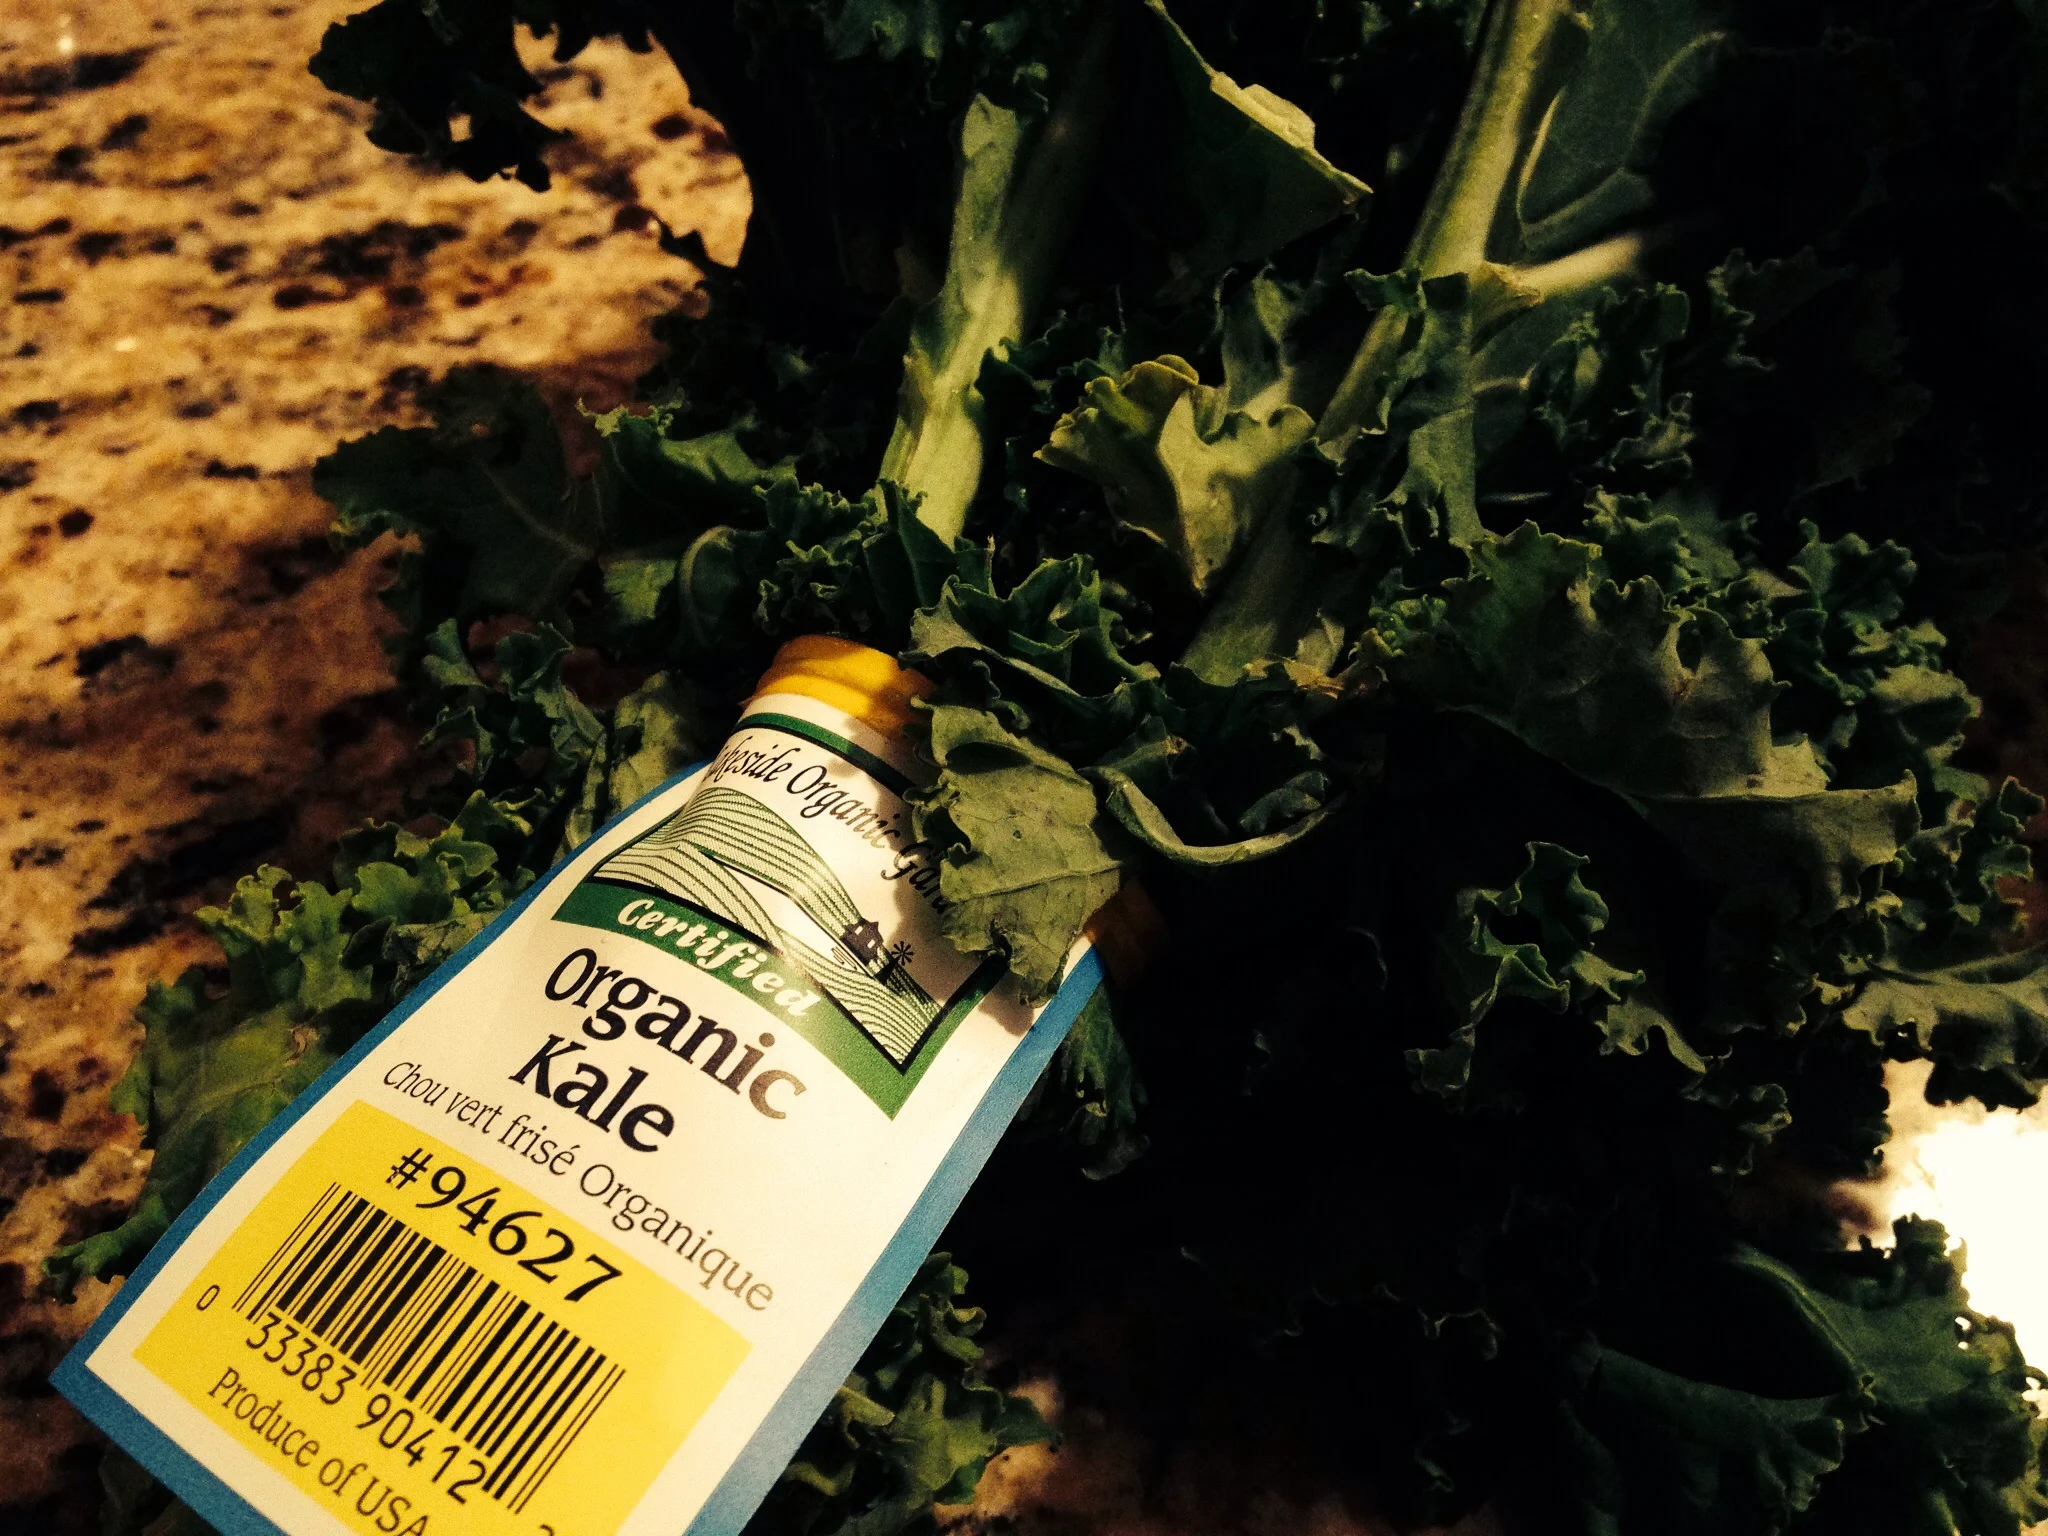
A few weeks ago, I starting writing about how our eating habits have changed a bit over the past year and a half (healthy bodies, happy lives and food, real food). One of the changes was that we started buying more and more things labeled "organic." Now, the label "organic" is quite an interesting one as it encompasses everything from carrots to cookies and kale to cupcakes. What also makes the "organic" label interesting and at times unappealing is the price tag that often accompanies it. For that reason, it took quite a bit of research to transition me from a conventional buyer to an organic one.
First off, let's talk about the "organic" label. Just because something is labeled as "organic" does not make it healthy. In our house, we start first with whole foods and when we buy those whole foods, we buy organic versions when possible. Because we live in a big city, we can usually find an organic version of any kind of food we're looking for. I've realized recently that this is not the case for many who live in smaller towns and for that I've become very thankful for the resources that I have and also more passionate food issues in our country. But, that's for another day. However, even with access to almost any organic foods we could possibly want, we do not, by any means, buy only organic foods. There are a couple of reasons for this. First, we can't afford it. With a limited grocery budget, it's just not affordable to buy only organic items. Second, there are plenty of great foods out there that do not have an "organic" label. It can be expensive for small farms to become certified organic and for that reason, many of them don't. I find that it's more important for me to know how the food is produced, than it is for it to have the "organic" label on it. Third, there are times when it's more important to me to buy locally grown food, then certified organically grown food. Locally grown food has a direct impact on the local economy and it also hasn't had to travel across the country to get to our house--which, for produce, means it is likely more nutritious compared to the produce that has spent days or weeks in a refrigerated truck being transported from California or Mexico. Harvard School of Public Health has a great little article on the nutritiousness of locally grown food.
This leads me to the second reason that we try to buy organic--nutrition. Organic farming practices require farmers to take a more holistic approach to the nutrients in the soil. The idea is that if your soil is full of nutrients, then your produce will be too. The scientific field is not in agreement over whether organic produce is more nutritious (but the scientific field also brought us margarine...so there's that...); however, a recent study has shown that organic produce is higher in antioxidants (read/hear more about that in this NPR report). From a gardening perspective, I know that if my soil is healthy, living, and full of organic matter (compost), then my plants grow better and produce better food. So, for us, since better soil means better produce, buying organic produce rather than conventional produce is a way to know a little bit more about how our food is grown.
The third reason that we buy organic produce whenever possible is that it contains fewer pesticides. Once again, the scientific field does not agree on the safety of synthetic pesticides, but for us, we've decided that we're not fans. In general, we don't like the idea of eating chemicals, putting them on our bodies, or using them in our house. So, for us, buying organic food is a way to reduce our exposure to unwanted synthetic pesticides. You can read more about pesticide use in the U.S. on the Environmental Working Group's Shopper's Guide to Pesticides in Produce.
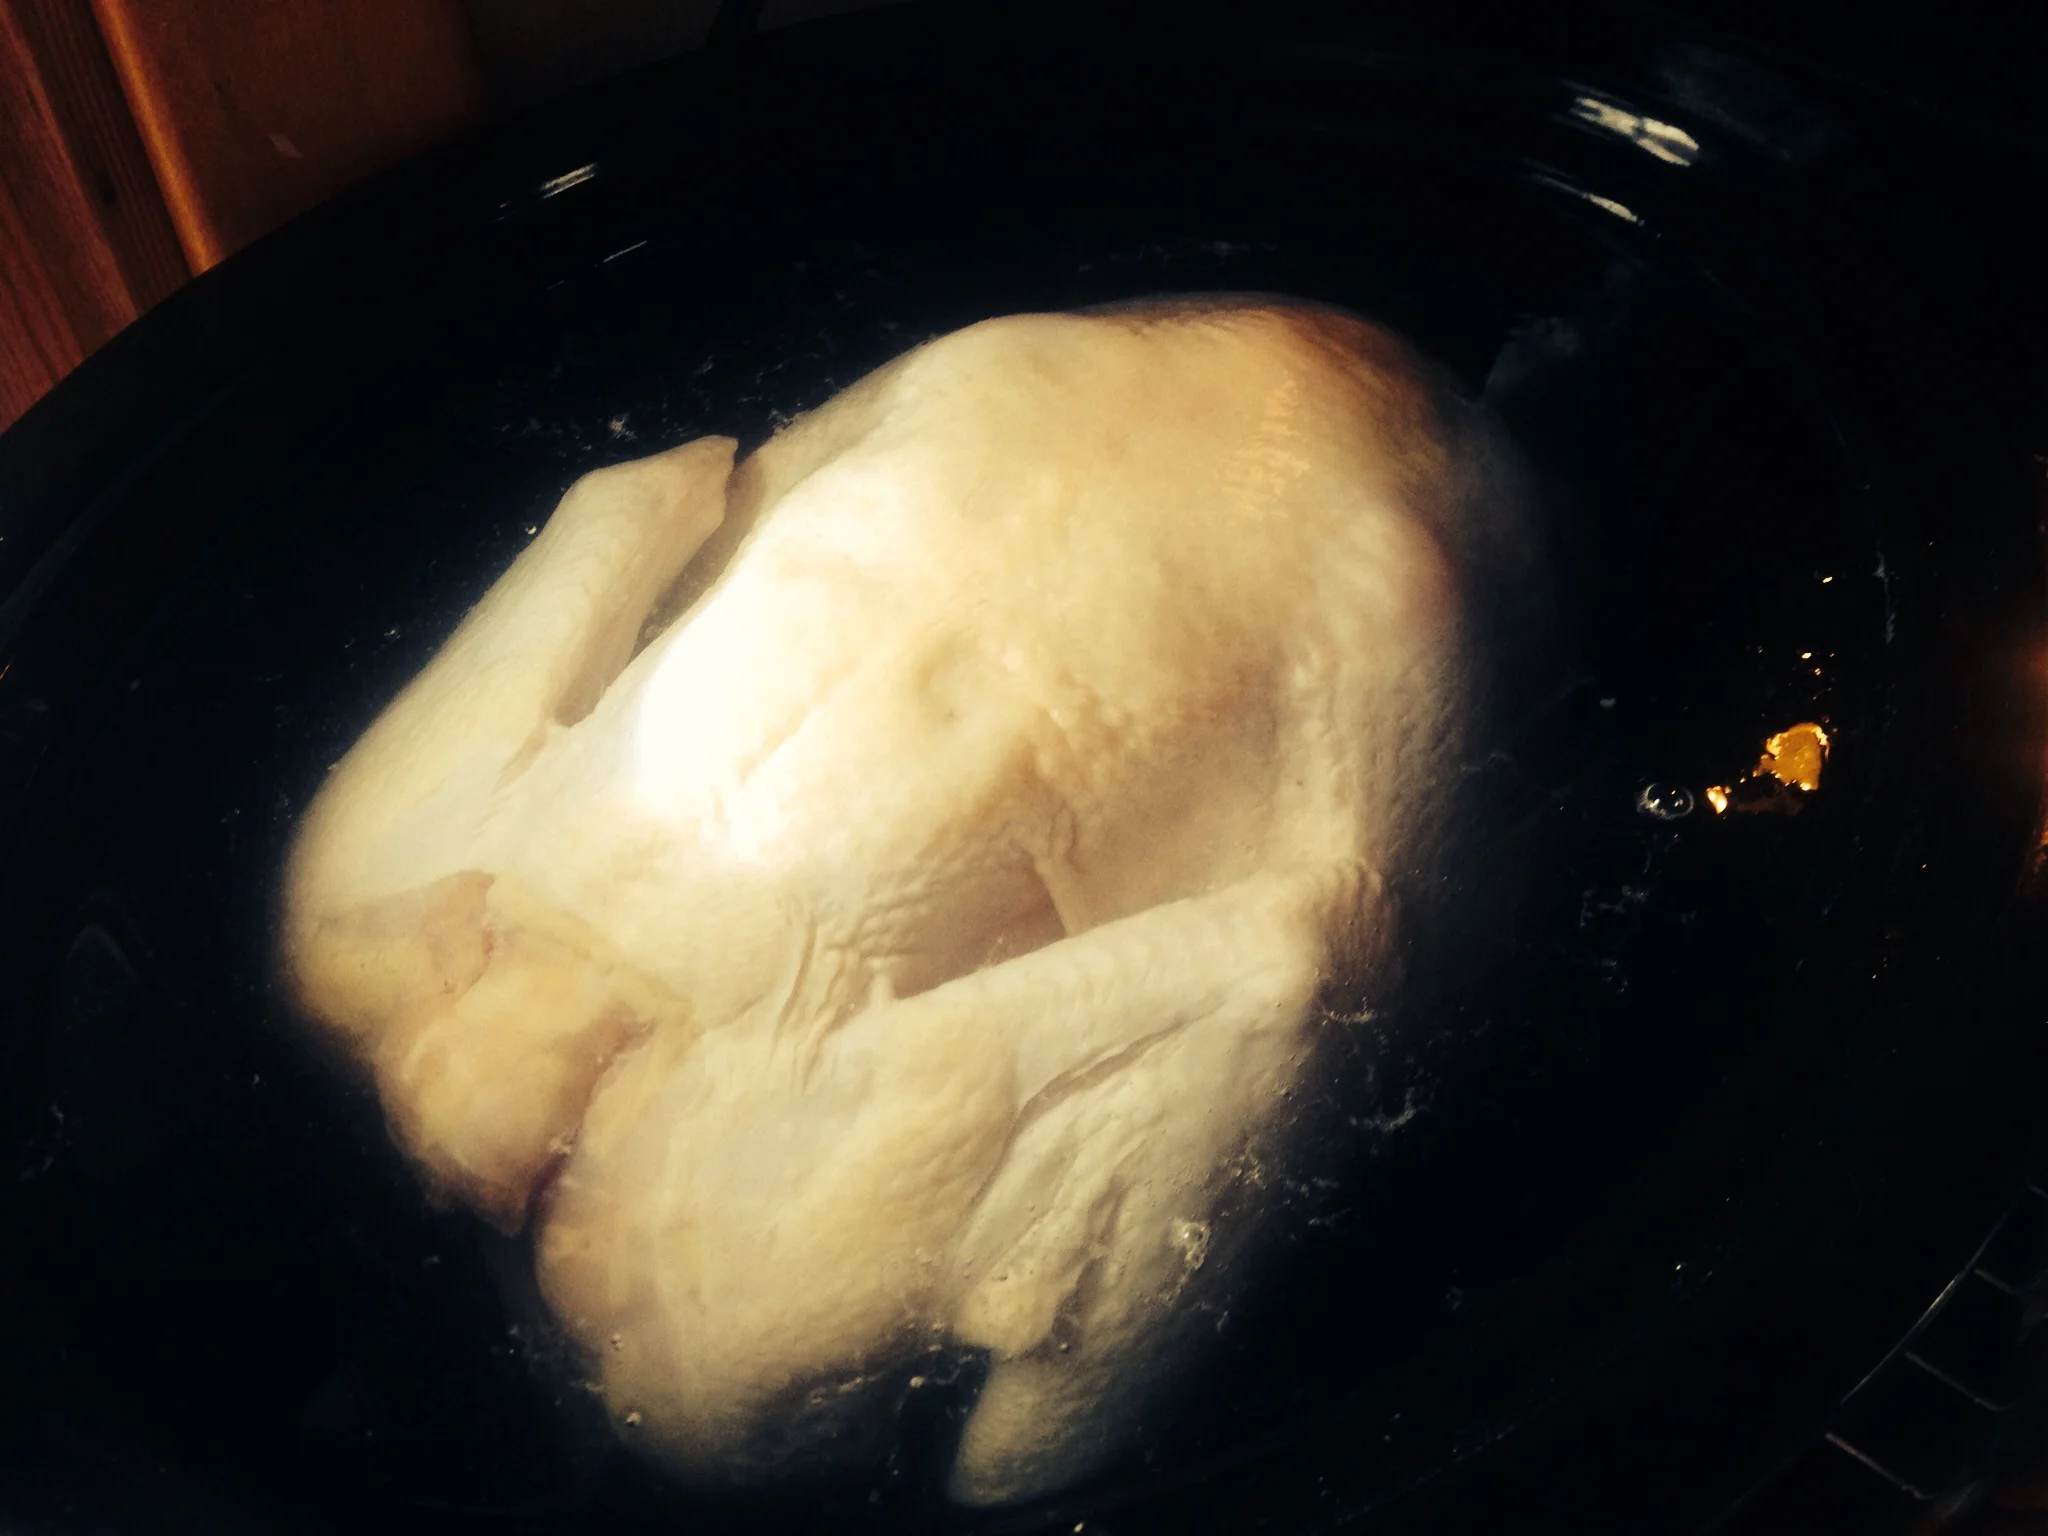
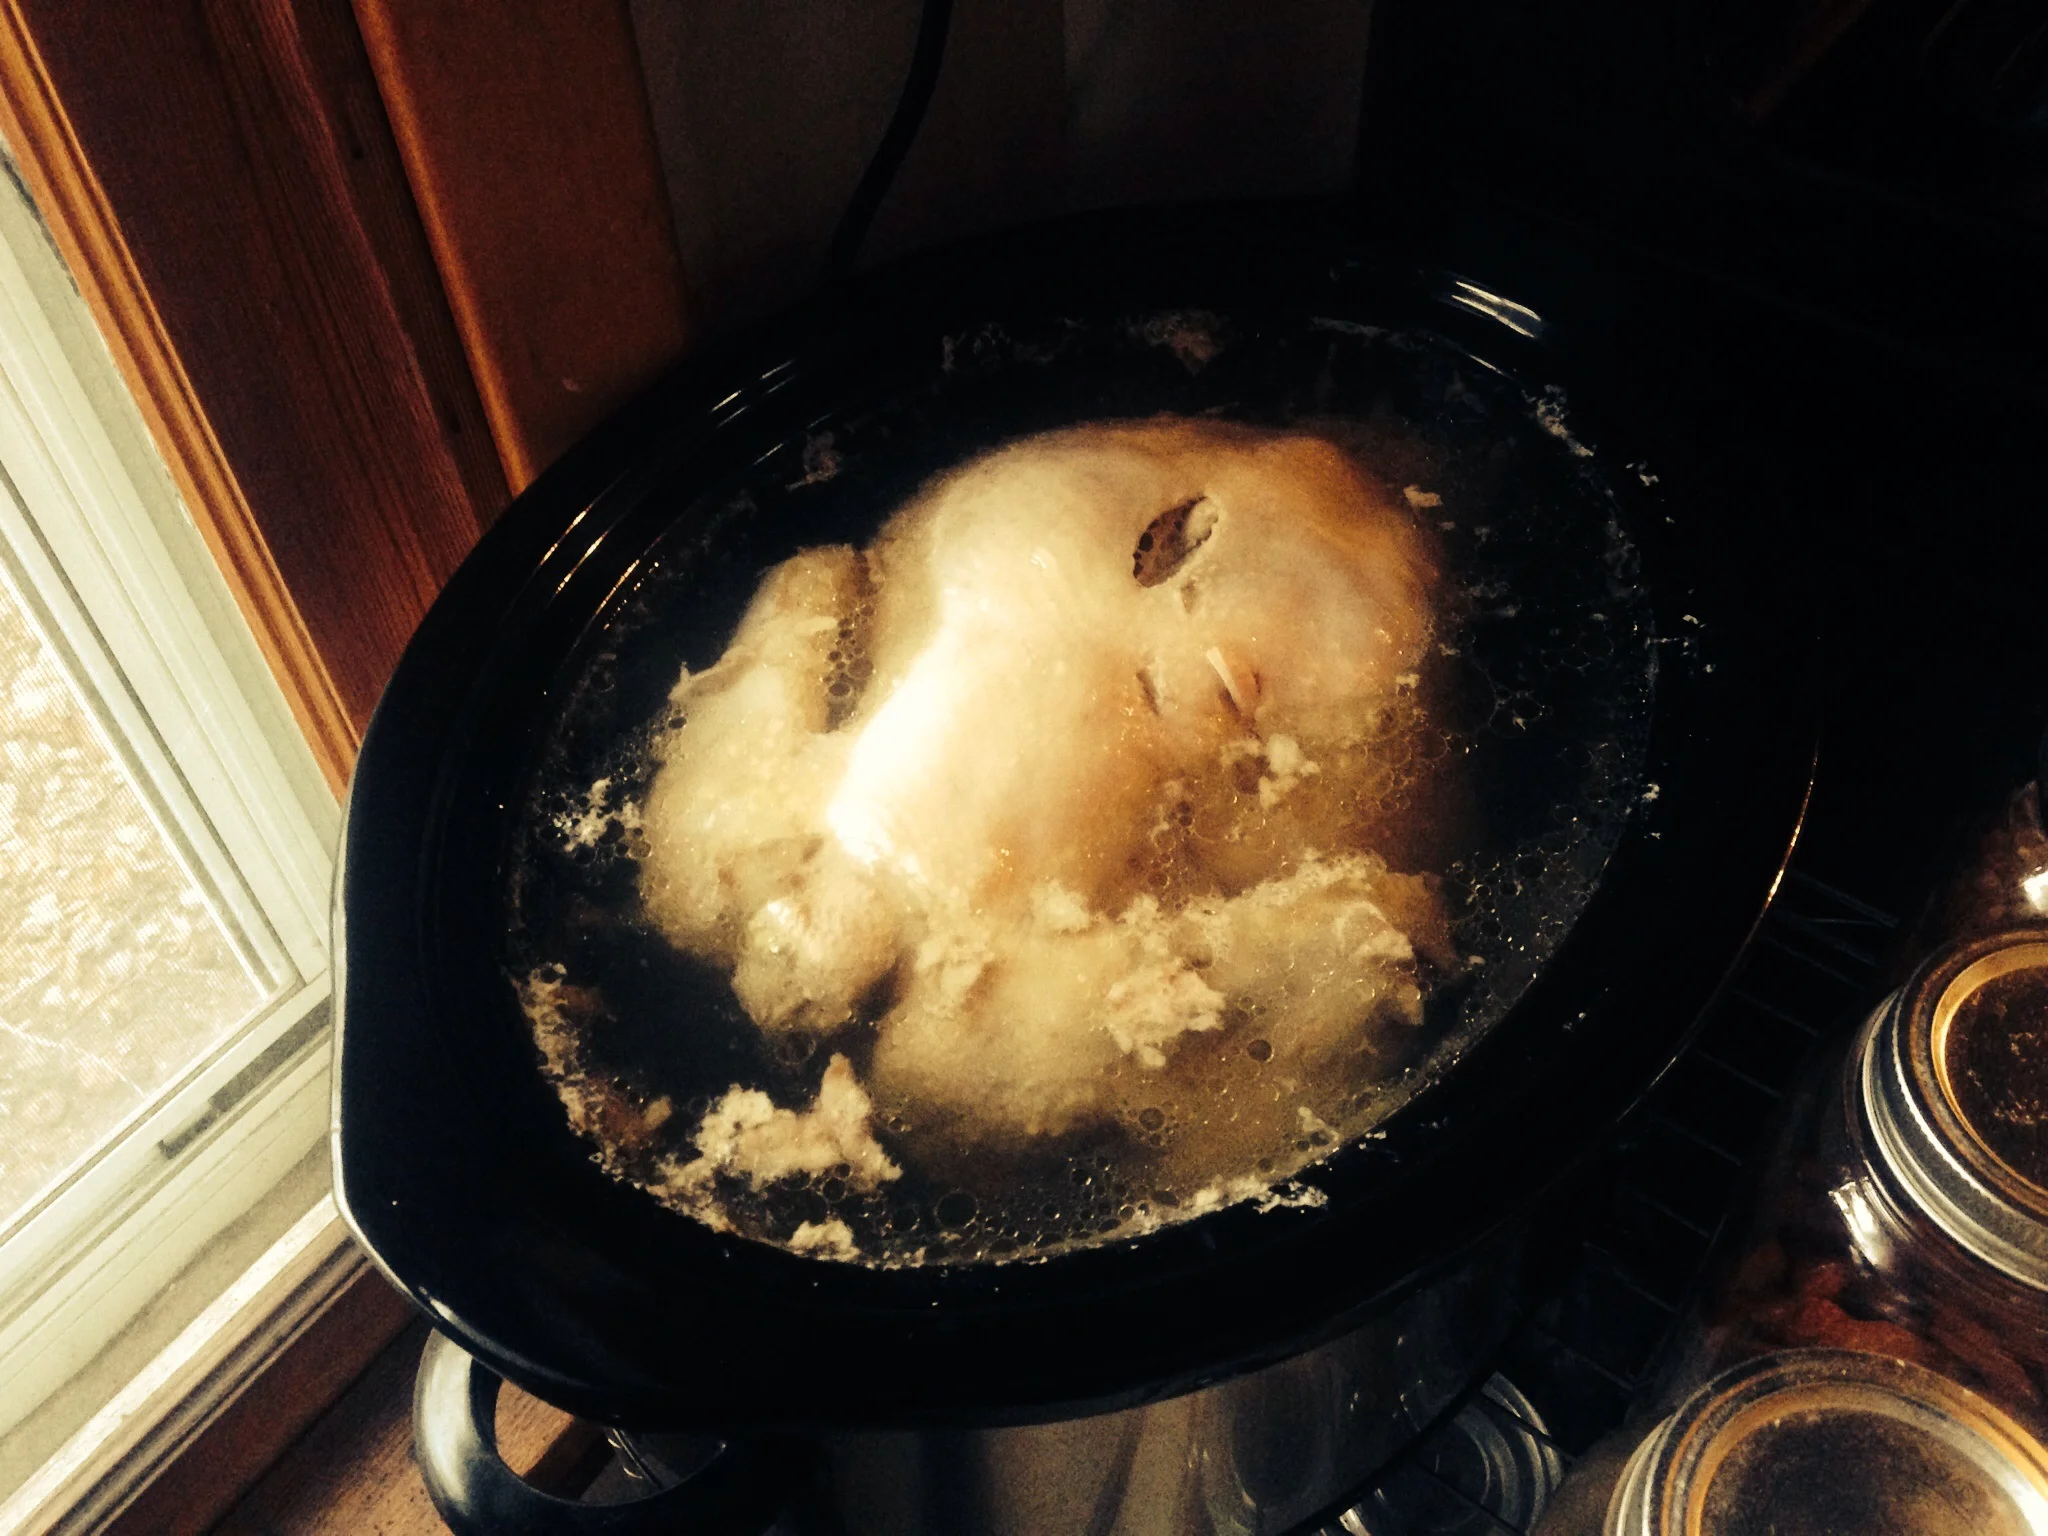
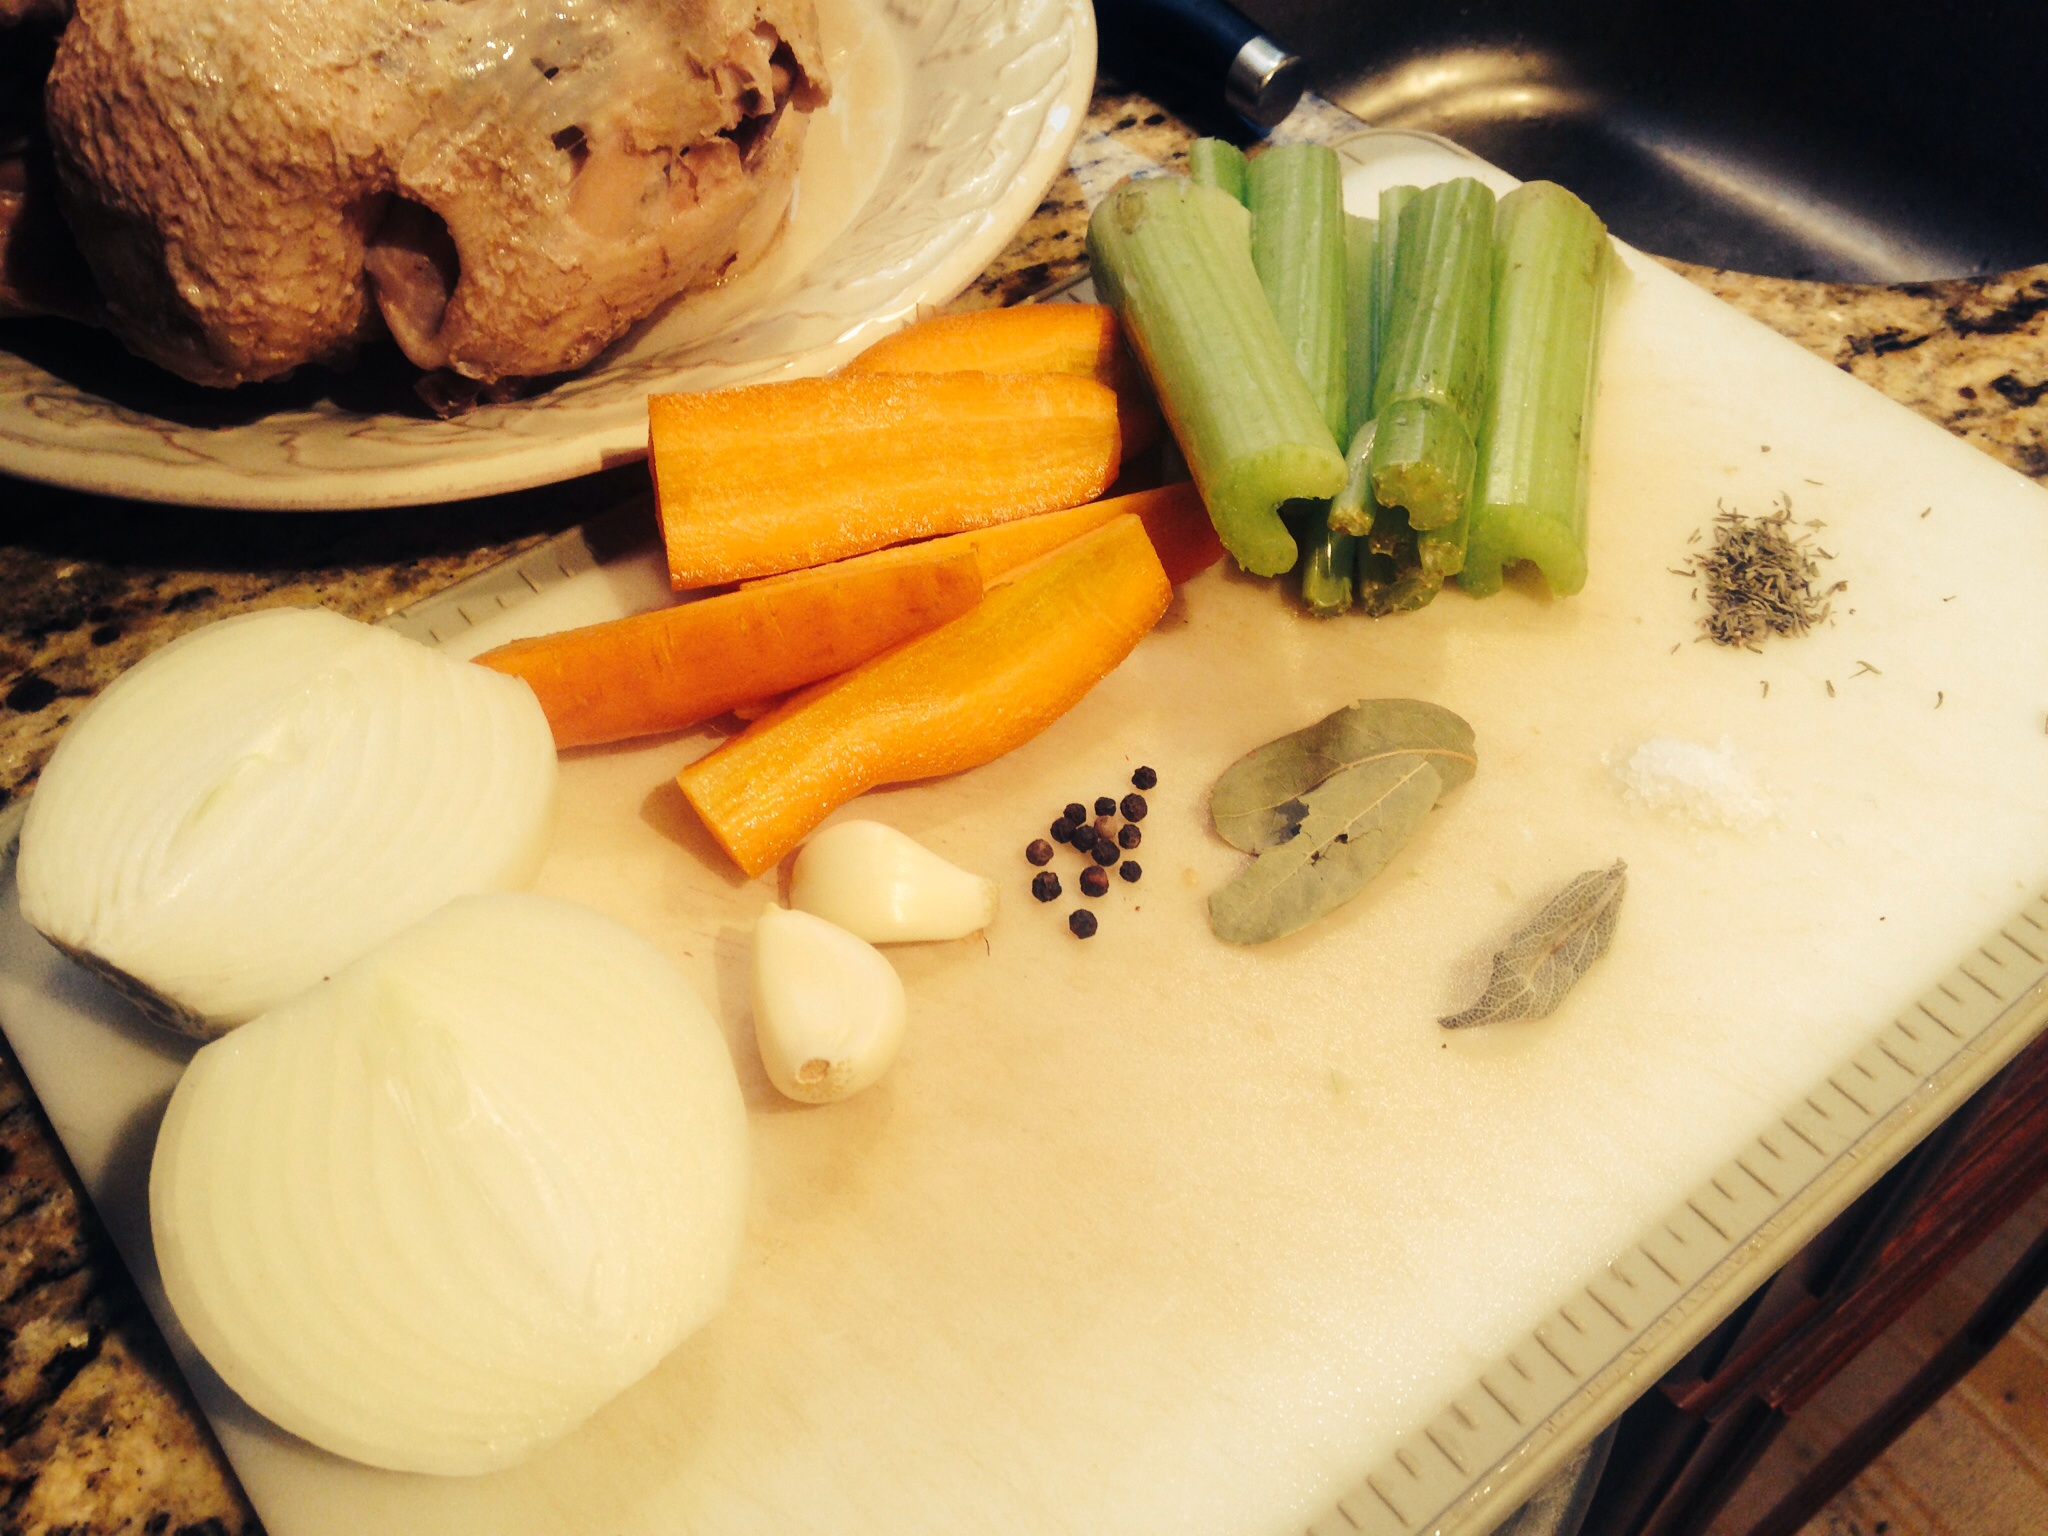
I've talked a lot of about organic produce (fruits and veggies), but what about organic grains, meats, and dairy?! For us, when it comes to buying organic, we focus primarily on fruits and vegetables. Beyond that, it depends on the food and the price. I buy some organic grains. We buy organic yogurt and butter. However, the milk we buy is from a local creamery that uses great farming practices yet isn't certified organic. Also, the chicken we buy is also not certified organic, but it is a much better option than its conventionally raised counterparts. So, when it comes to organic foods, we start with produce and work out way out from there.
If you're looking for more information on organic foods, the Environmental Working Group is a great place to start. There are also a lot of great documentaries out there. See my food, real food post for links to a few good resources. Navigating this food system we live in can be a complicated and overwhelming process. But, I think the benefits of learning to effectively navigate it far outweigh the frustrations.