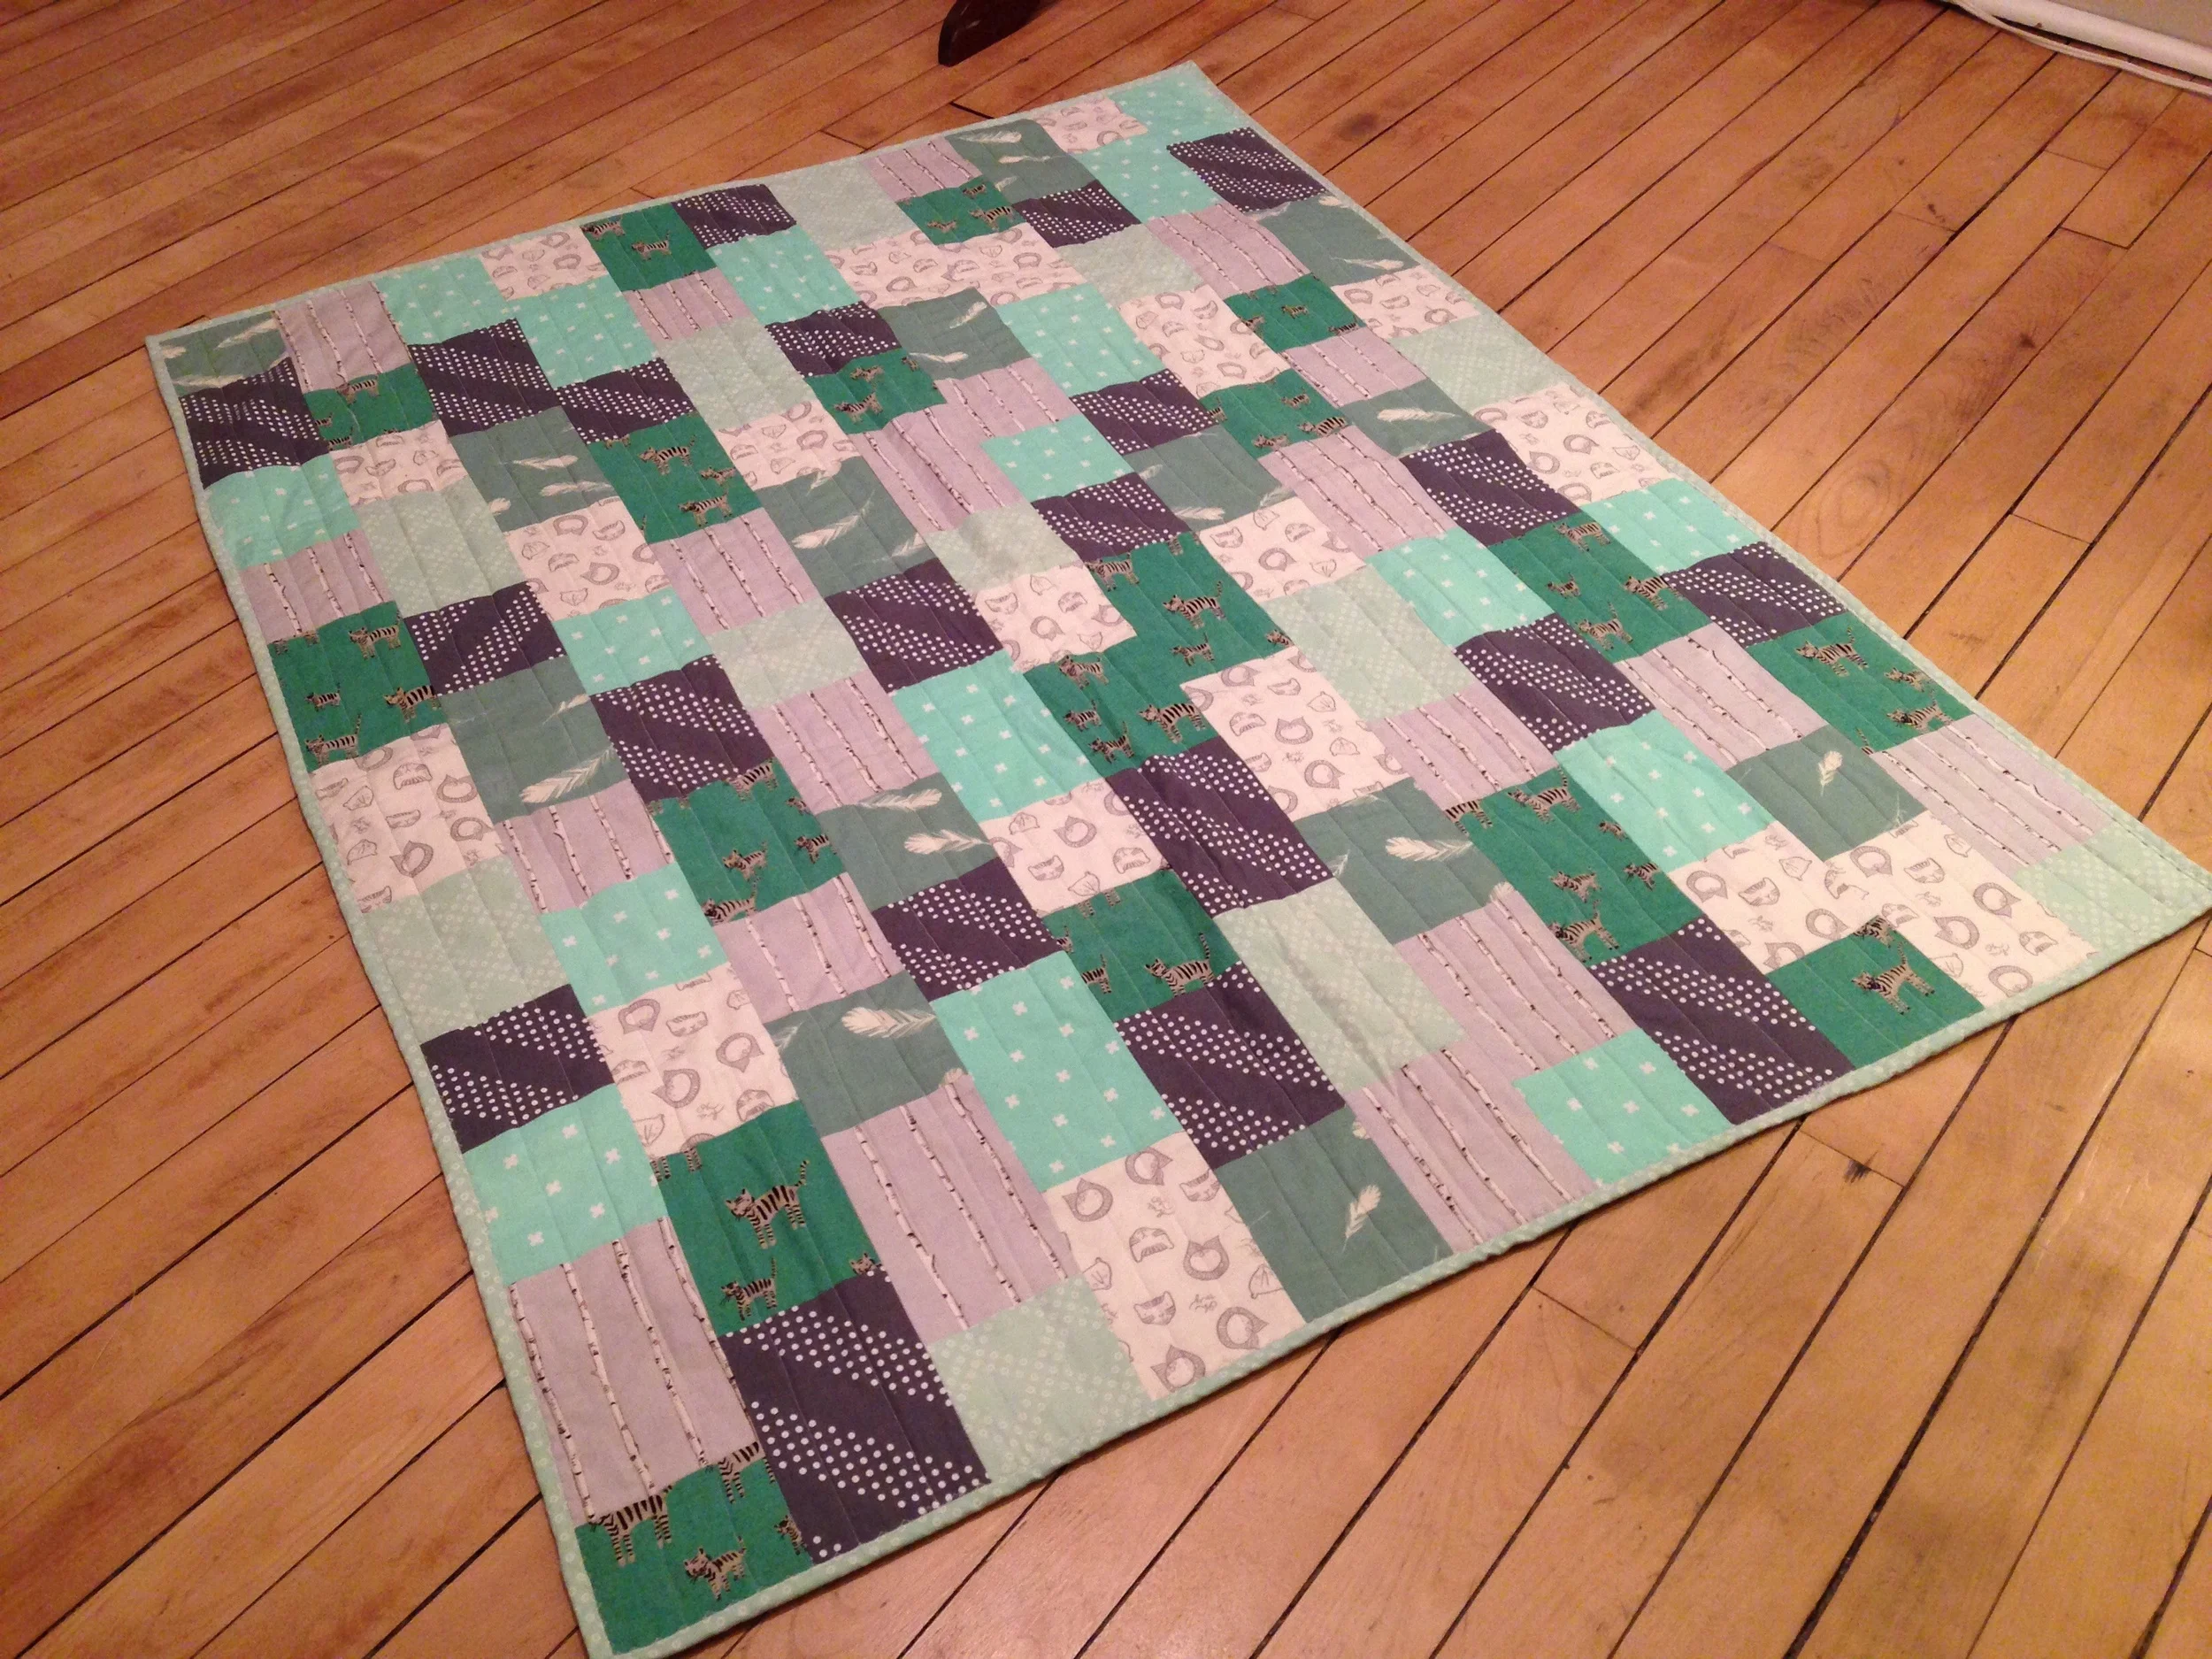
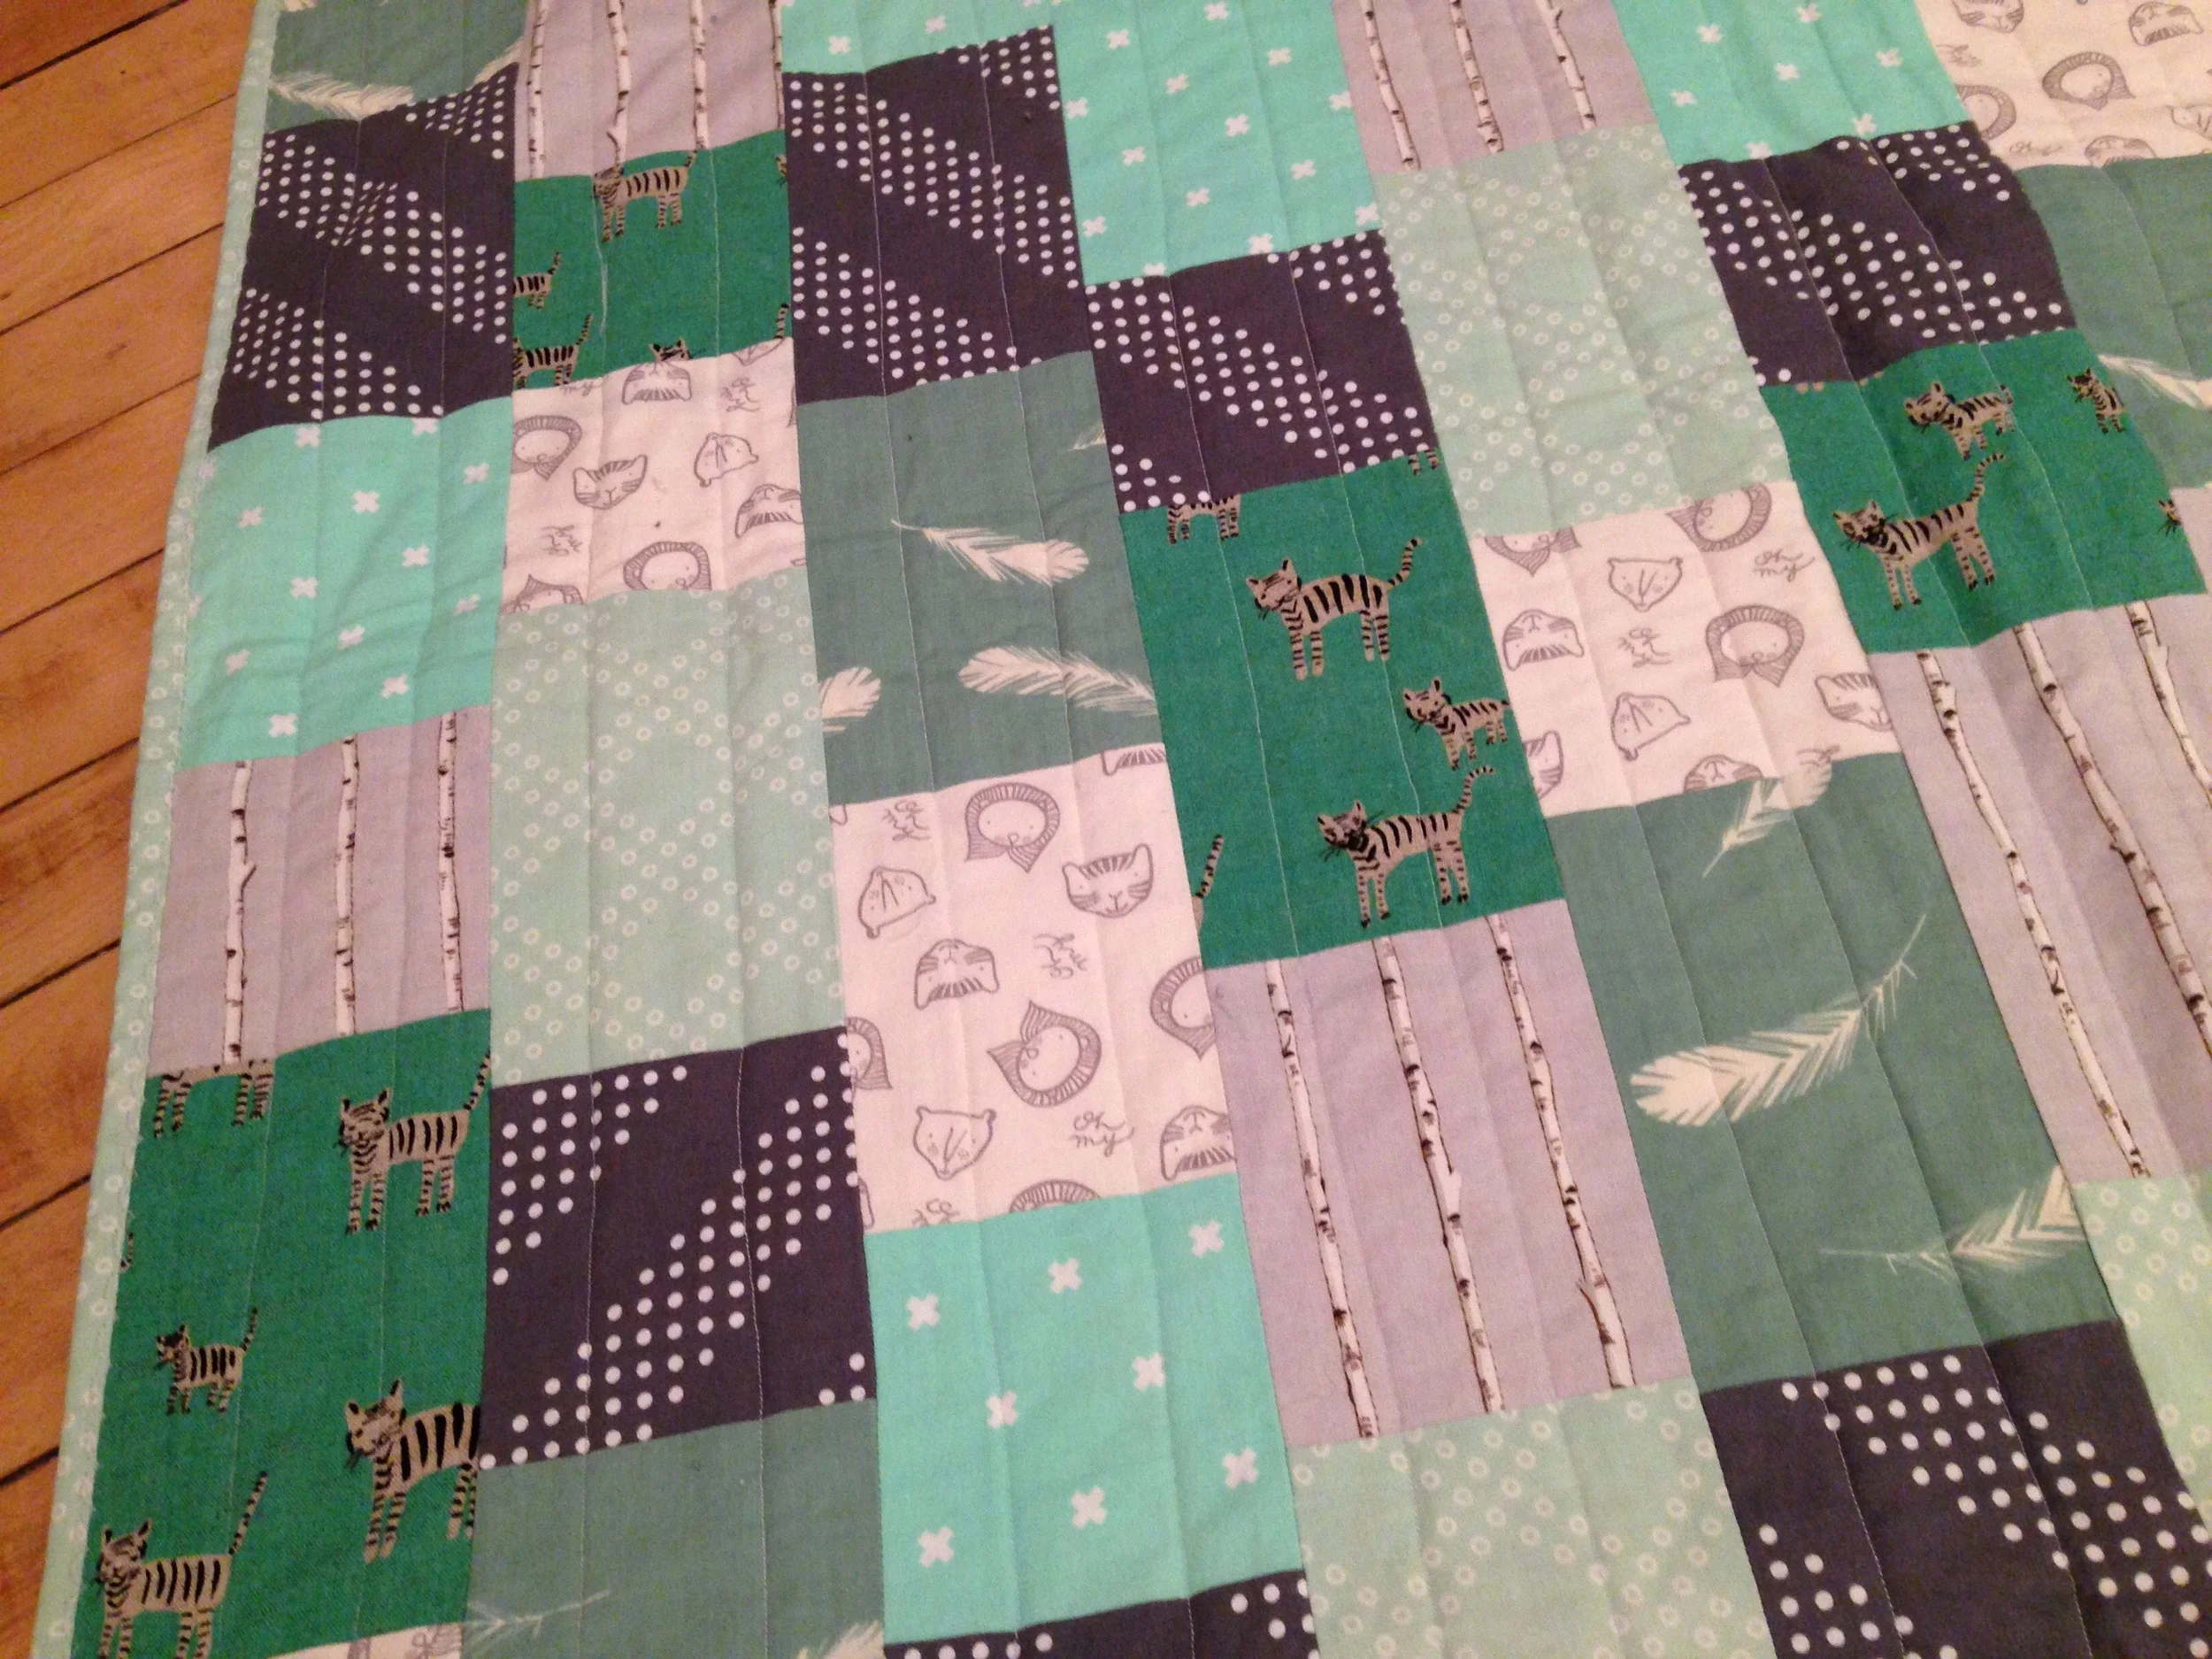
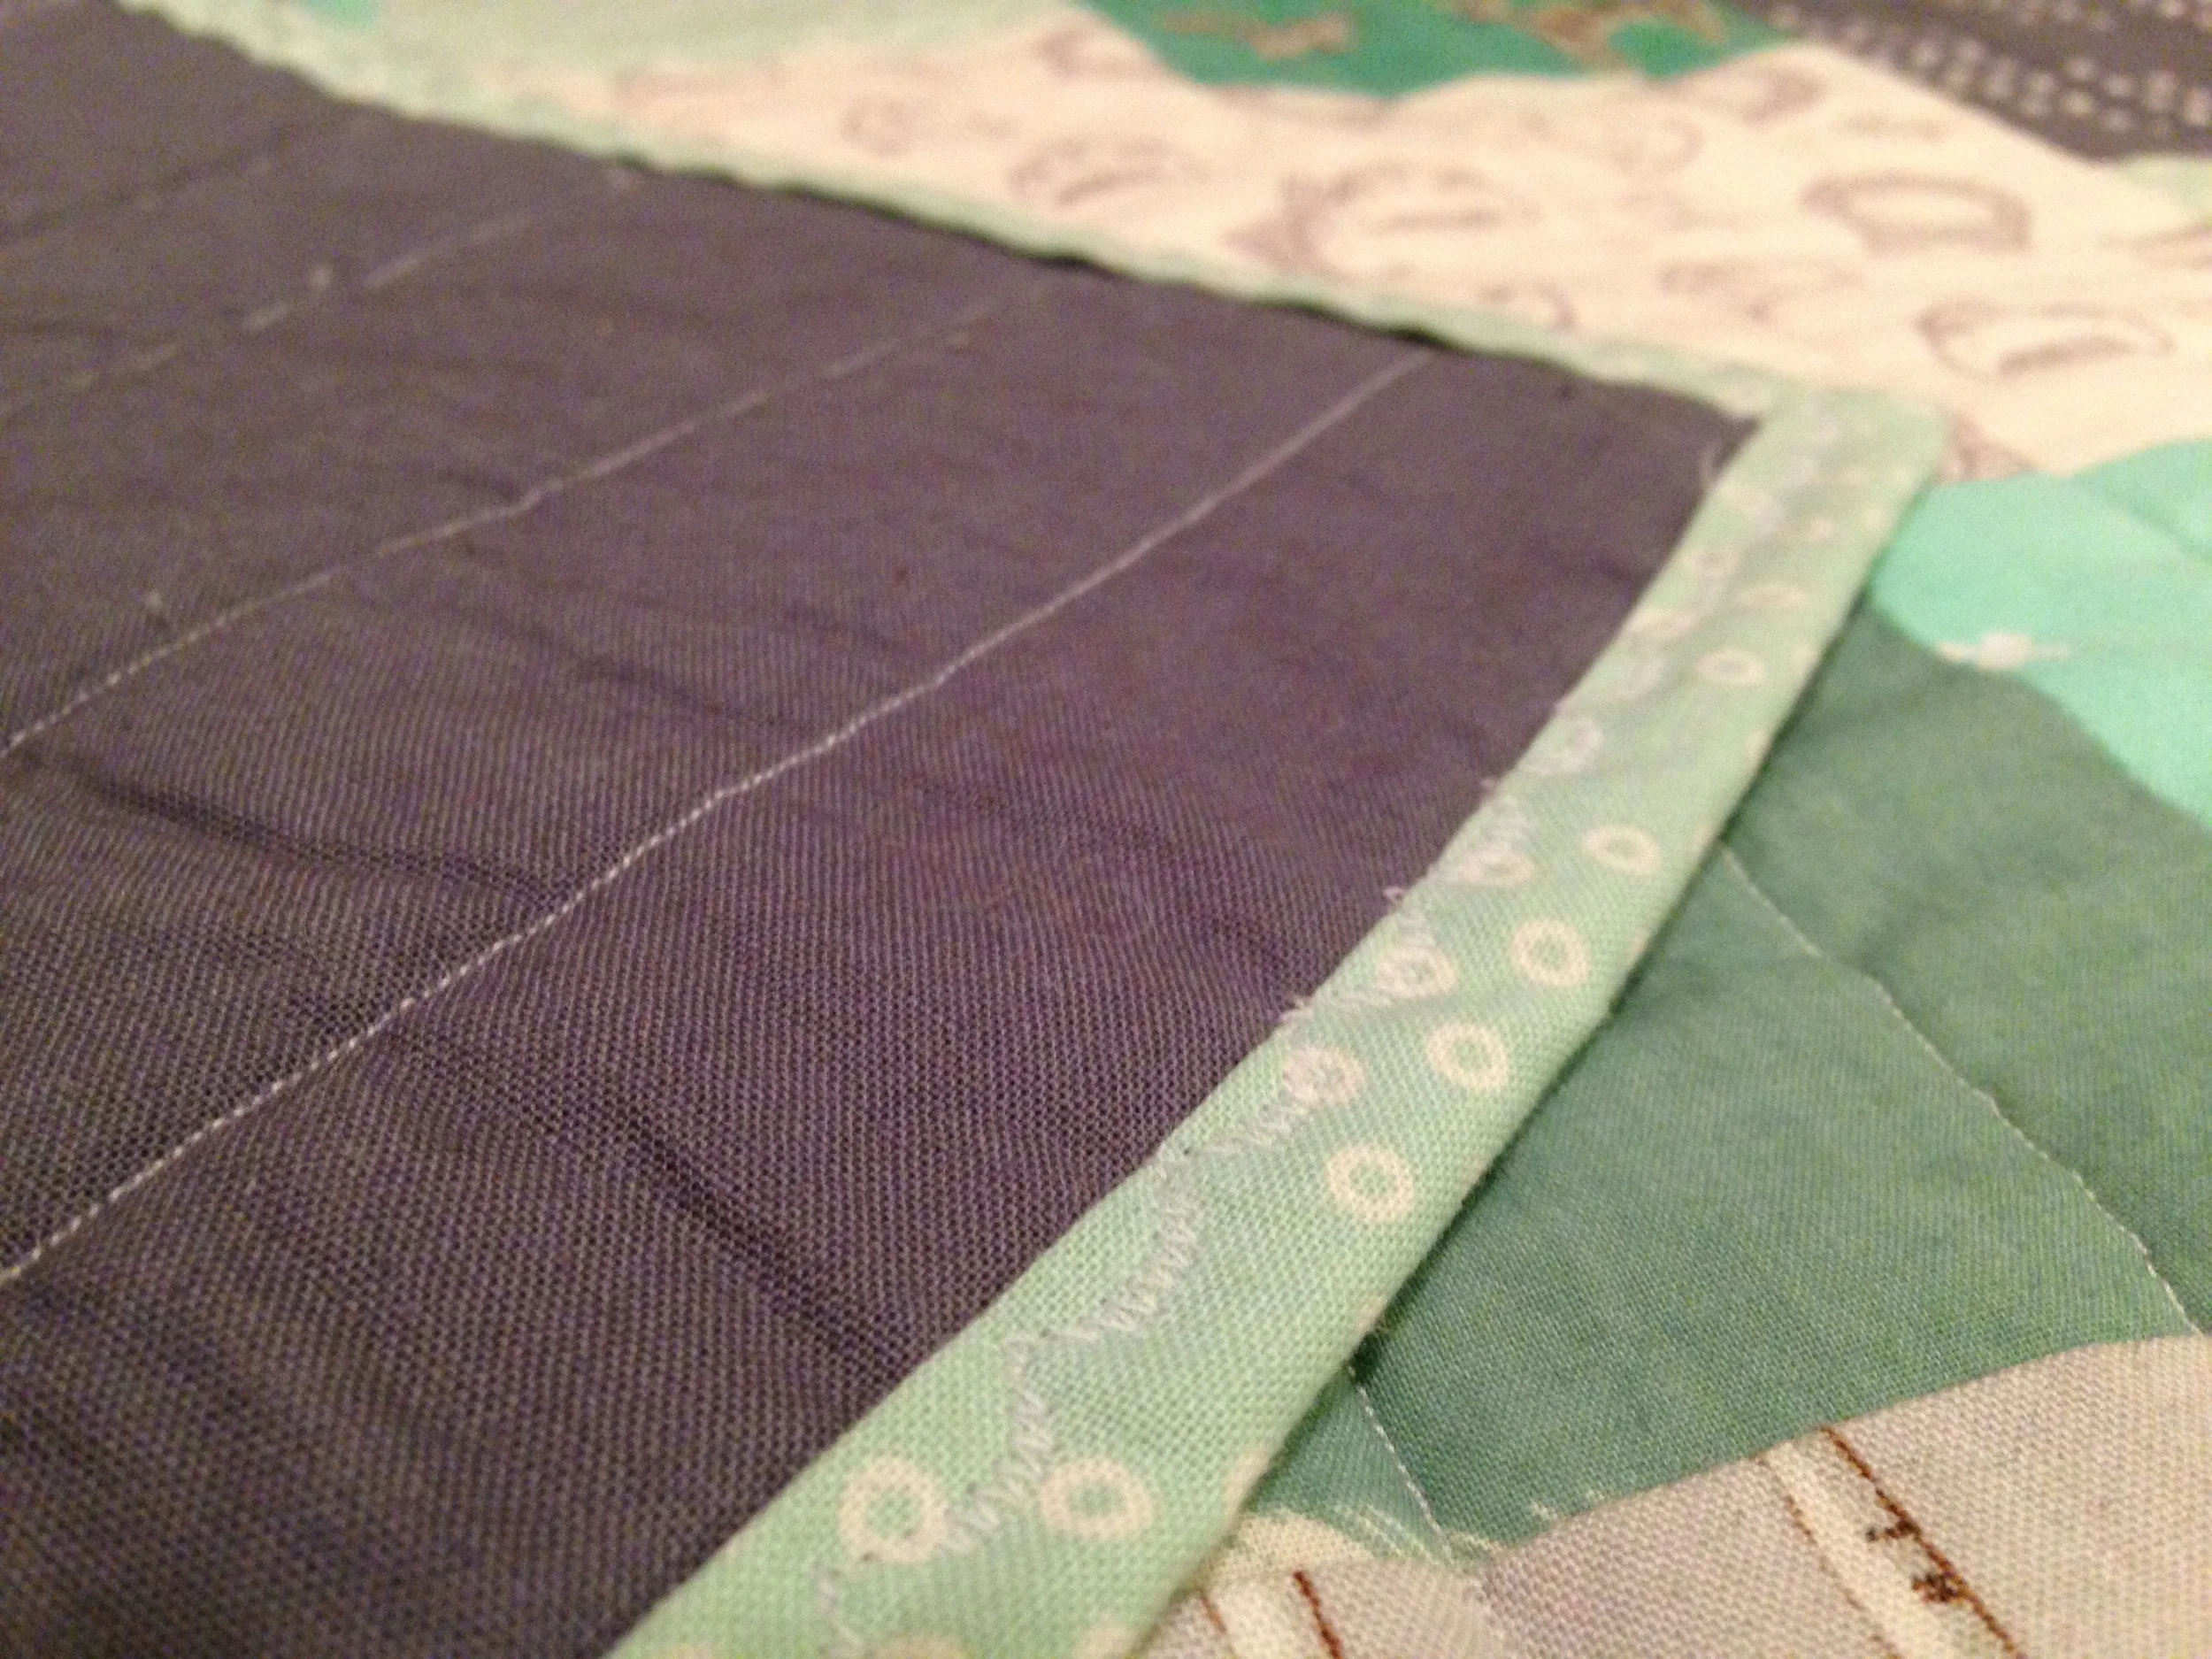
My very first quilt is finished and I'm rather pleased with the turnout!! This little quilt for Baby is a little smaller than a standard crib quilt and has been made with so much love and anticipation over the past several months. There are so many special things about this quilt. It was made in memory of my best friend's little Isaac who went to heaven just over 15 months ago and the fabrics incorporate so many of the things that we hope this little baby of ours comes to love. My hope is that this quilt will be carried by my babe well into adulthood (even if it needs to be tucked away in a box for a few of those teen years). The fabrics include Cotton + Steel's Dottie's Cousin Mint, Tiger Cats Turquoise Canvas, Dottie Fedora, XOXO, Dear Stella's Lion's & Tigers in Cream, Moda Fabrics' Forest Friends Pebble, and Birch Fabrics' Feathers Mineral. The backing was a simple Kona Cotton in Steel. For the batting I used Warm & Natural's Needled Cotton Batting. The overall design was inspired by a few quilts I had seen over the years, but I made the pattern up myself by cutting three different sized rectangles in each fabric and piecing them together so that the lines purposefully didn't match up, leaving it with a bit of an abstract look (which worked perfectly for my first quilt project). I machine quilted it with a straight stitch on my machine and then used a decorative zigzag stitch for the binding. While many quilters use hand-stitching for bindings, I thought that a machine zigzag stitch would hold up better after years and years of machine washing.
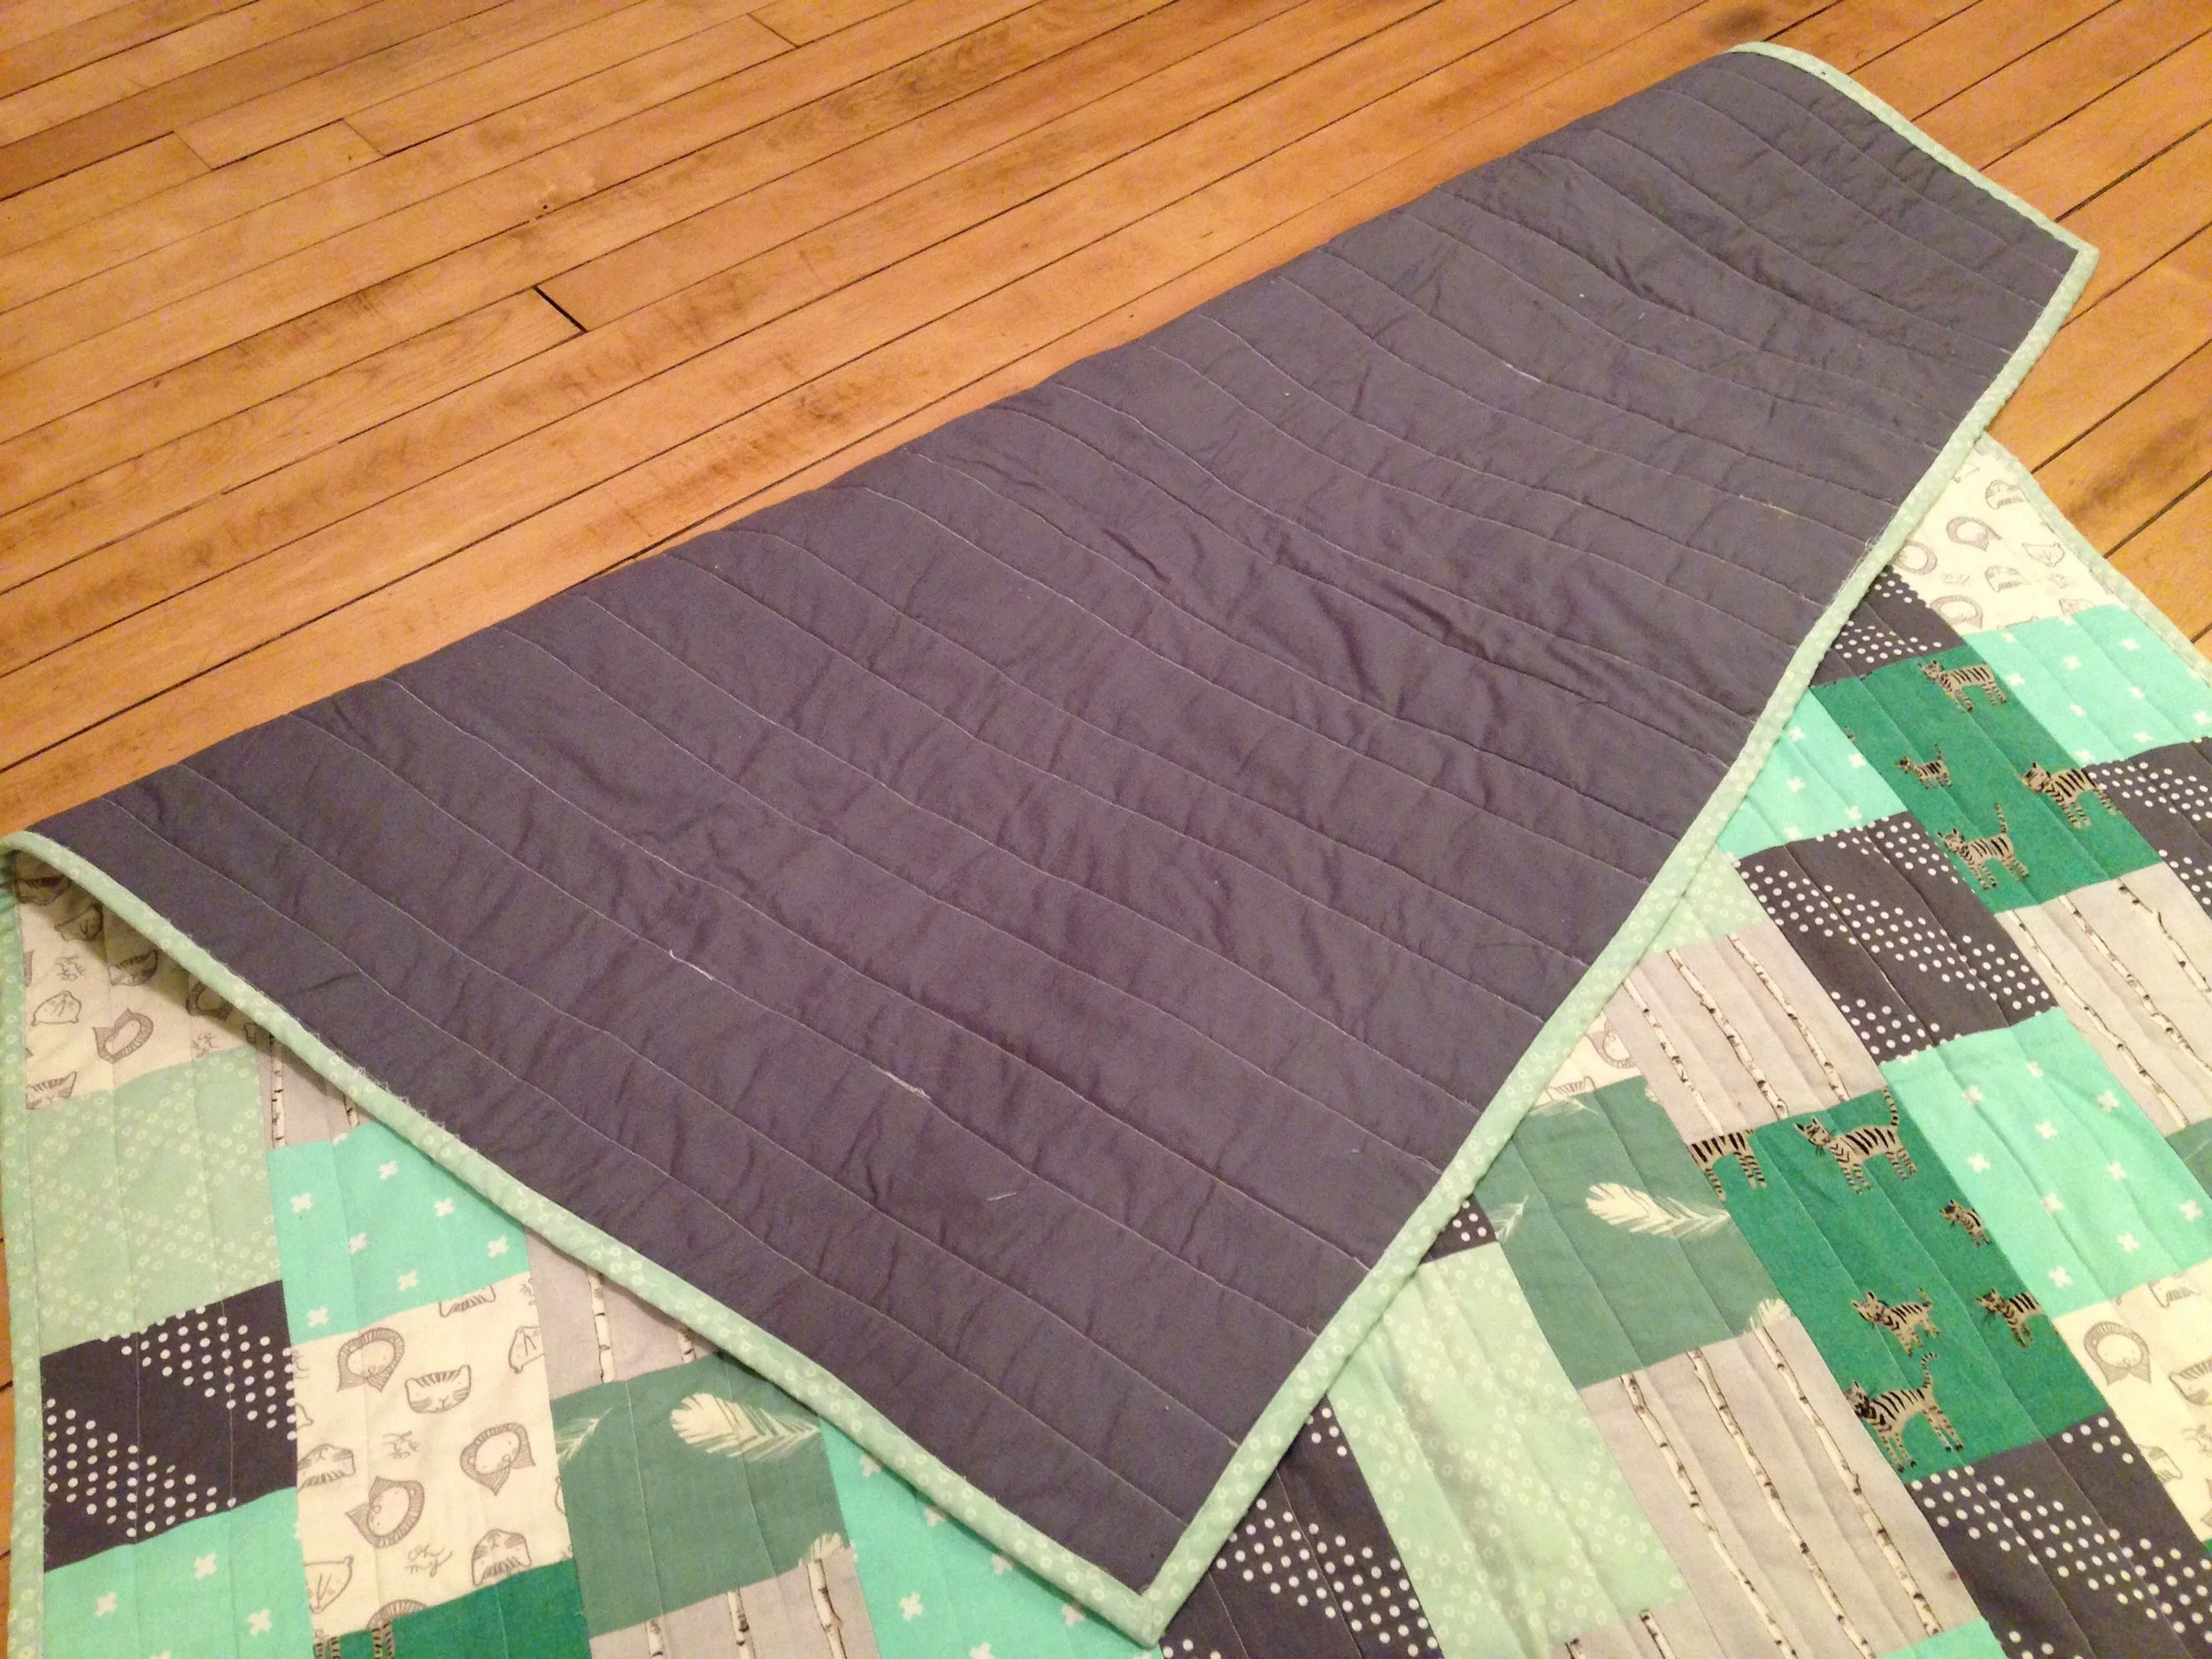
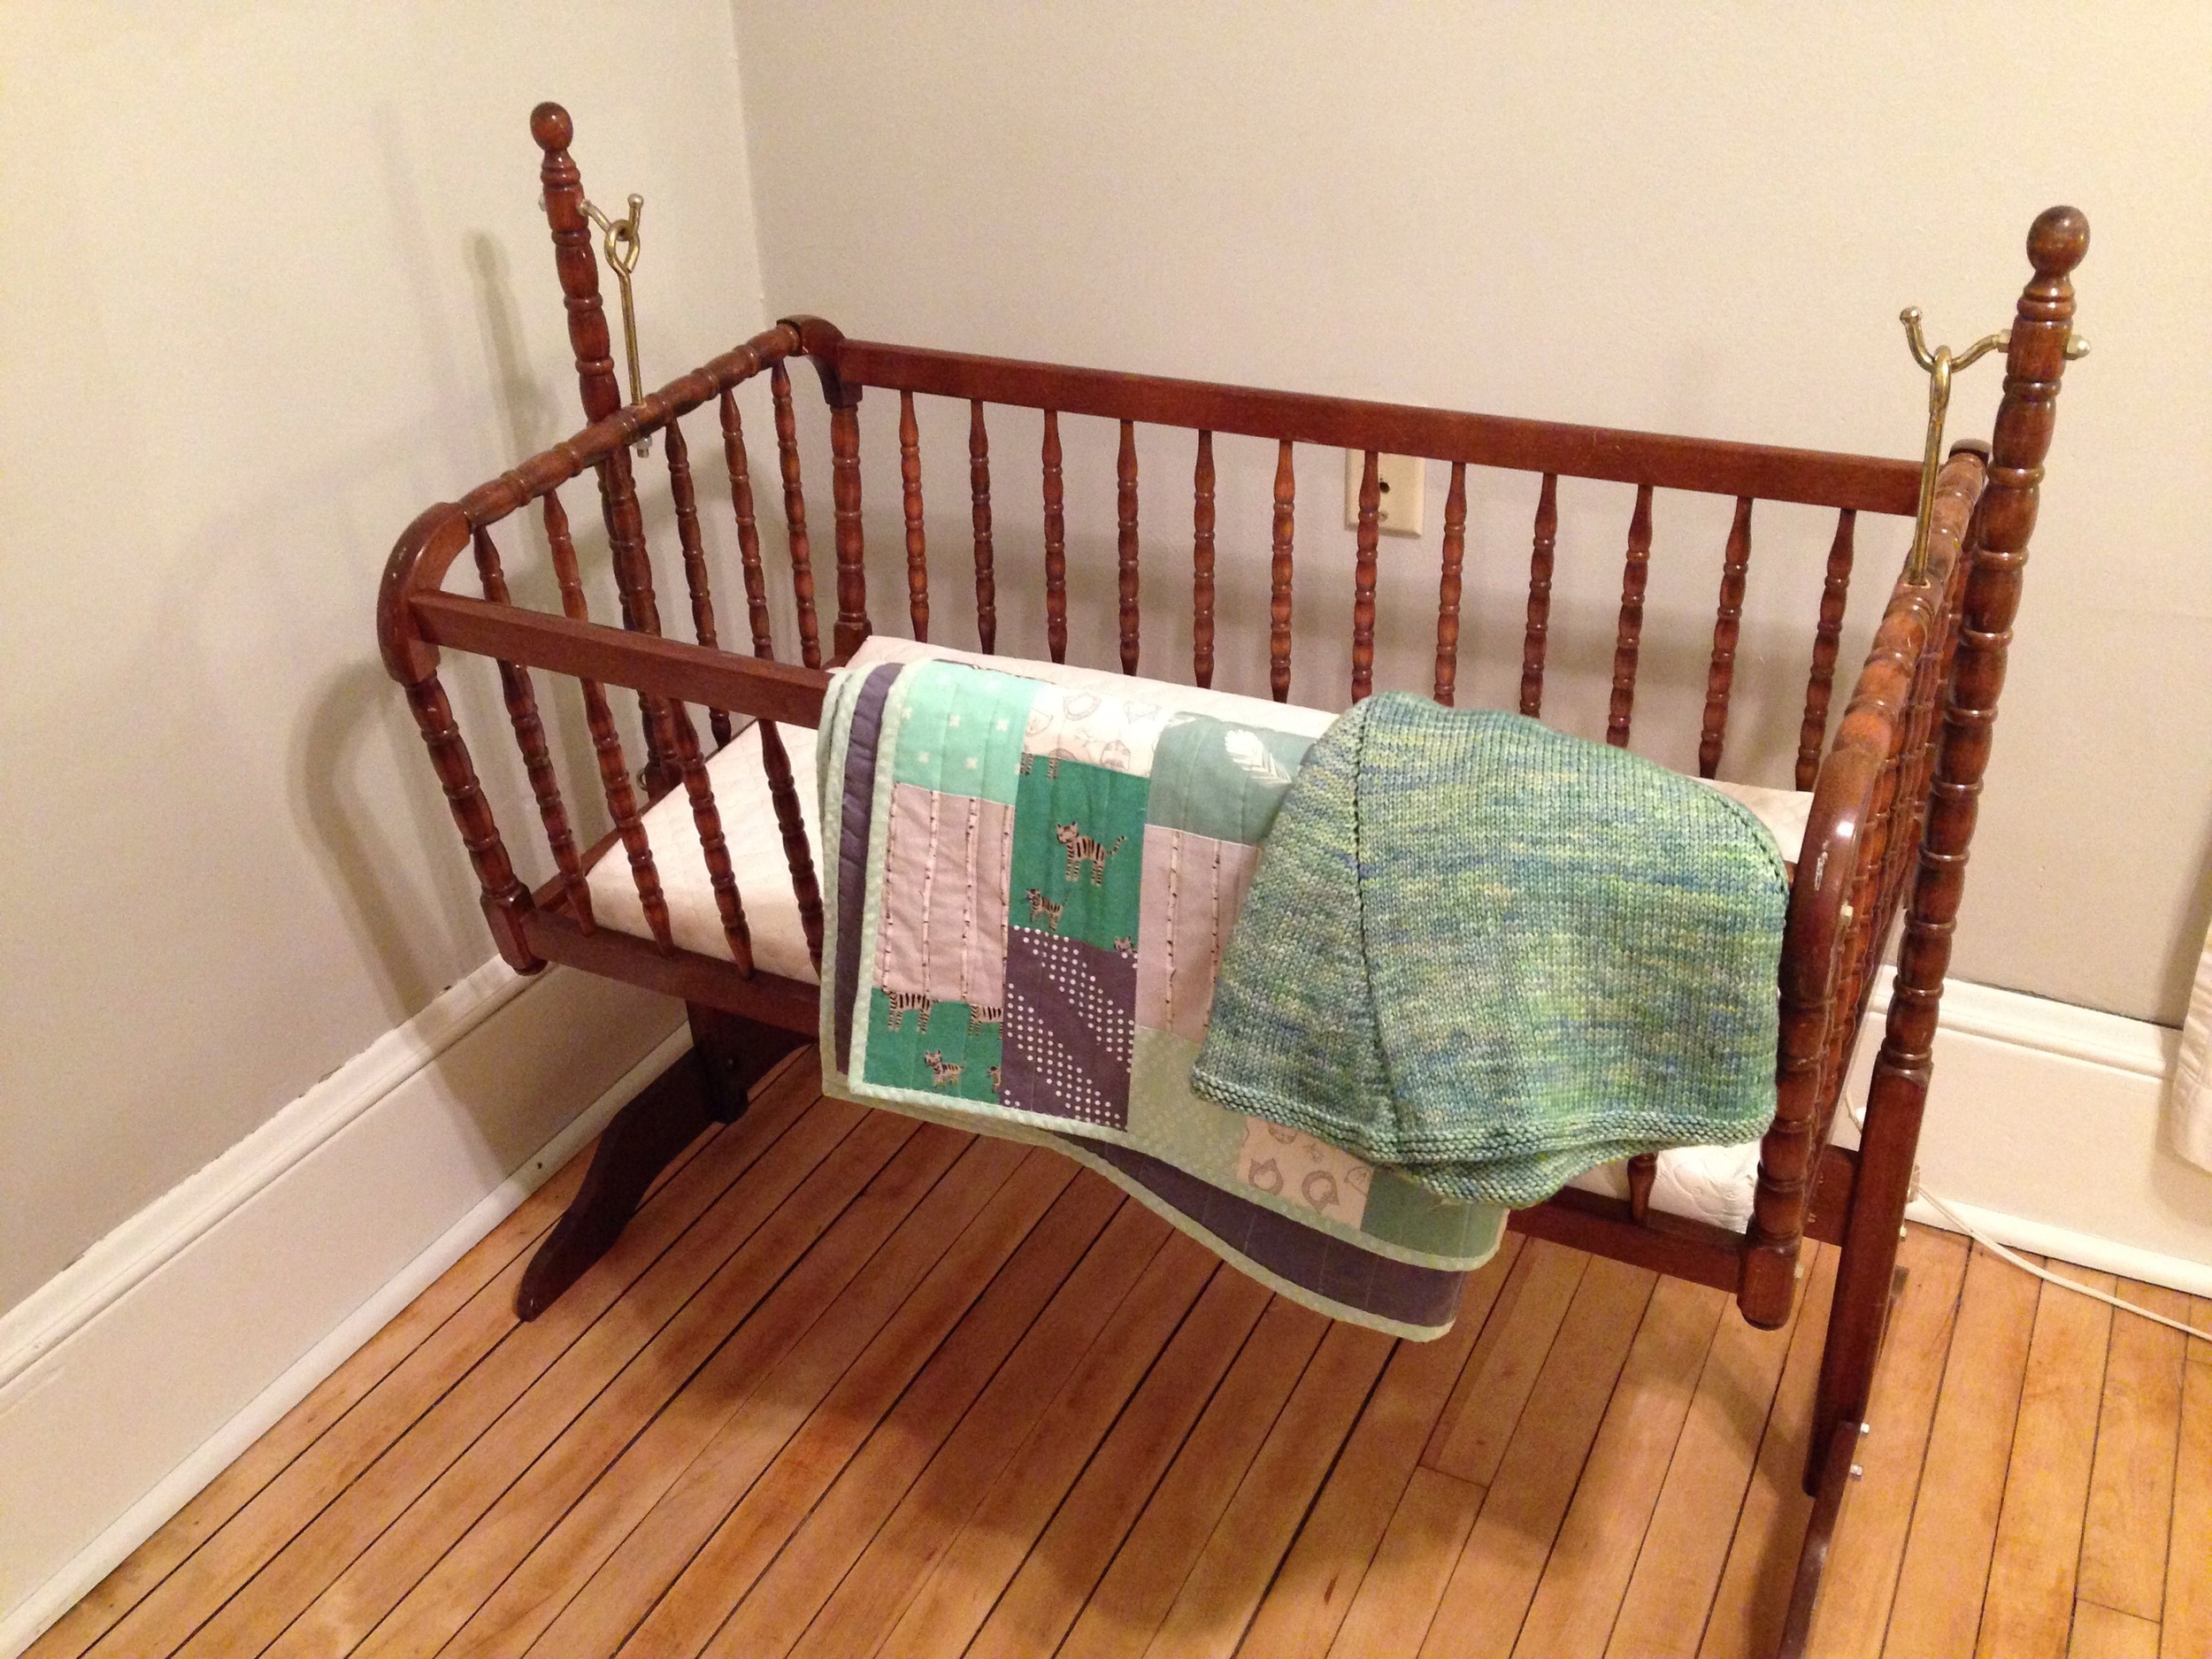
The finished project is a bit thinner than I expected, but overall, I love it! It will be so nice to have as Baby as starts spending time on the floor and eventually it will keep him/her warm in bed each night. Hooray for the growing collection of Mama-made things! Baby is not going to have a problem staying warm--in spite of our chilly house and the snow that will probably be falling outside when he/she arrives in just a few short weeks!