handmade christmas

The past few weeks have been filled with family celebrations, gift-making, gift-giving, and so much food!  And while this little blog of mine was on my mind off and on throughout the festivities, I decided it was time to take a little break from it and simply be immersed in the all of the wonderful things that were happening around me.  I hope you were able to do the same!  

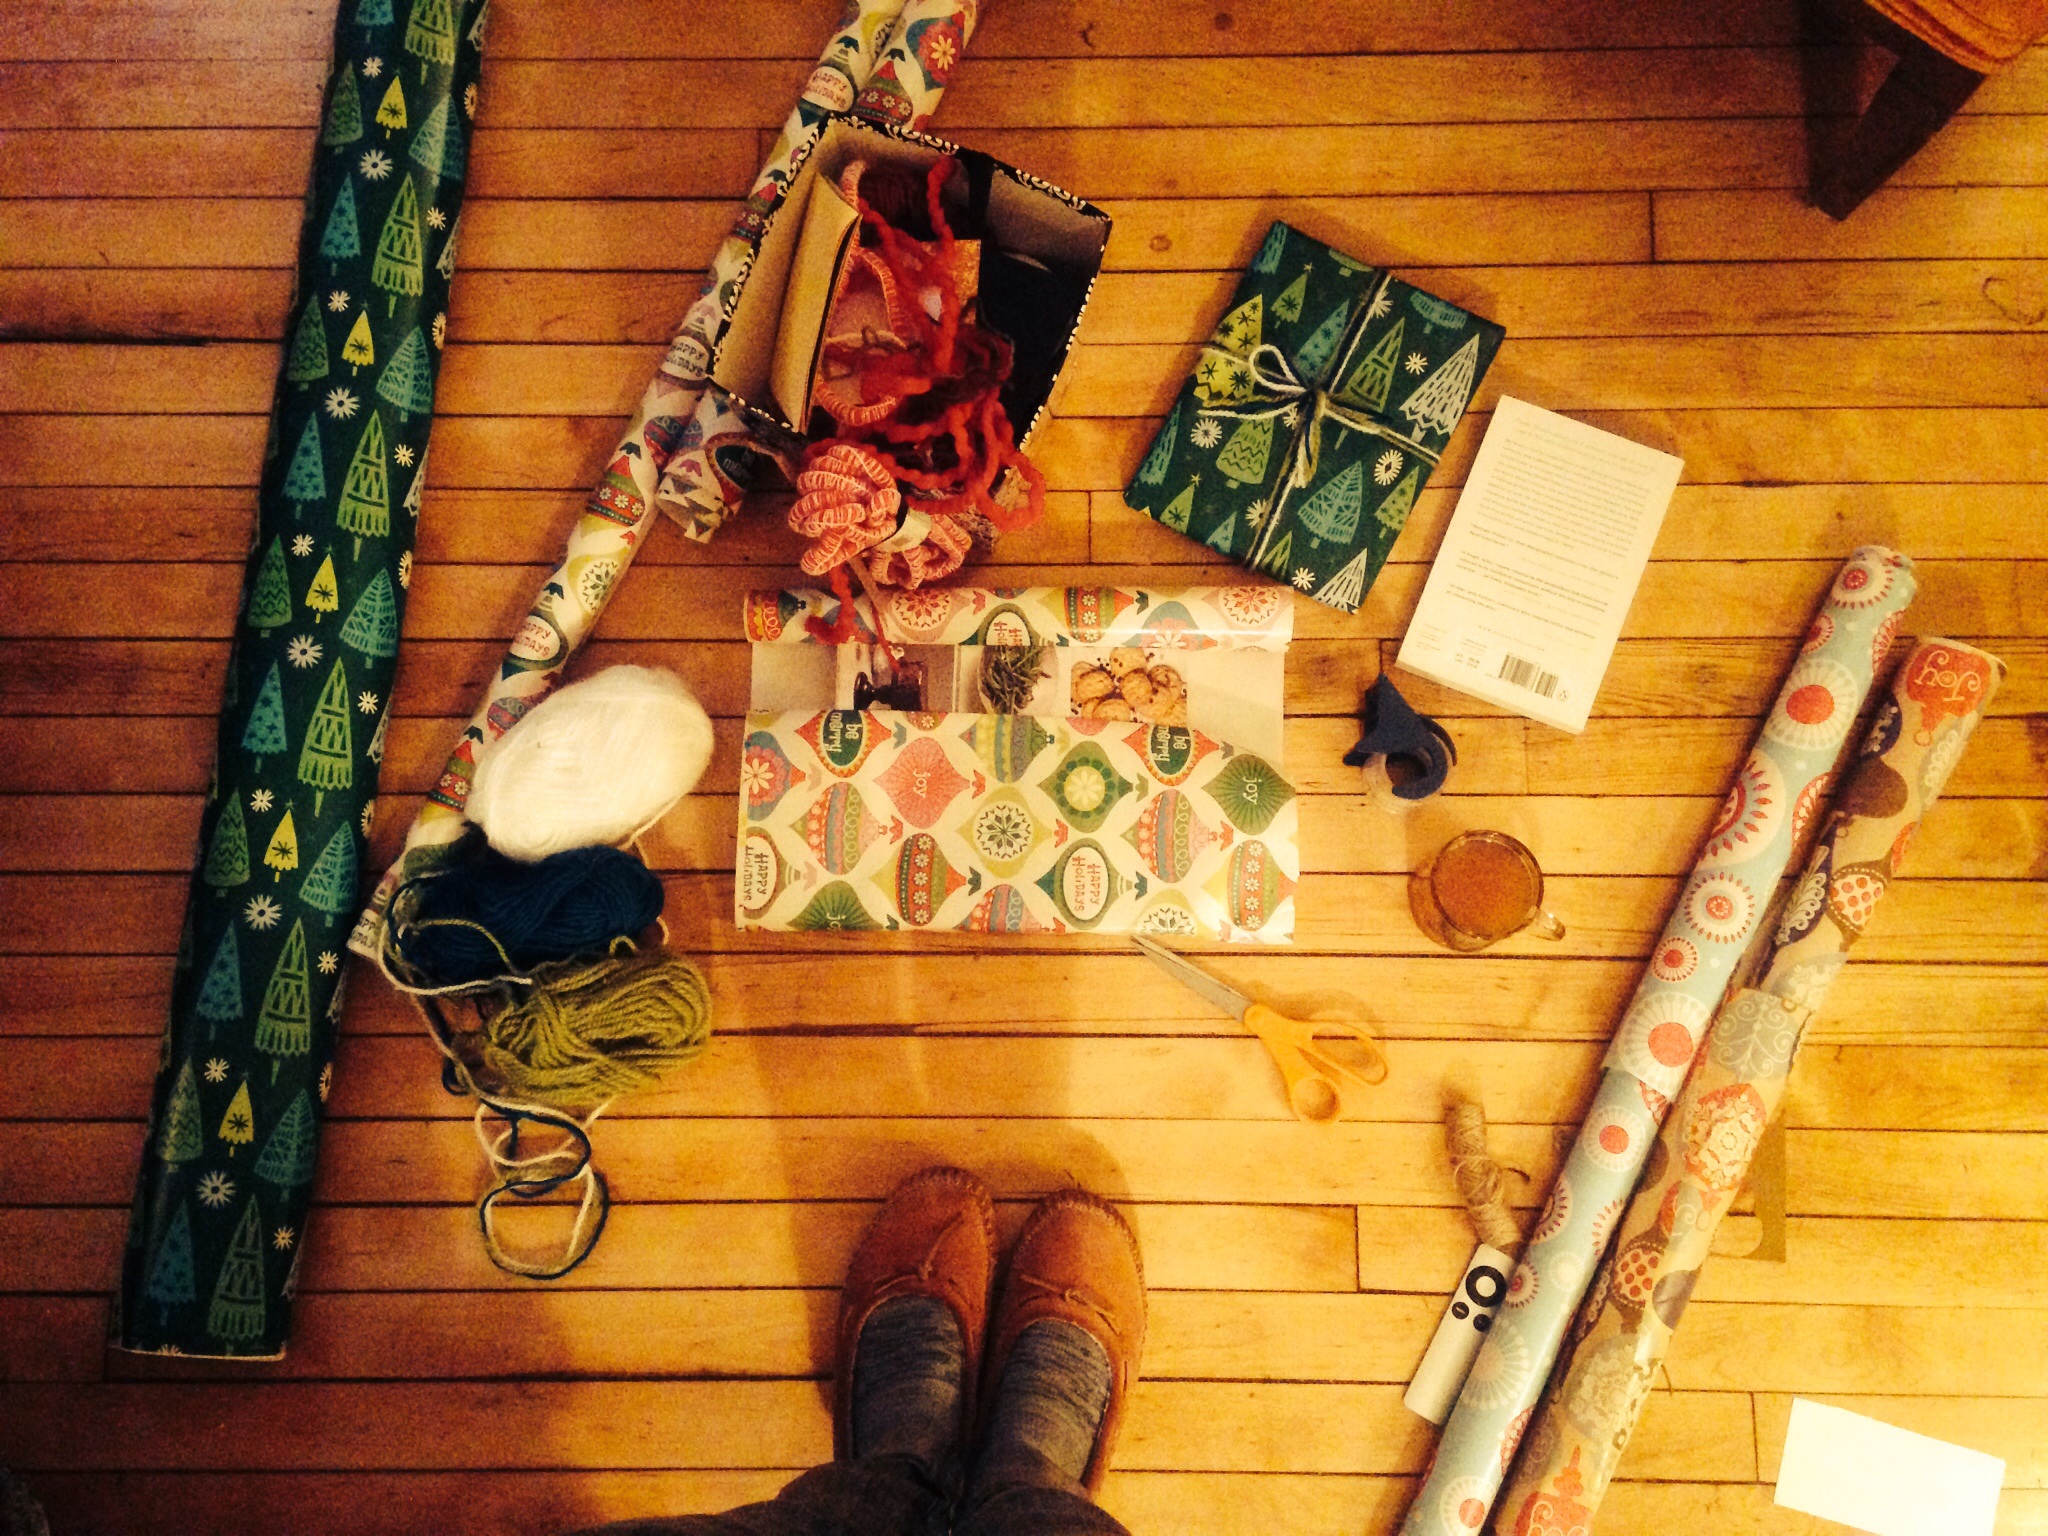
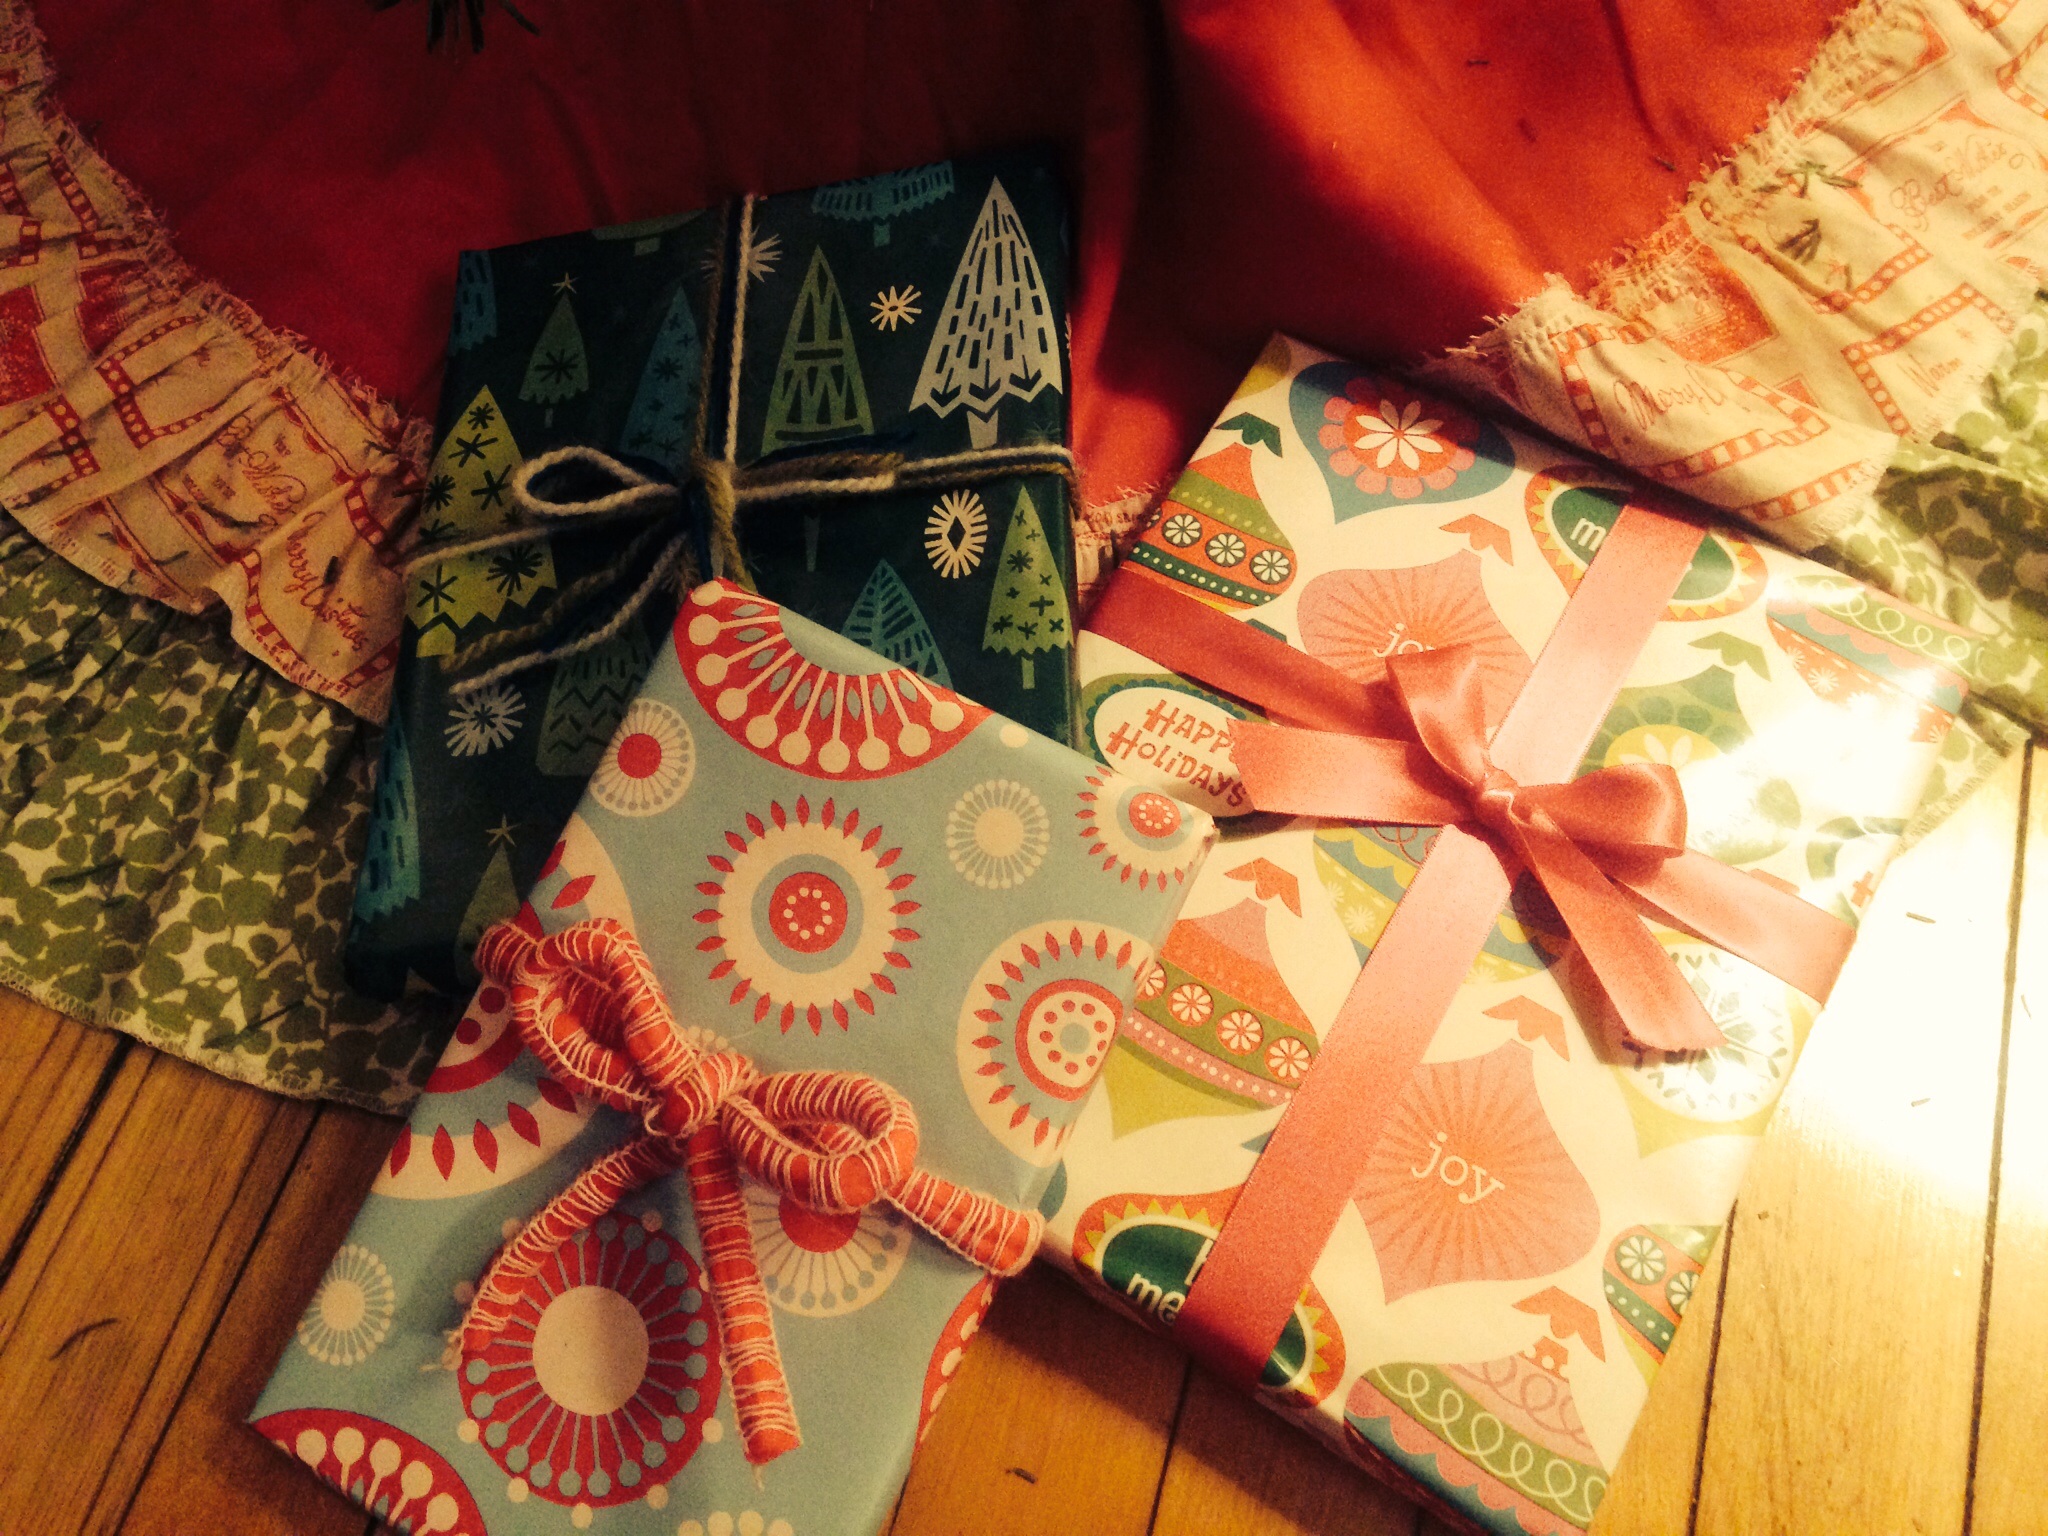
However, I thought it was about time to get back into the swing of things and share with you a bit of the handmade goodness that was gifted this Christmas.  There was less making this year than there usually is, with a late end to the school semester, choir concerts, and all things baby-related, but I was rather pleased with the few handmade things that did make it under the tree.  

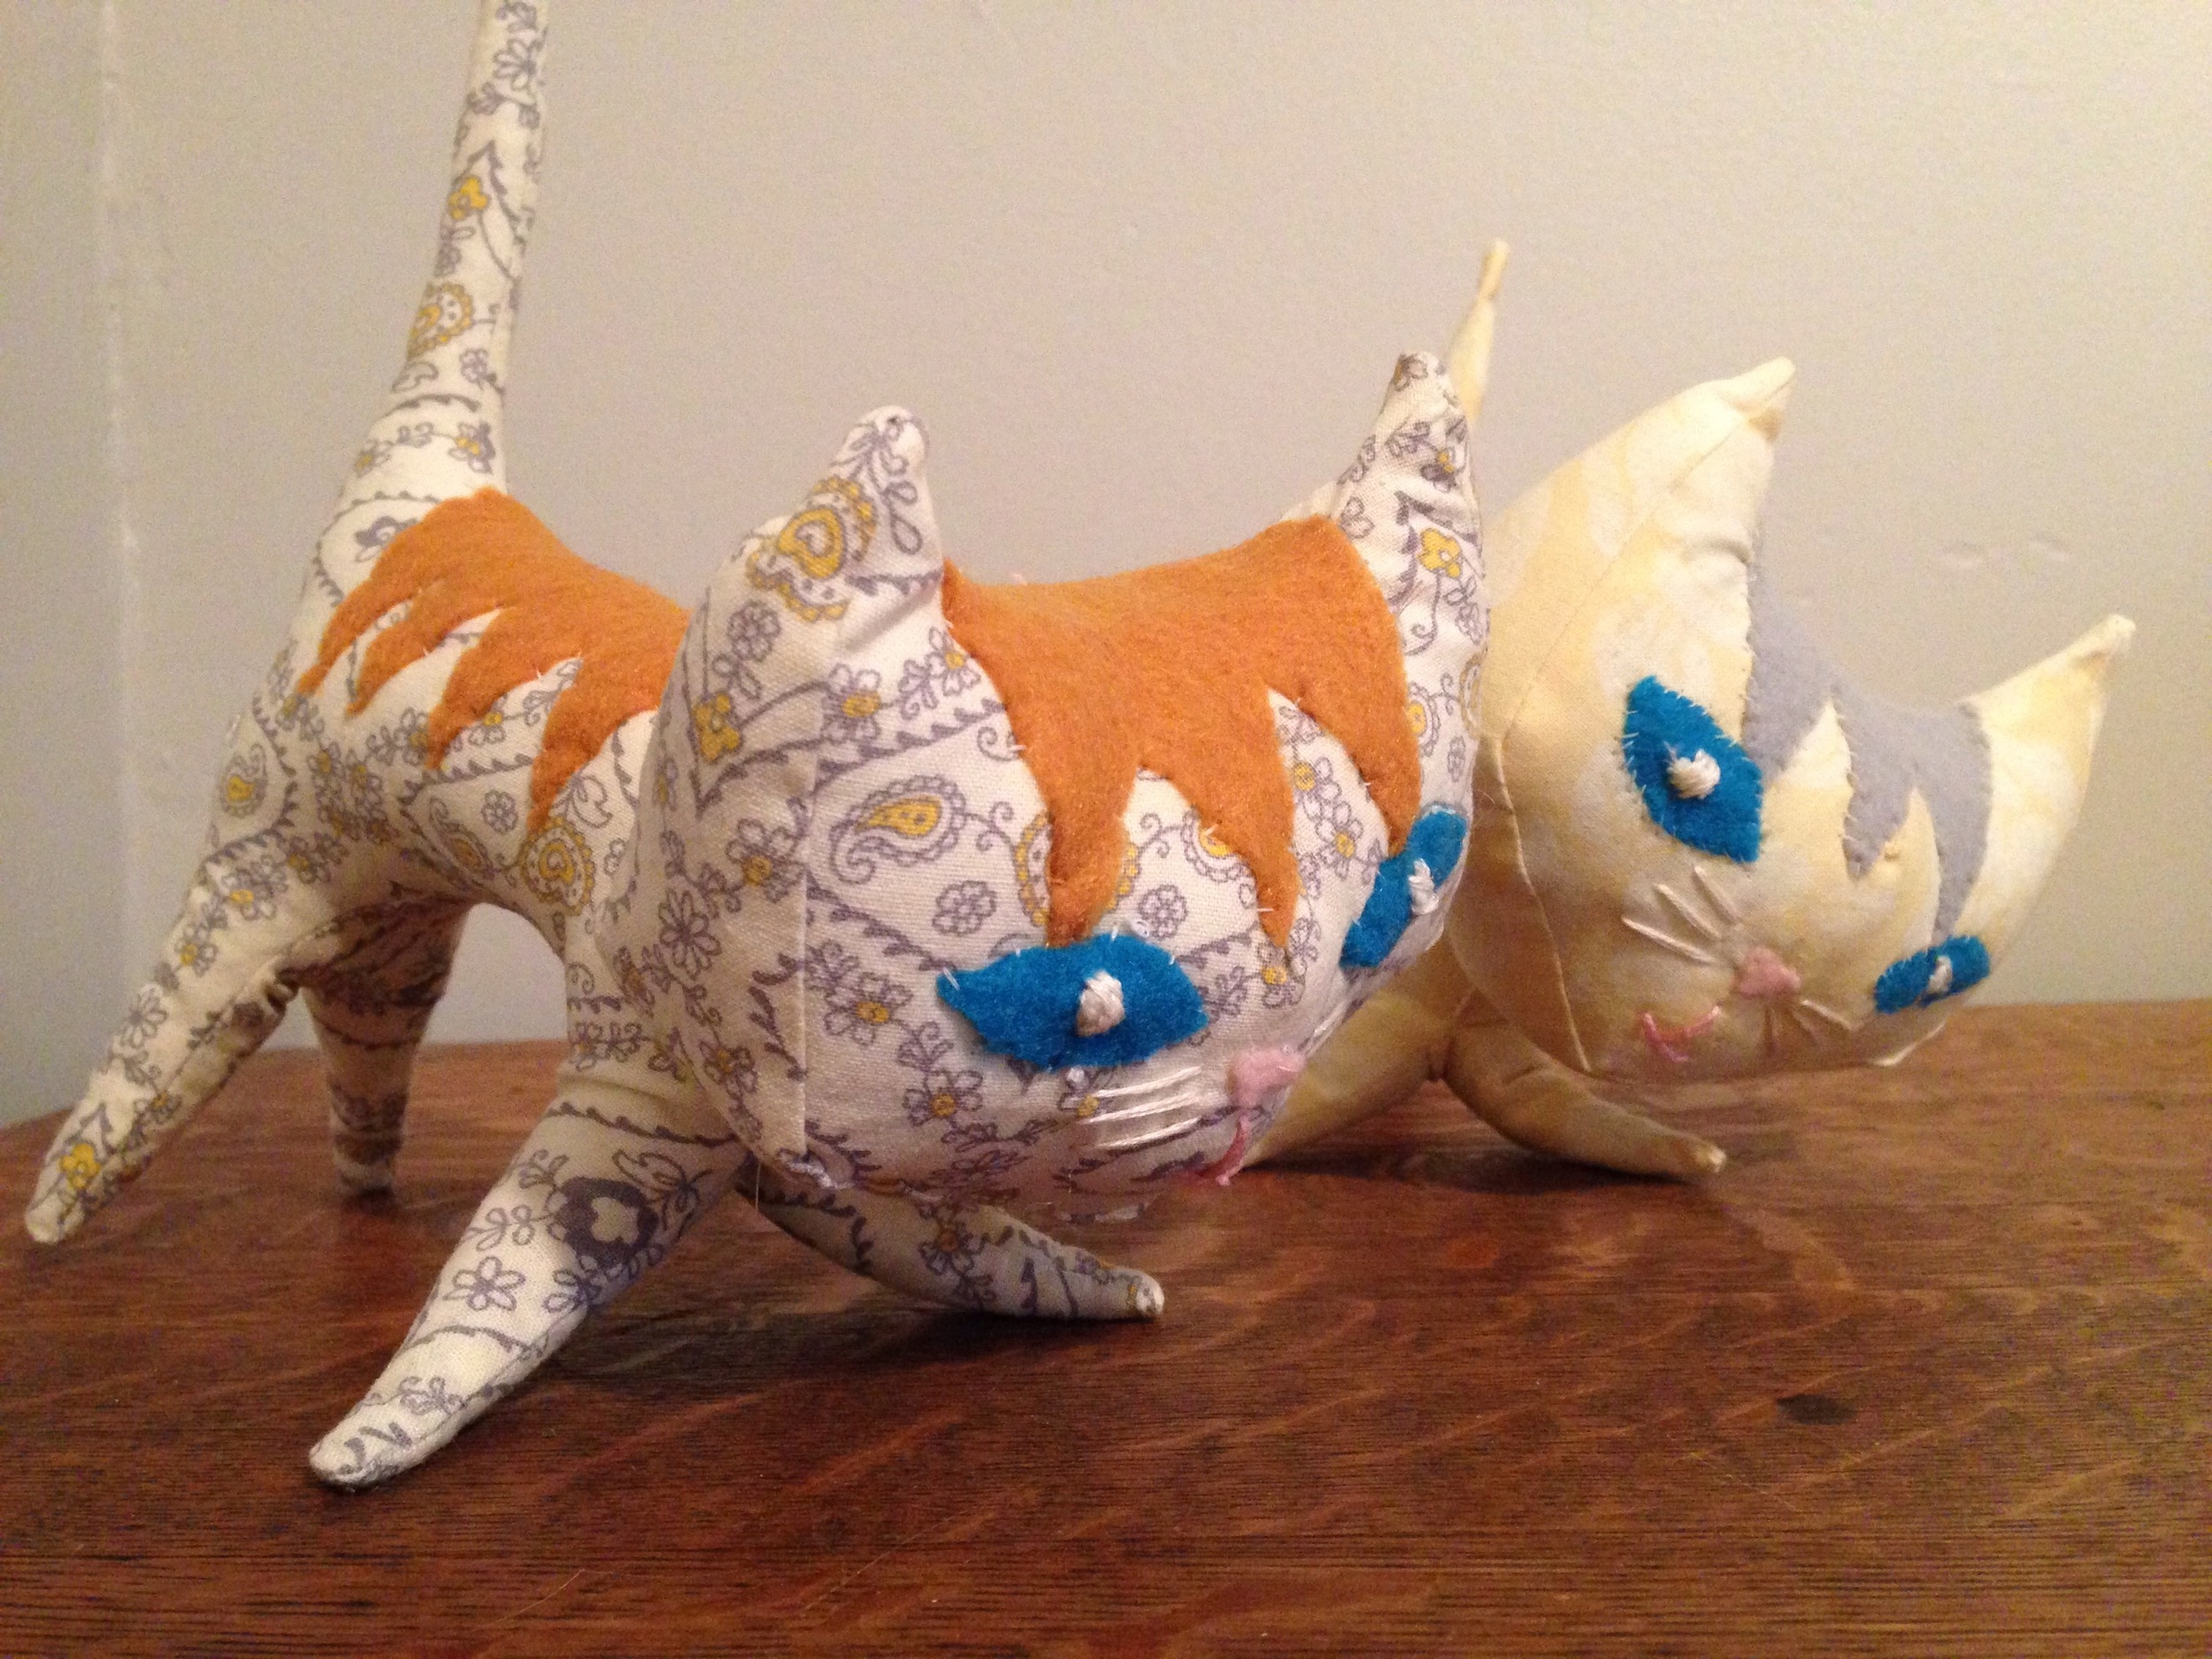
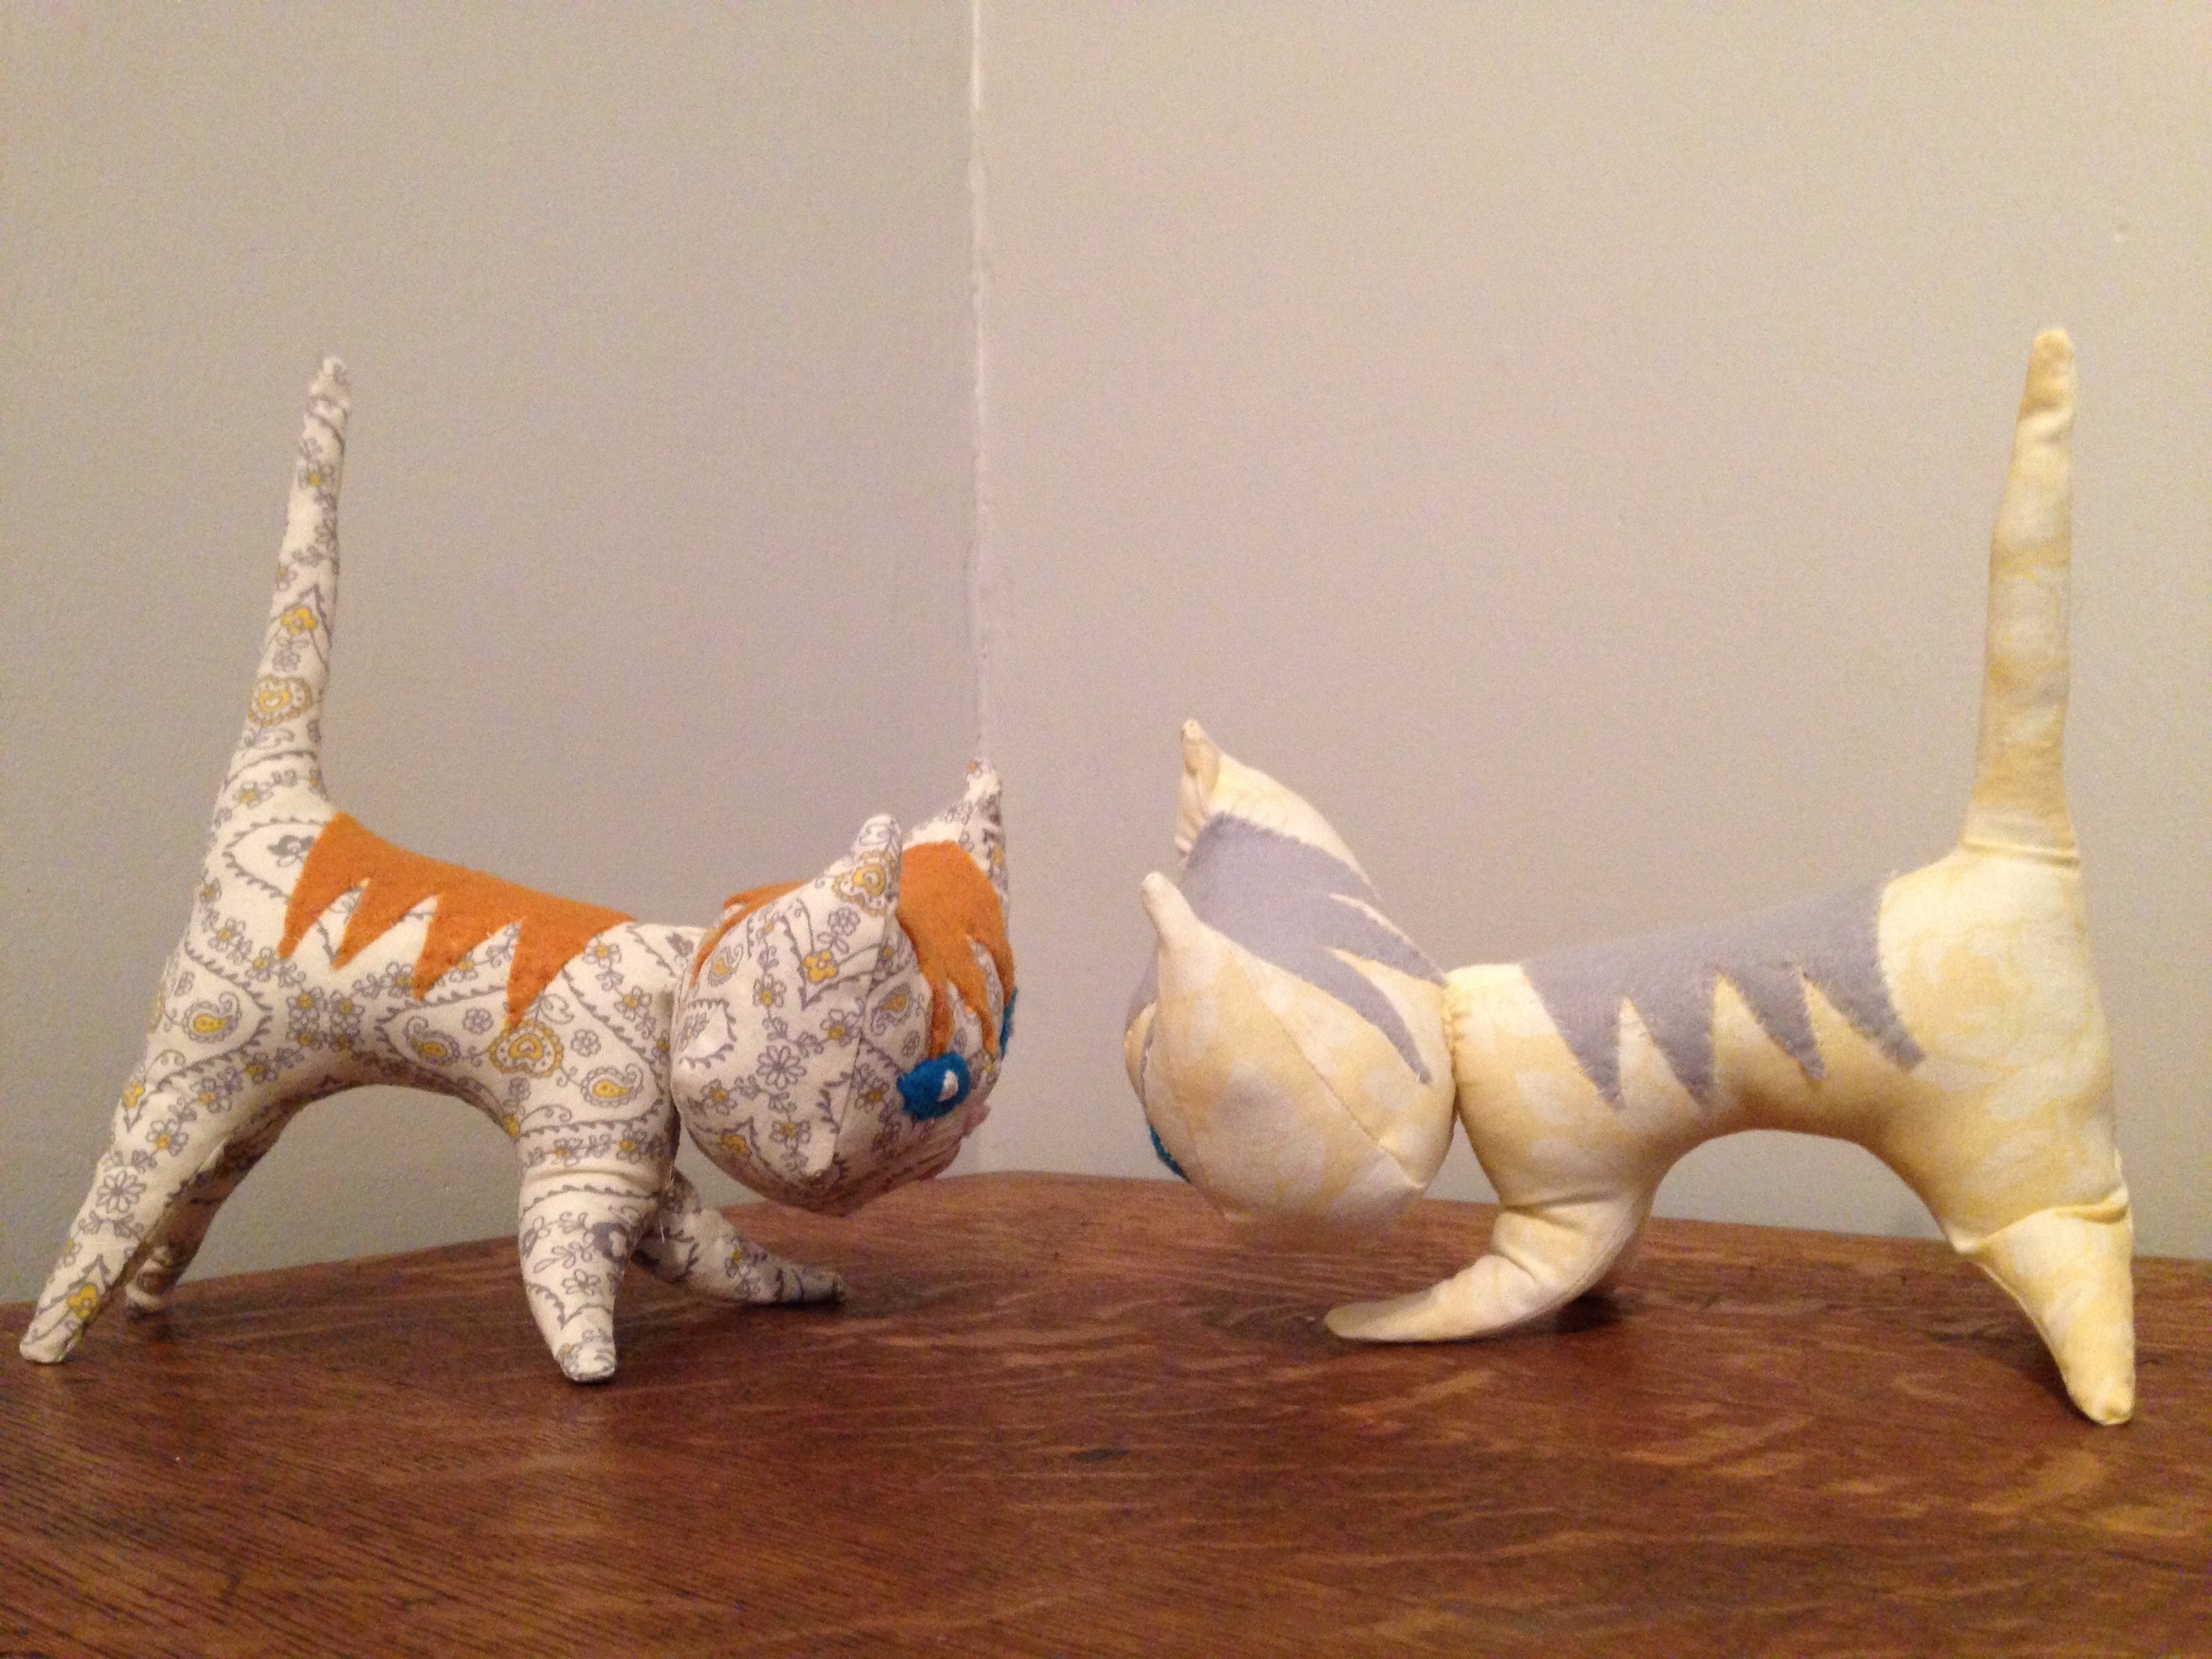
The first of the handmade gifts was for our two 1.5 year old nieces.  For each of them I made a Pointy Kitty (pattern by WeeWonderfuls).  The girls were delighted with their kitties and both proceeded to cuddle and kiss them, and make everyone else do the same.  I do love handmade gifts that get that kind of reception! 

image.jpg
image.jpg
image.jpg

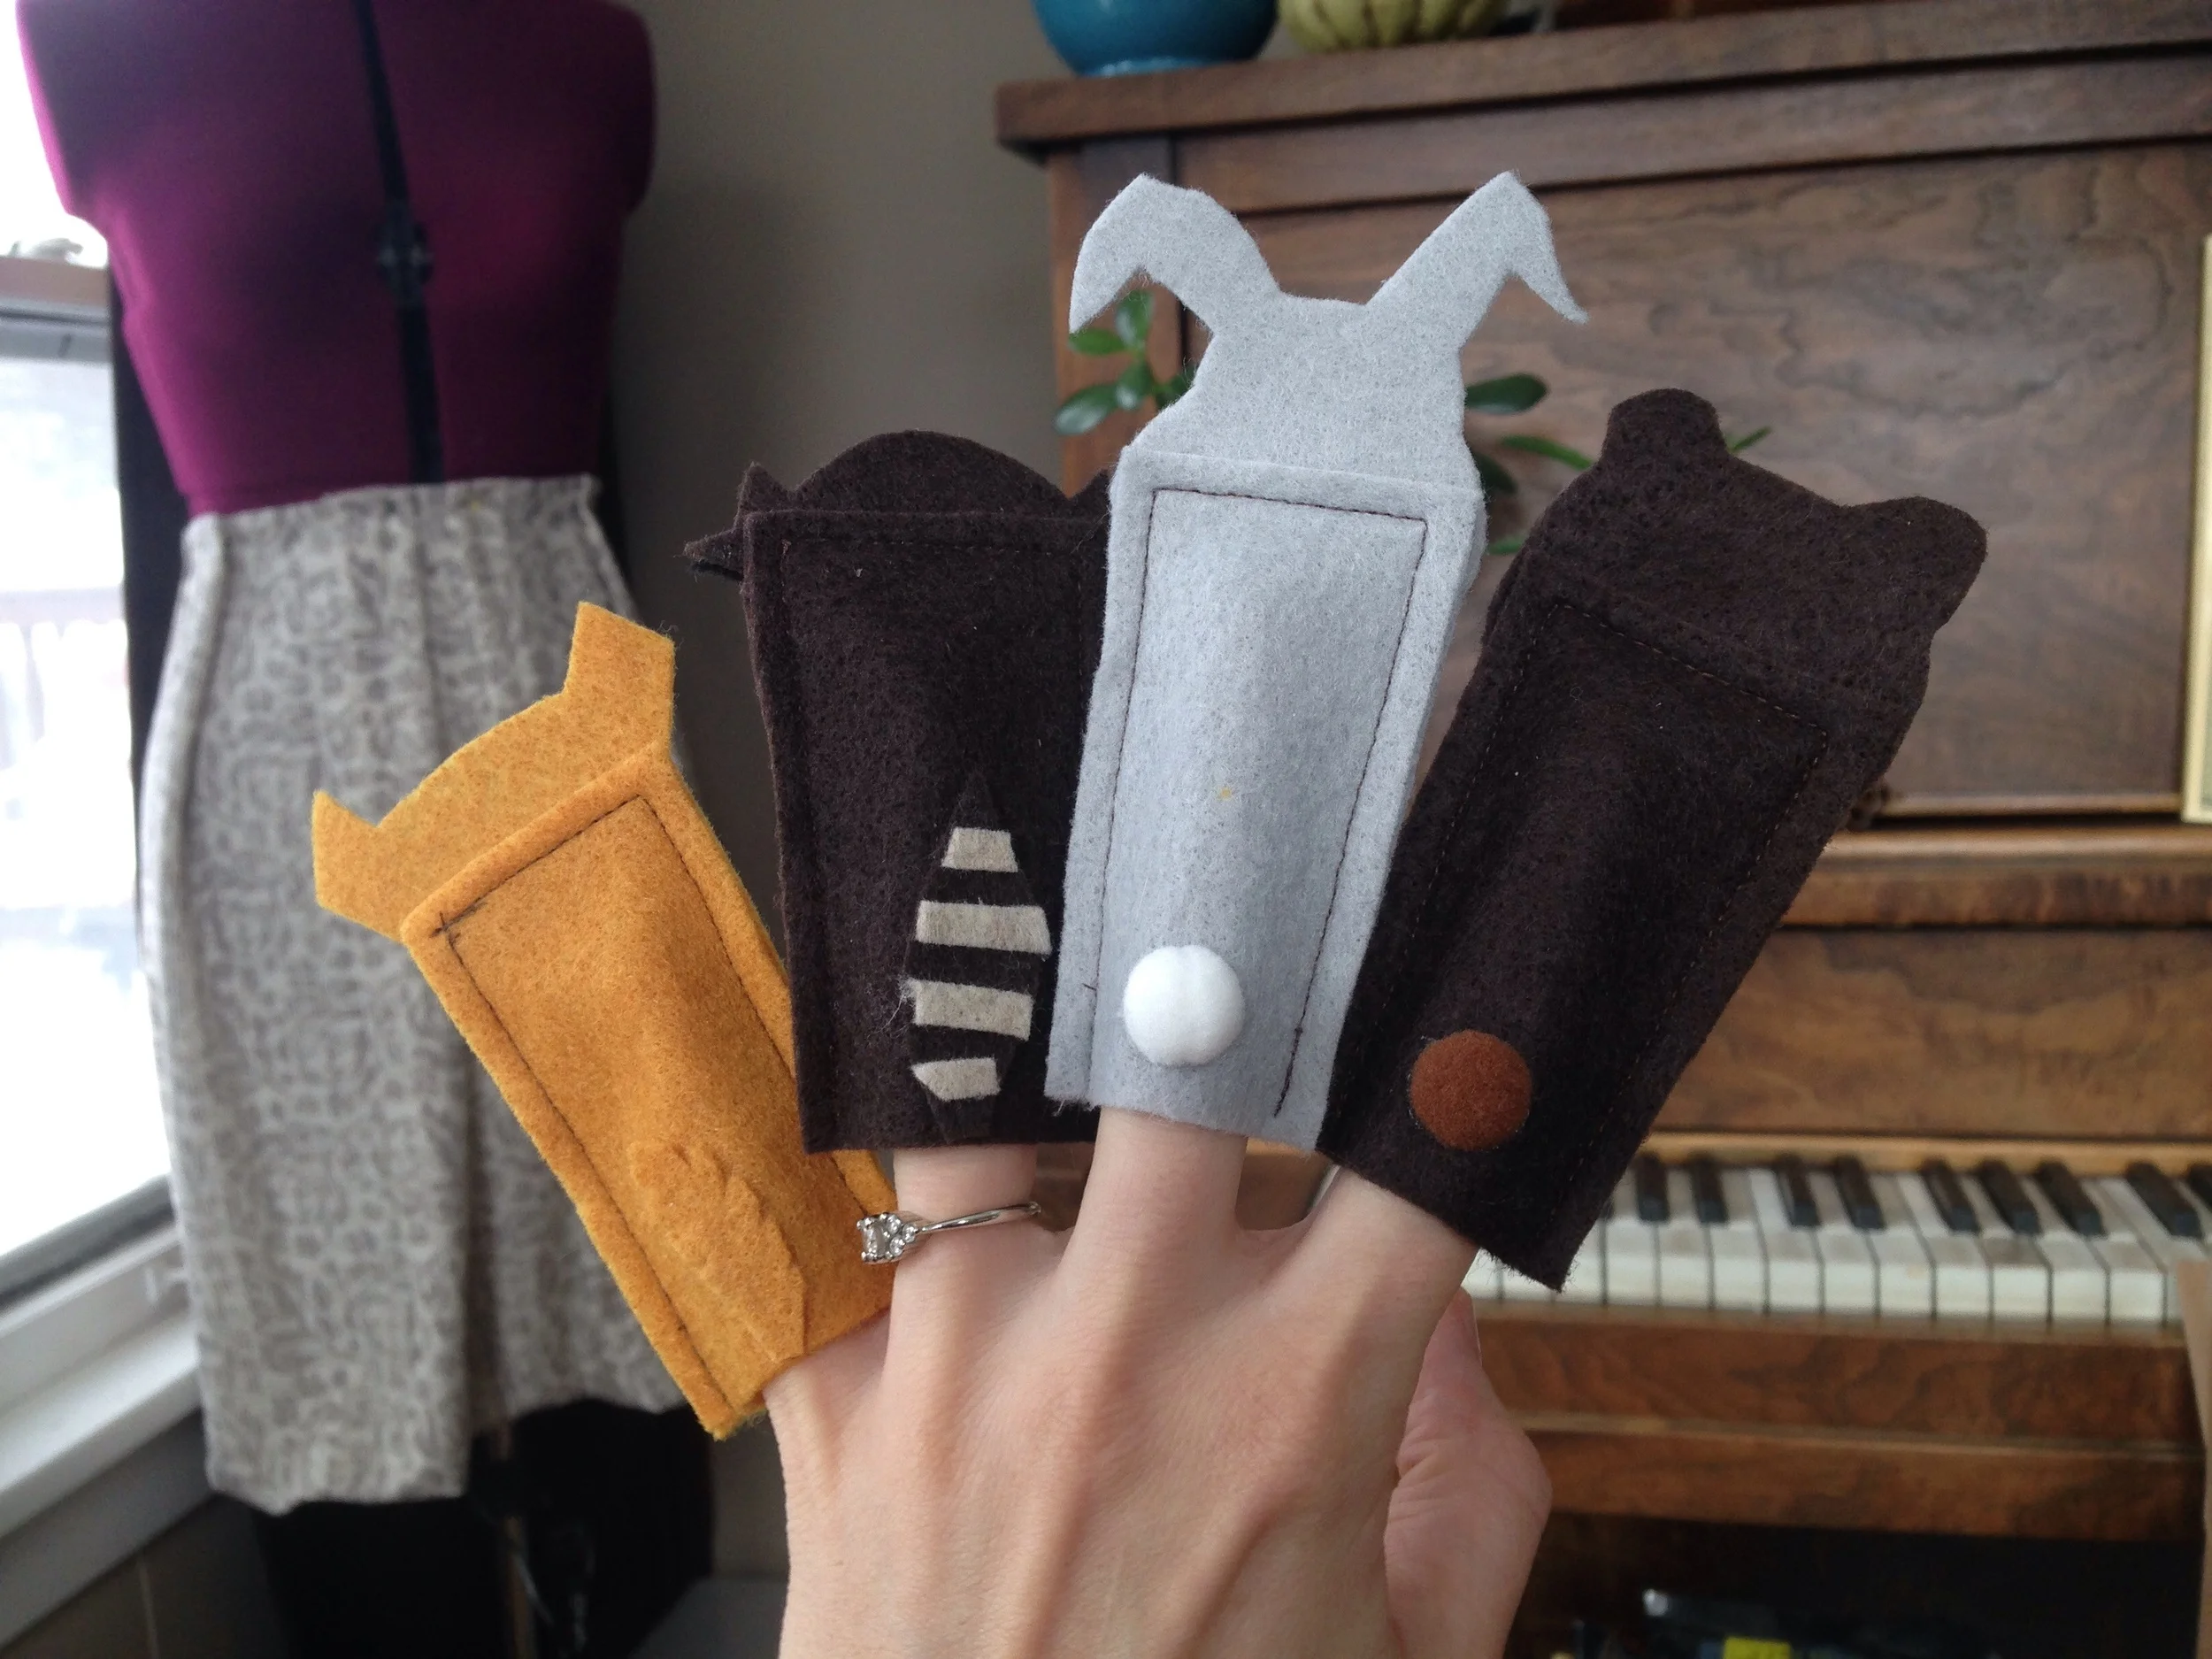
For our little nephews, I made them each a set of woodland creature finger puppets (an original creation by yours truly).  I love creative play toys!  While they often get quickly tossed aside for flashier, more recognizable toys in the excitement of gift opening, the little ones tend to come back to the creative play toys later in the day and get lost in their own little worlds creating characters, voices, and stories all on their own.  The spontaneous puppet shows that I saw throughout Christmas Eve and Christmas Day were delightful.  

image.jpg
image.jpg

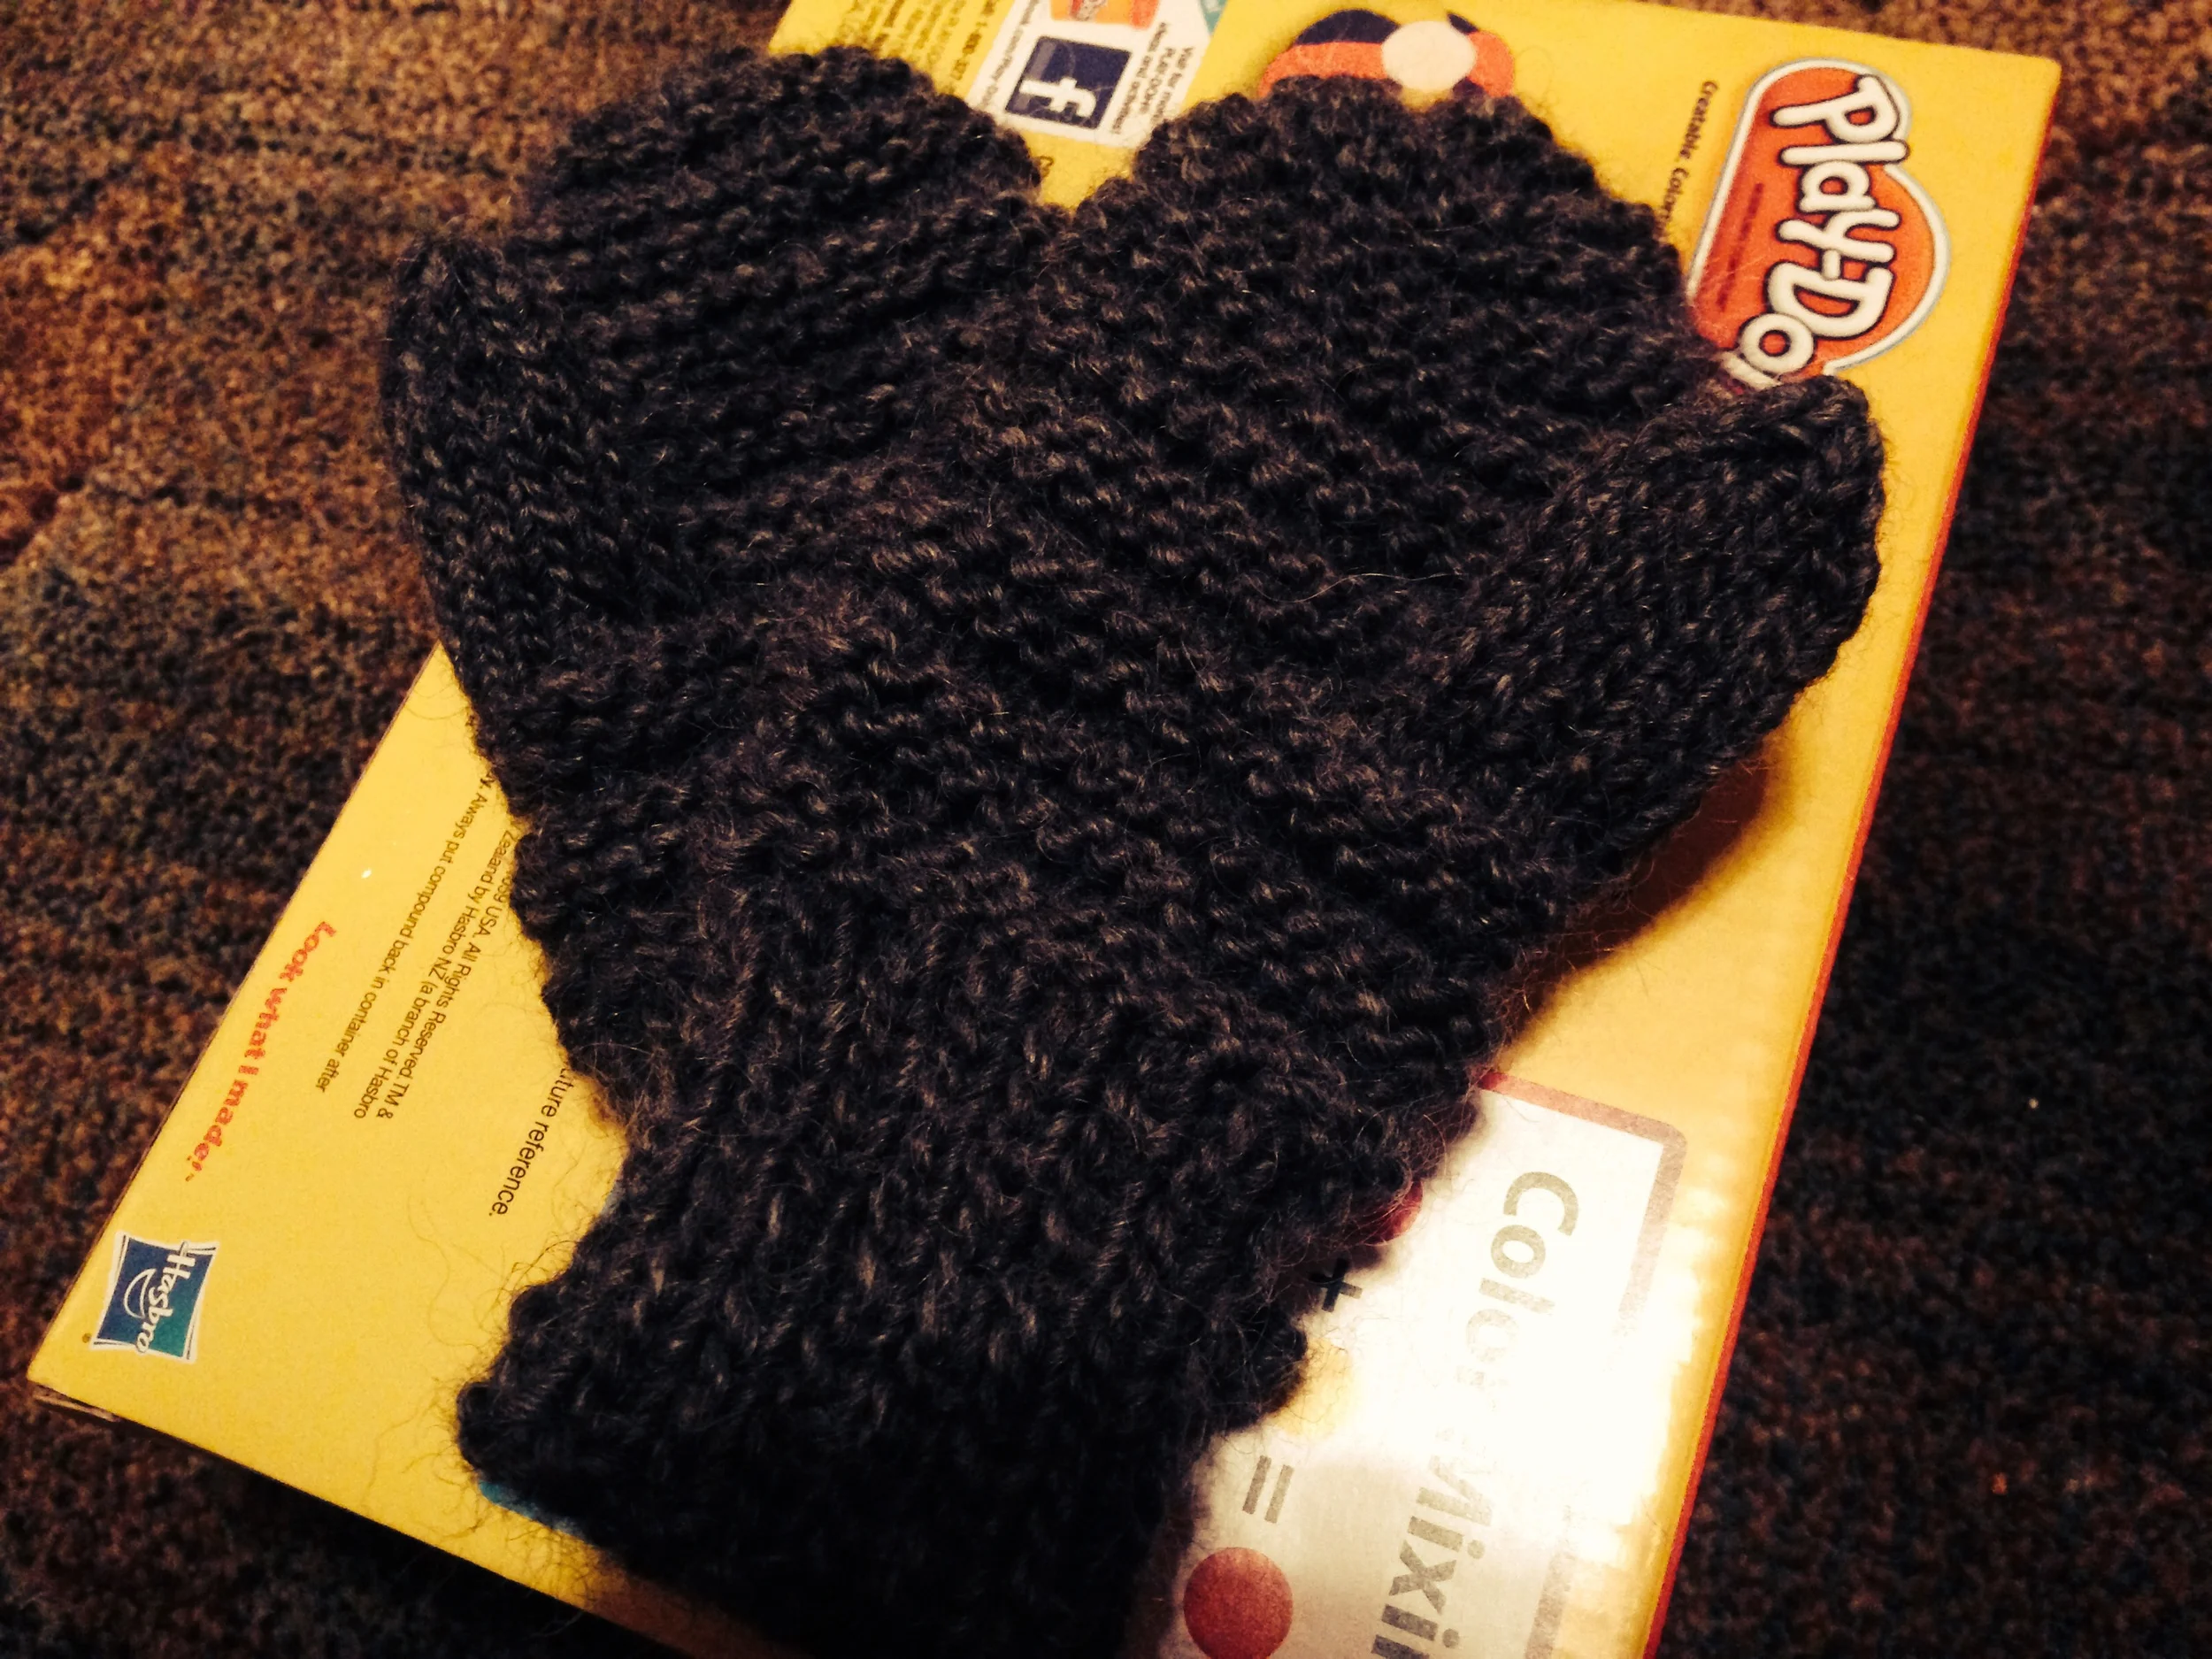
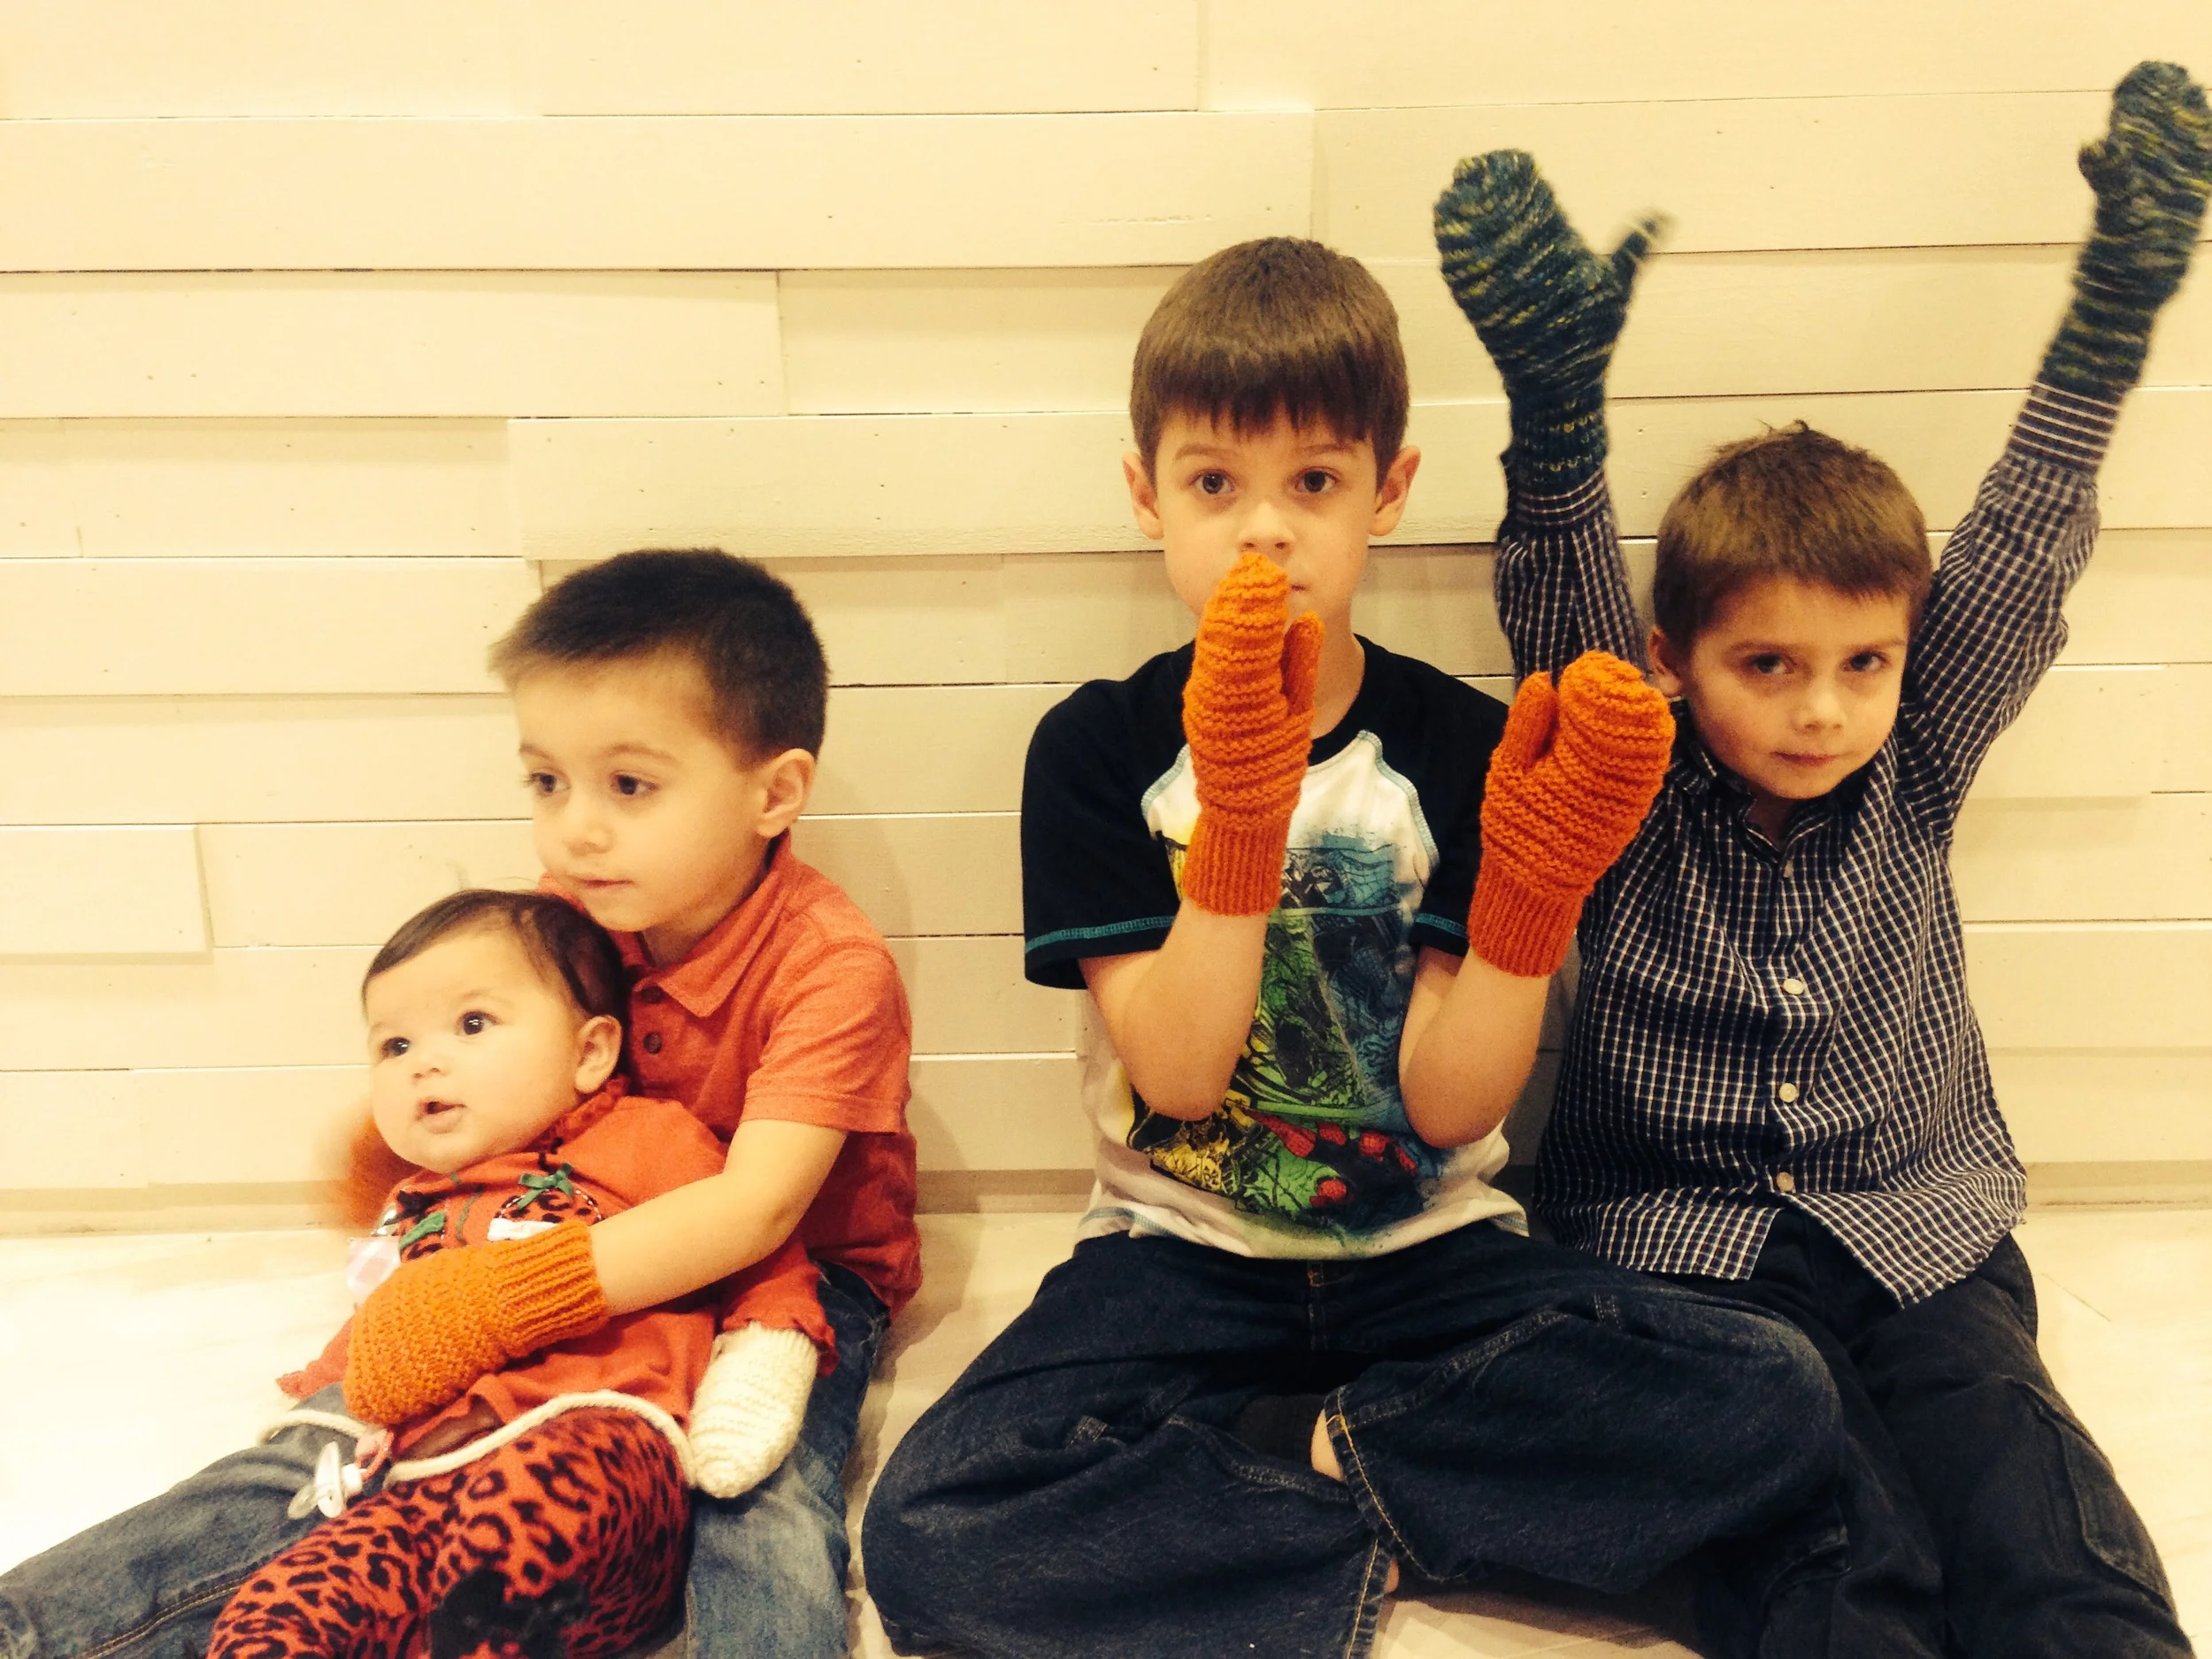
There were also a few knitted gifts finished moments before gatherings and given before pictures could be taken, but what would Christmas be if it didn't include last minute handknits!?  This year's knits included A Very Gifted Cowl and a pair of socks.  

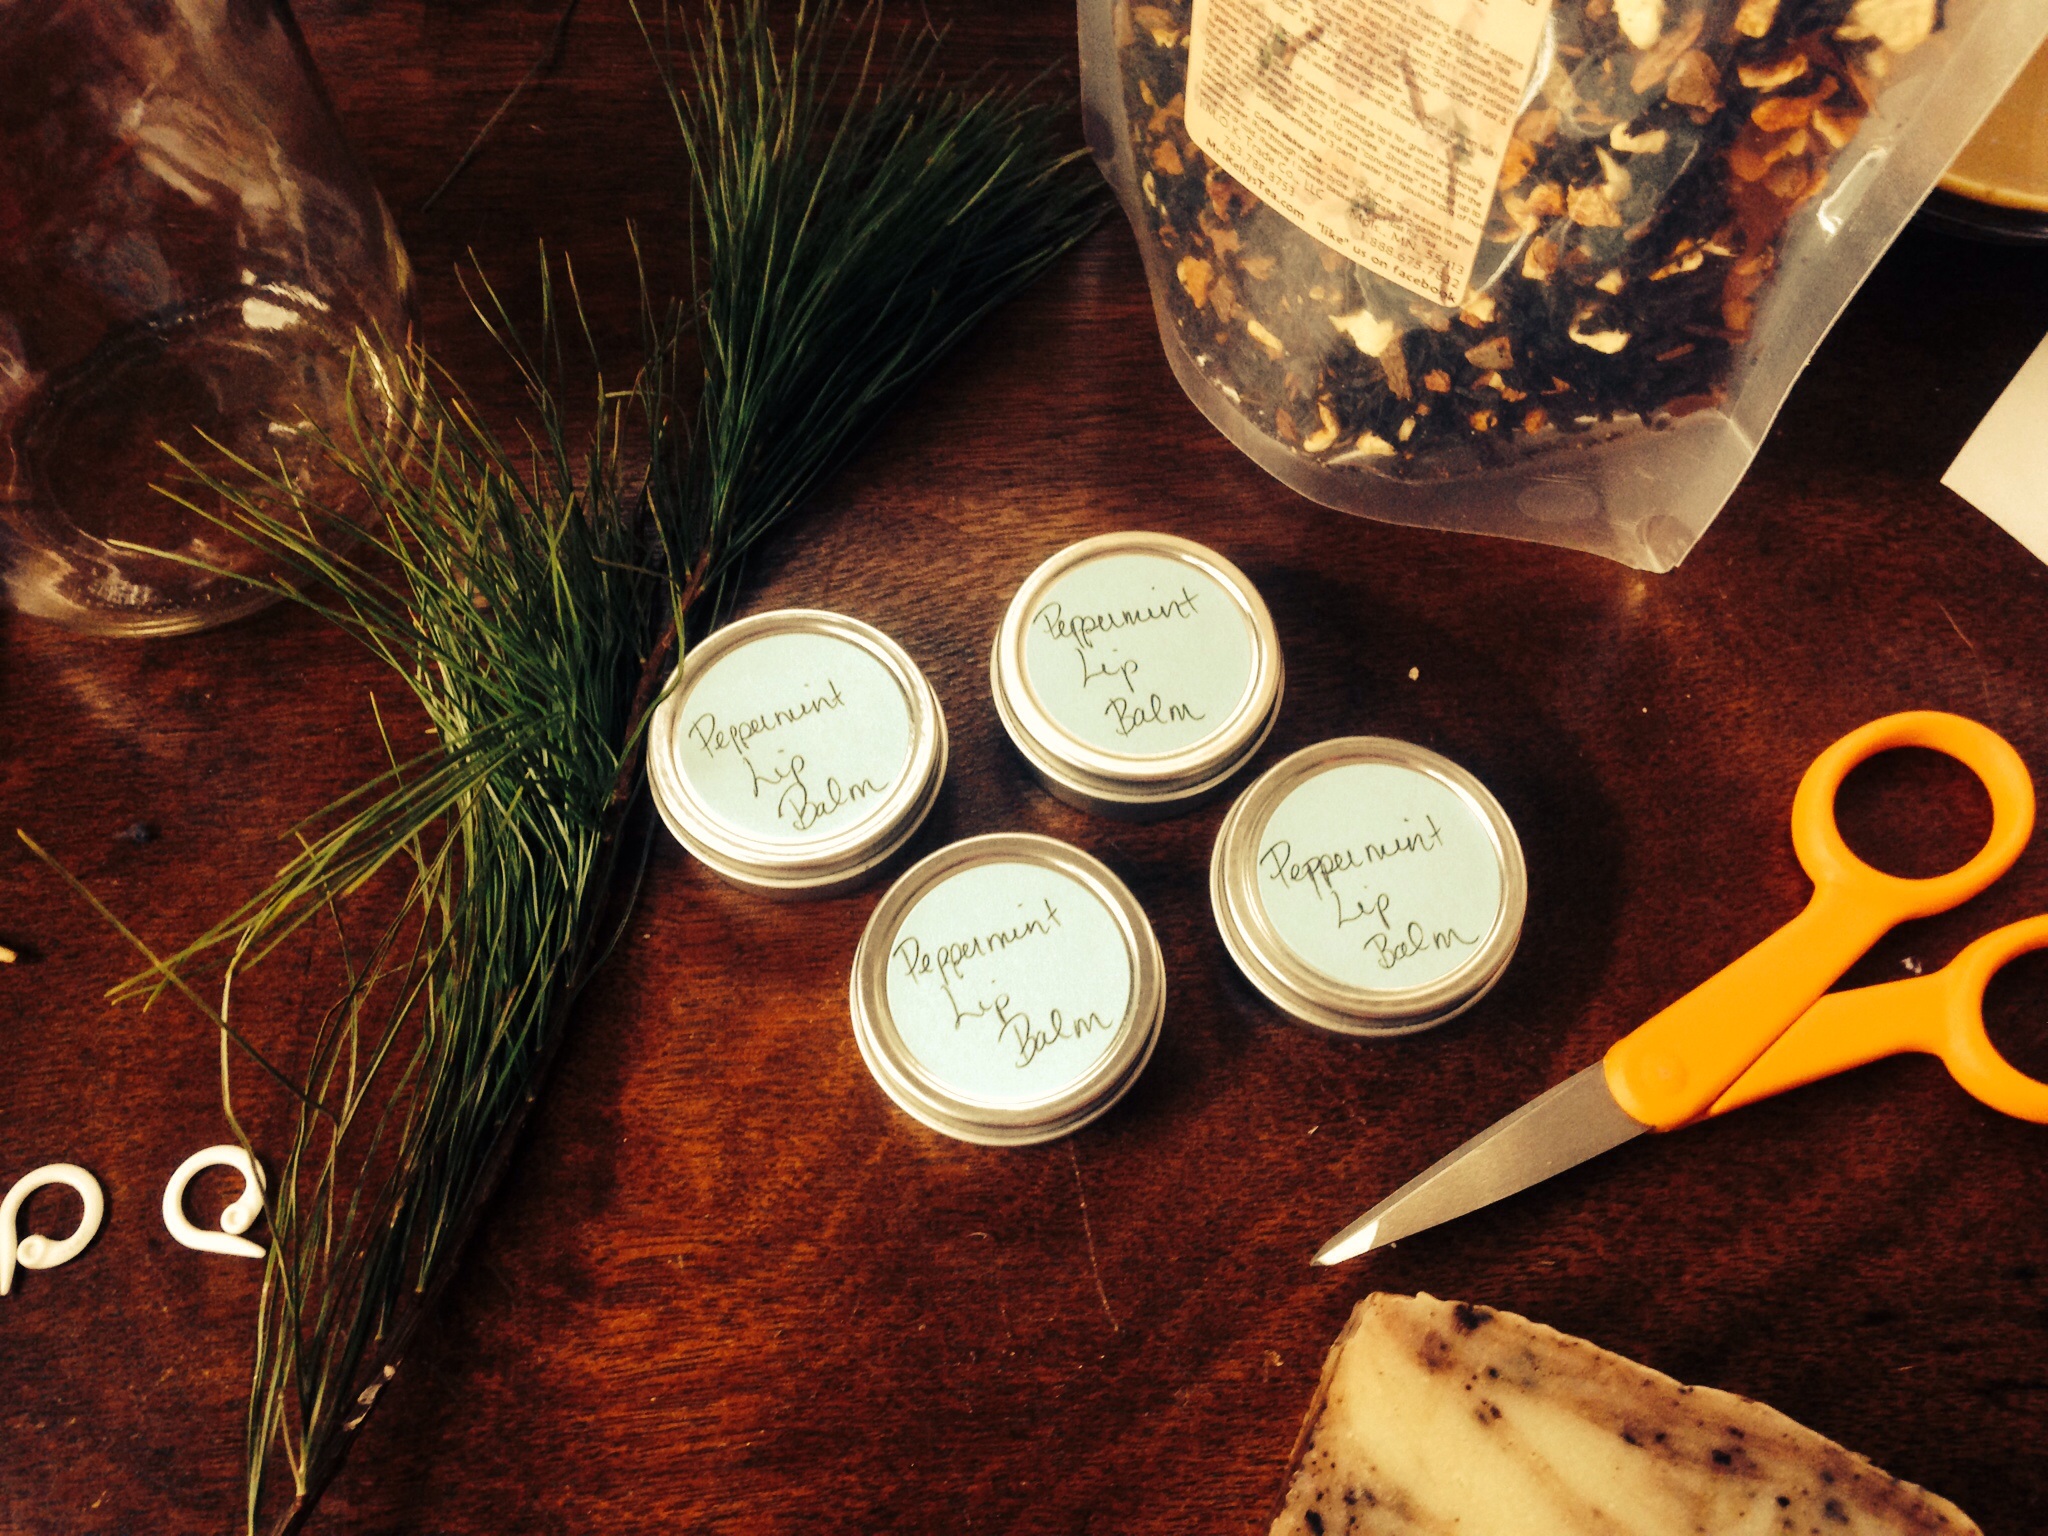
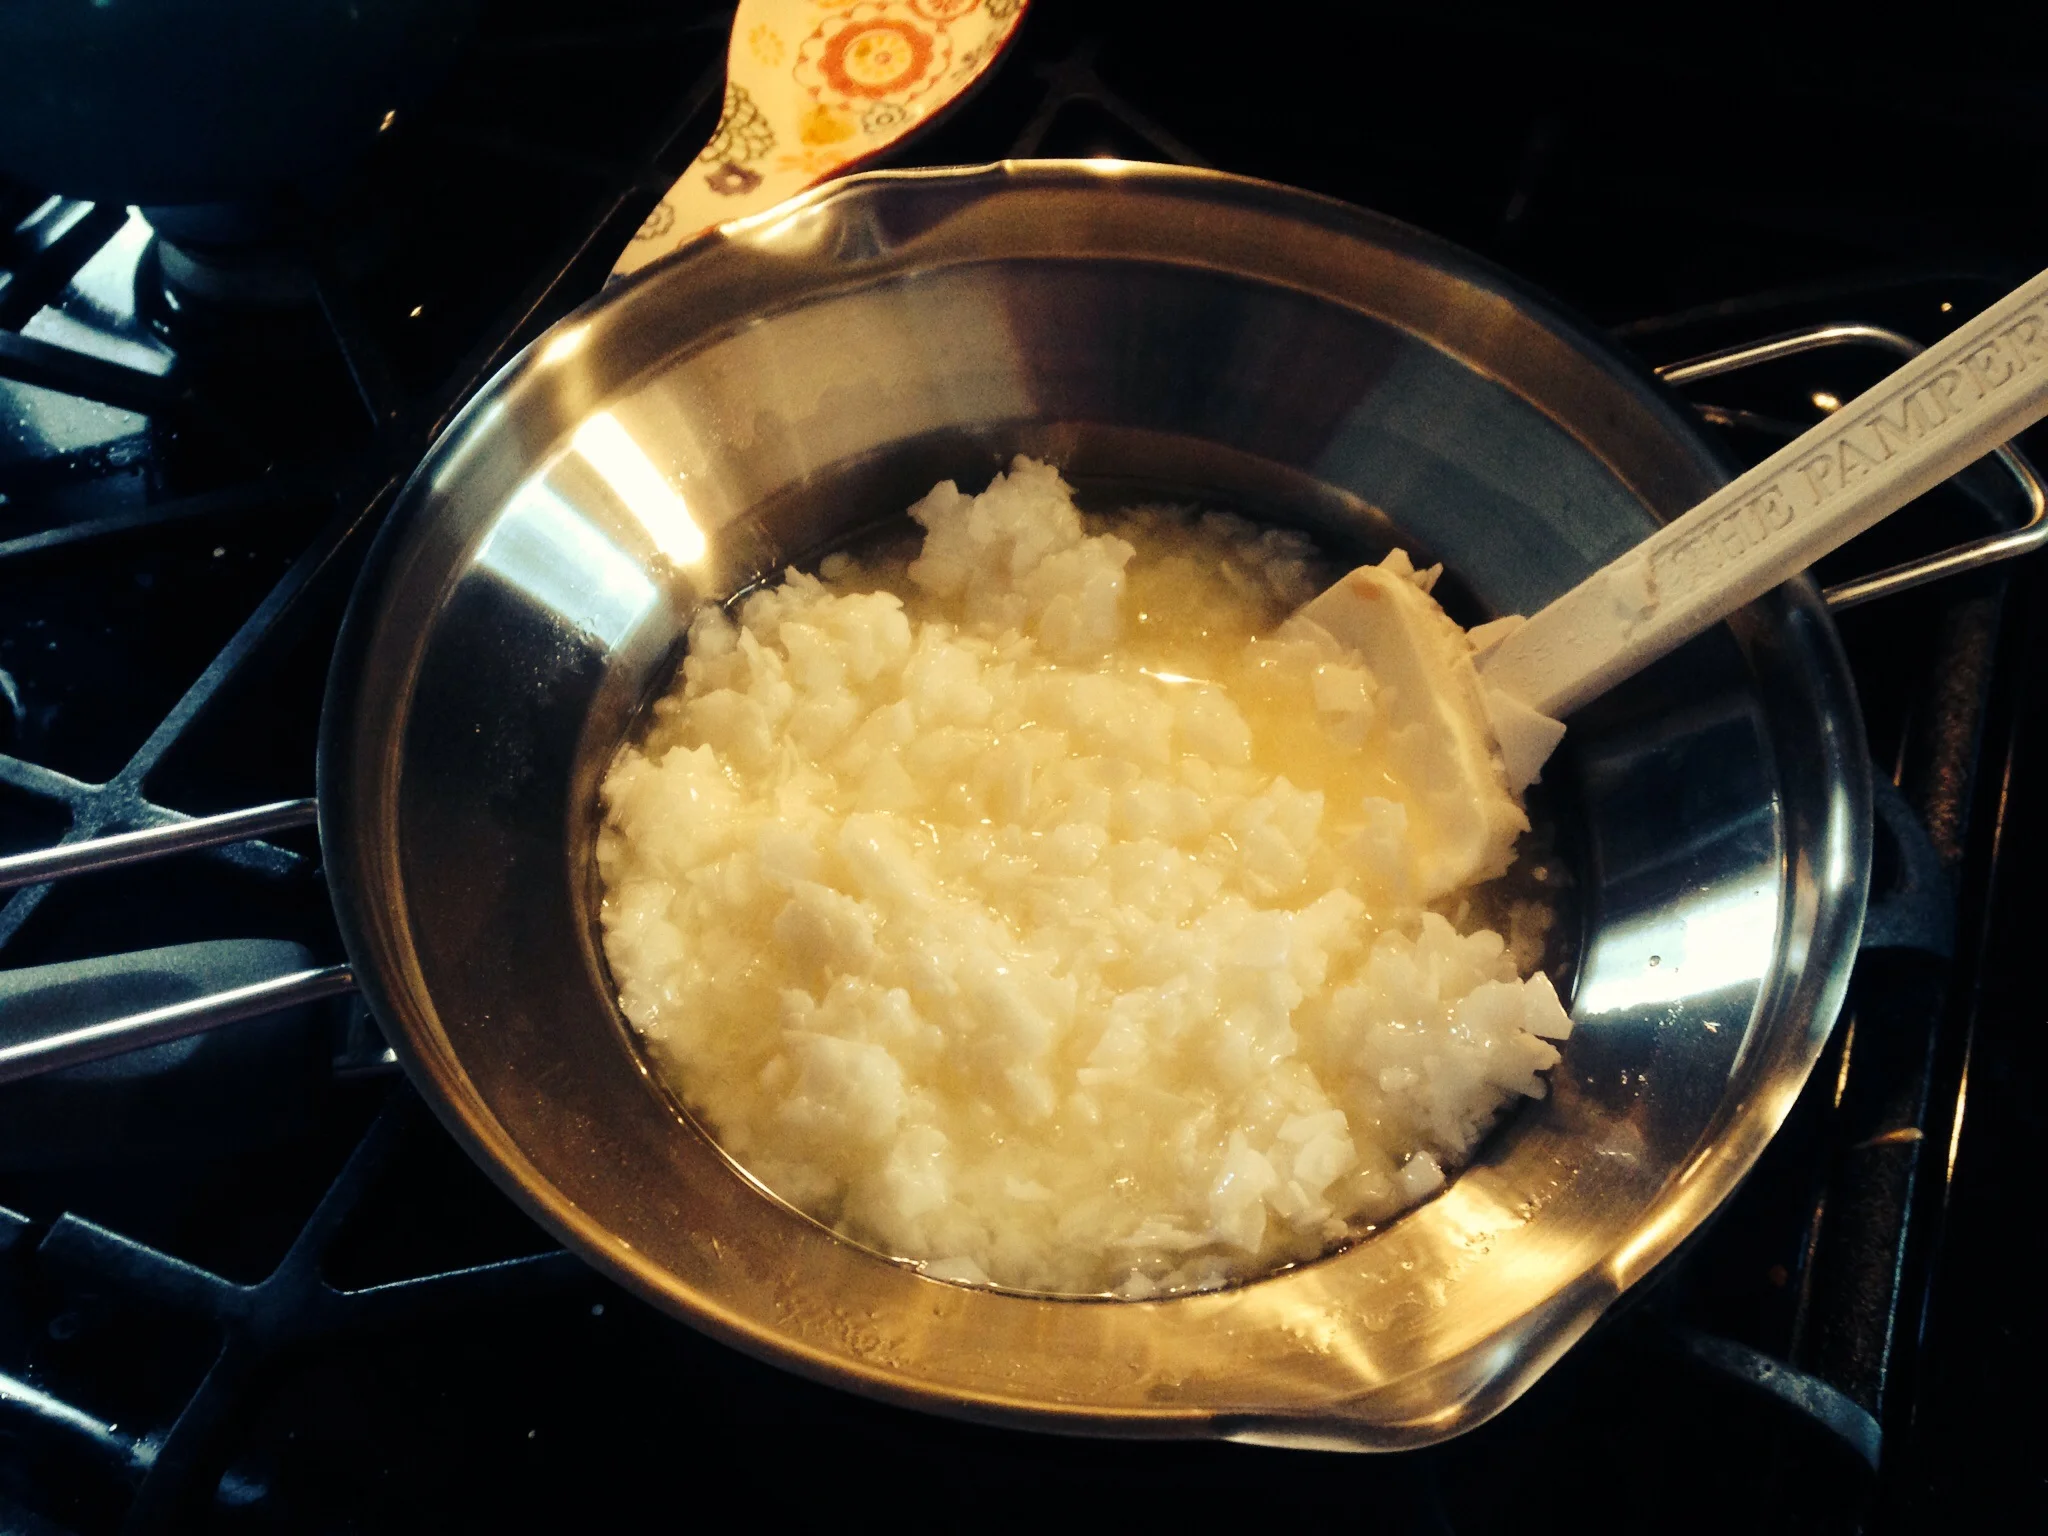
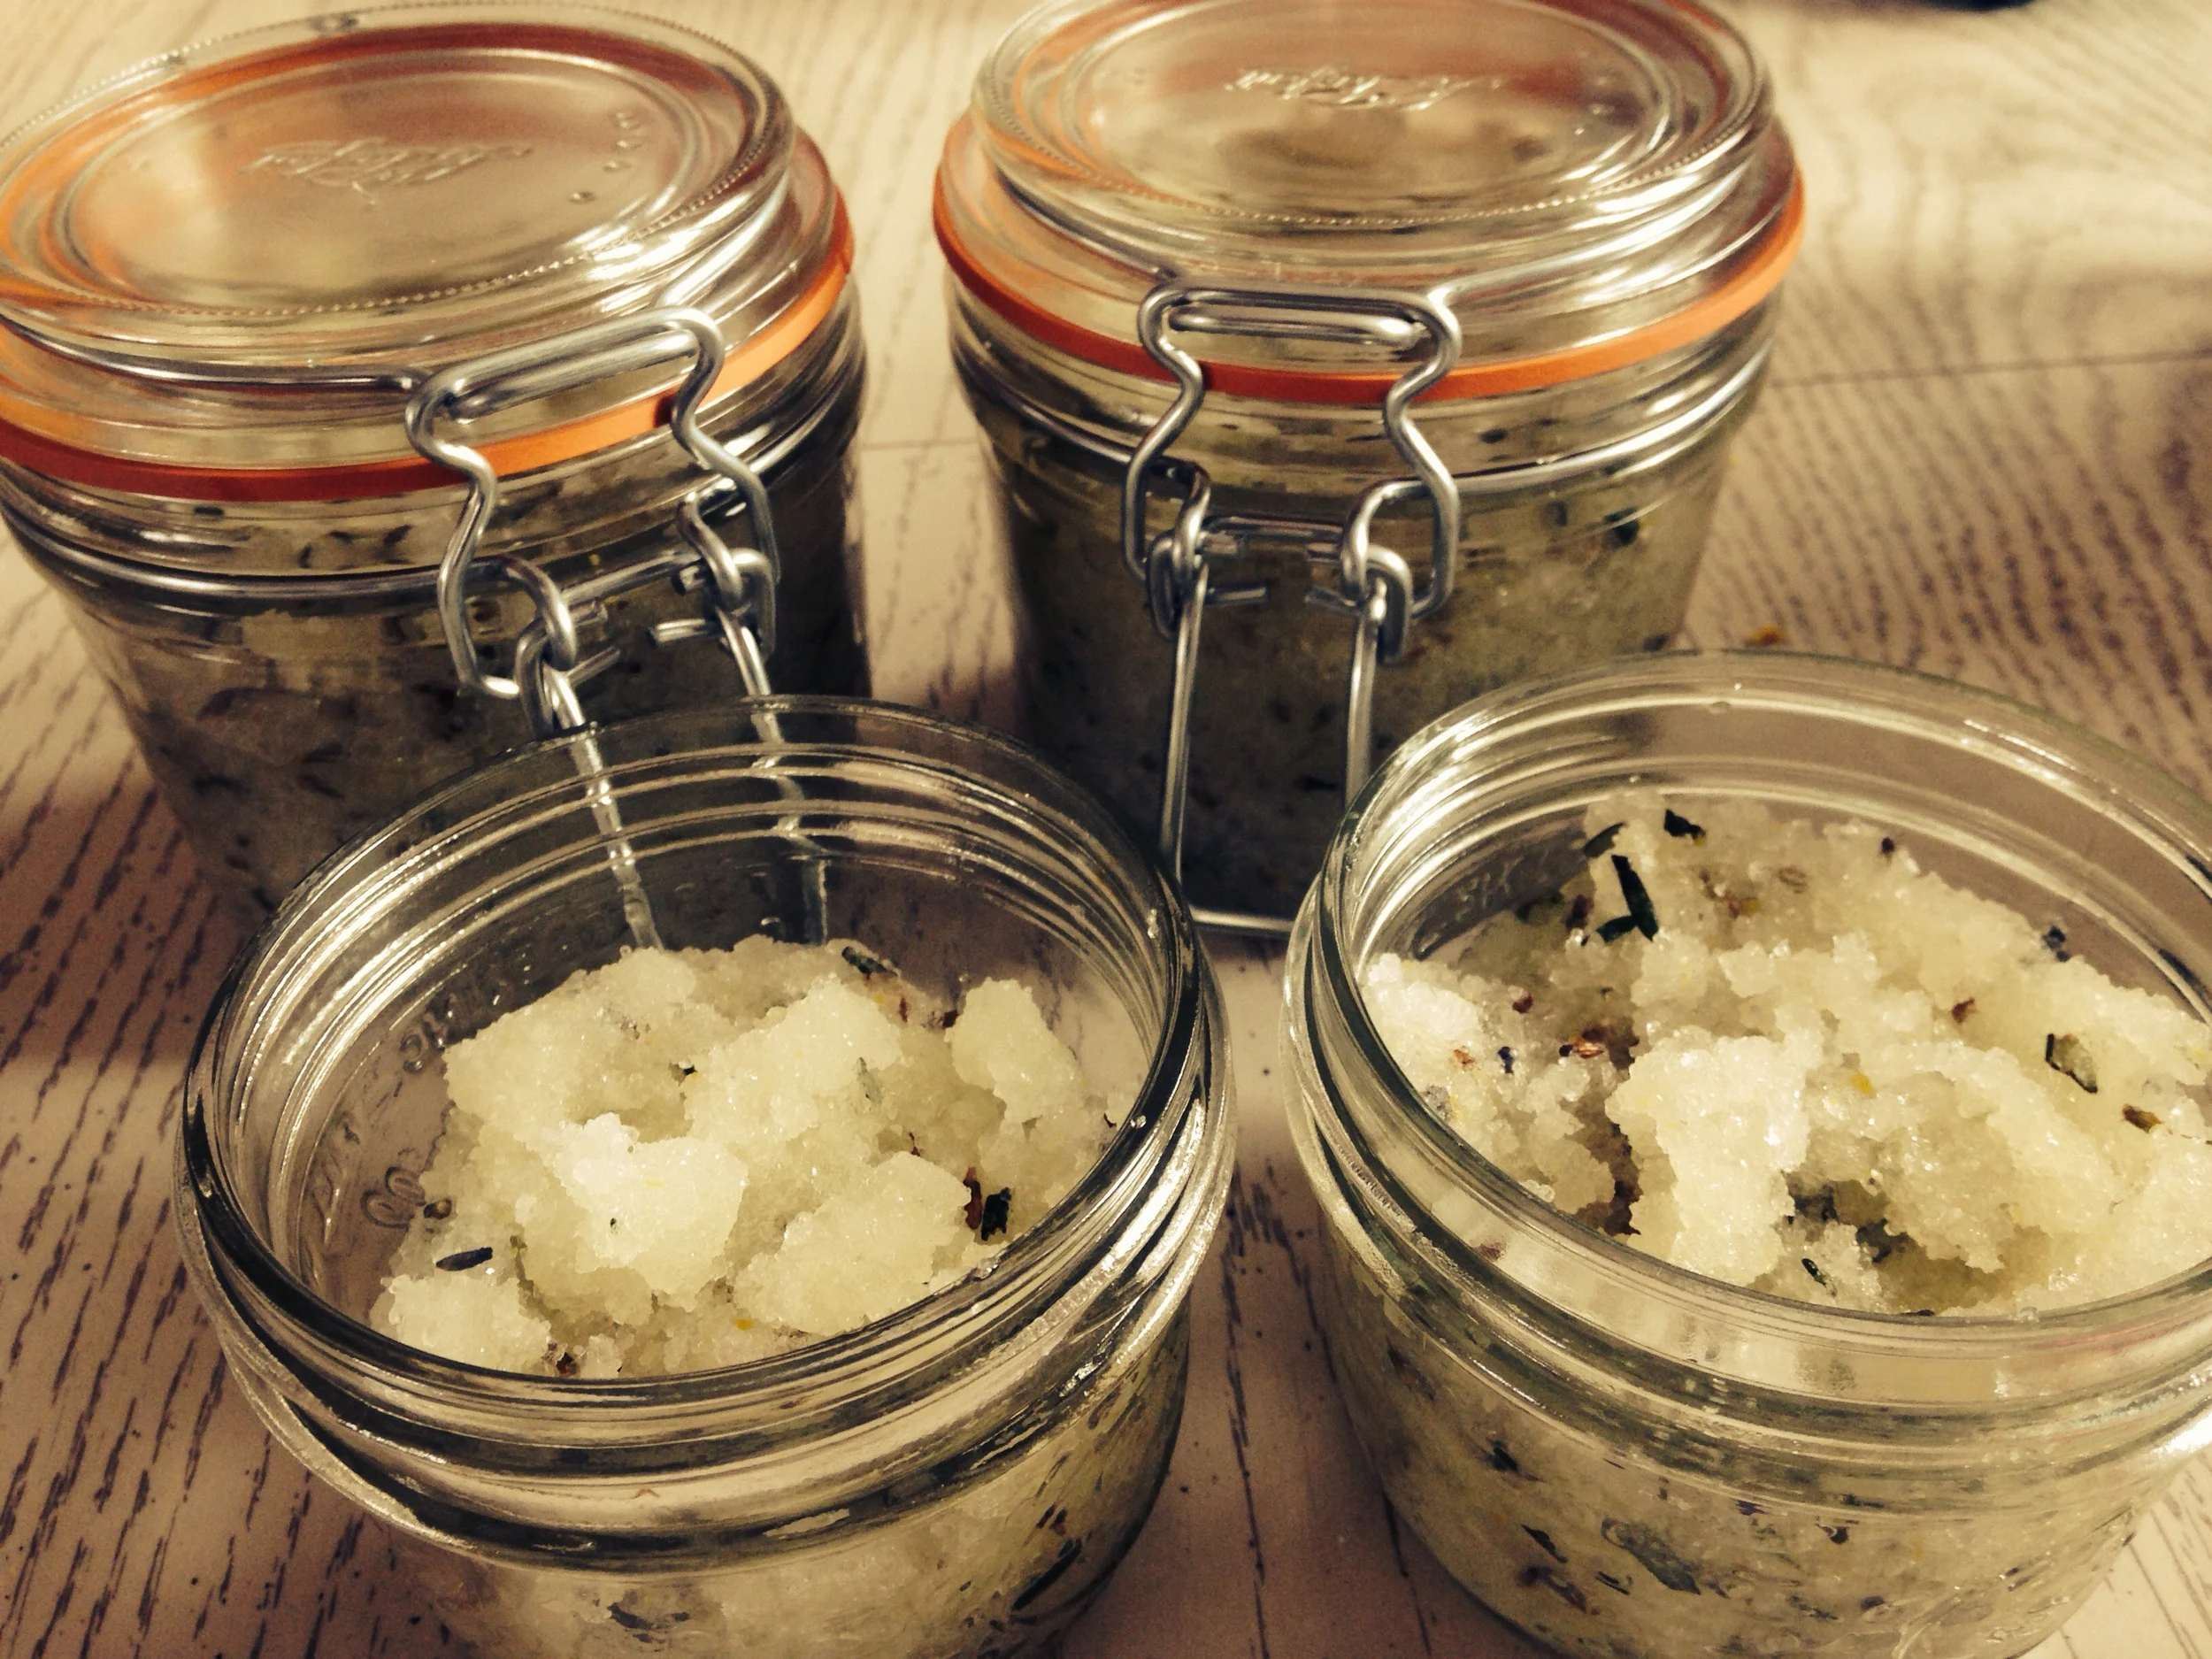
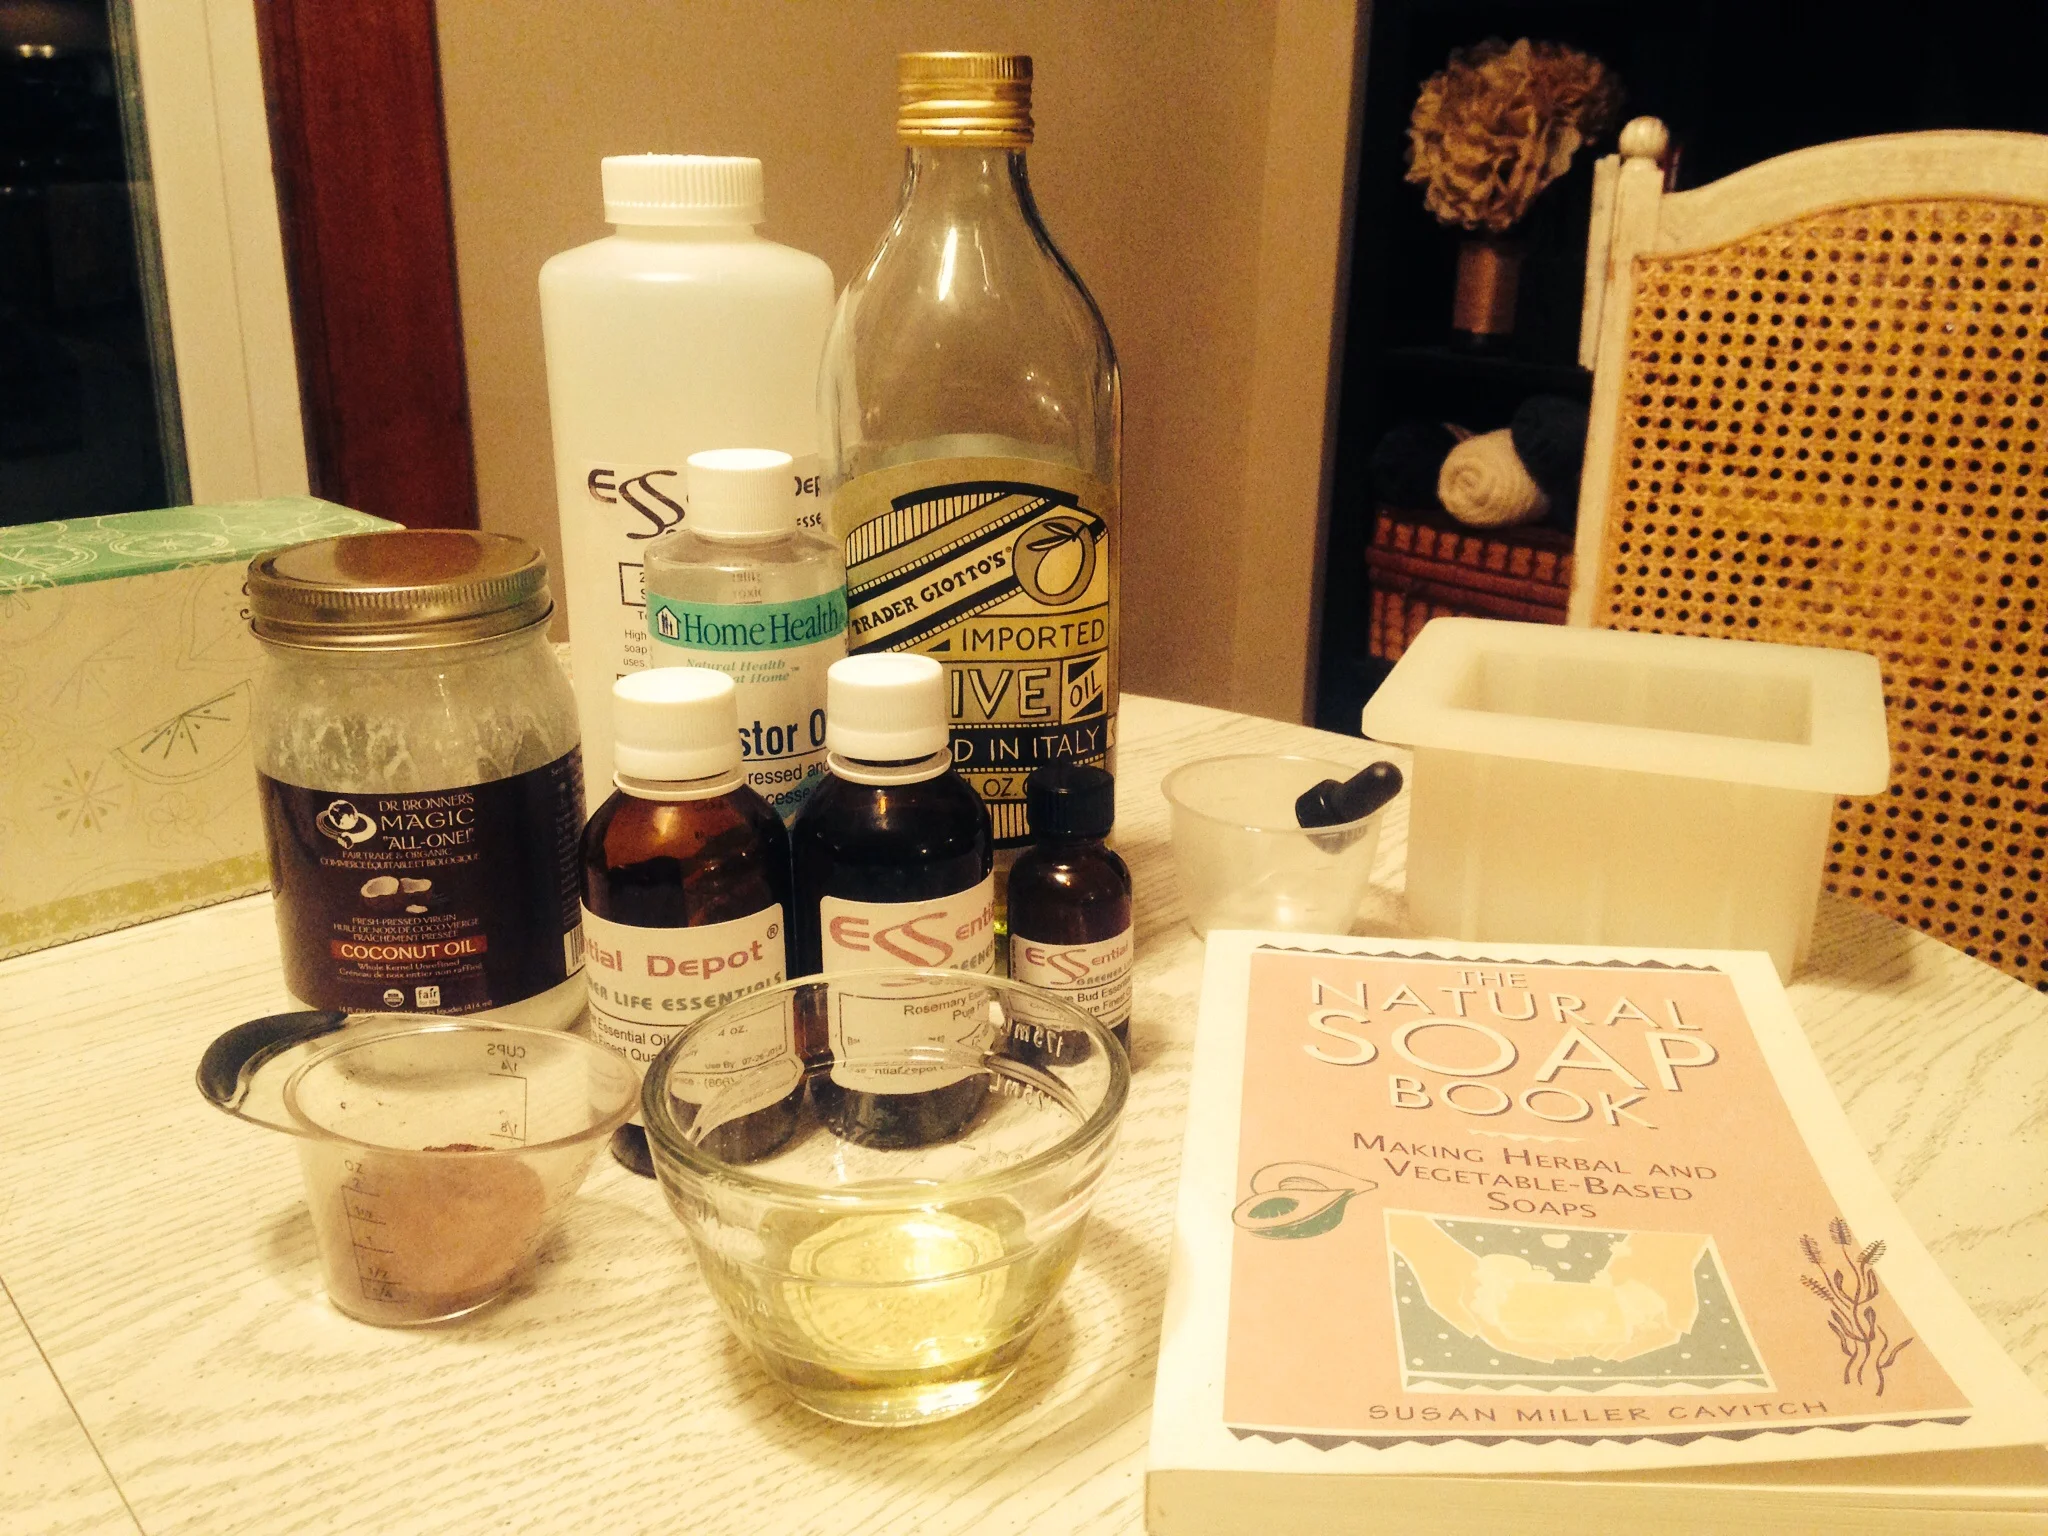
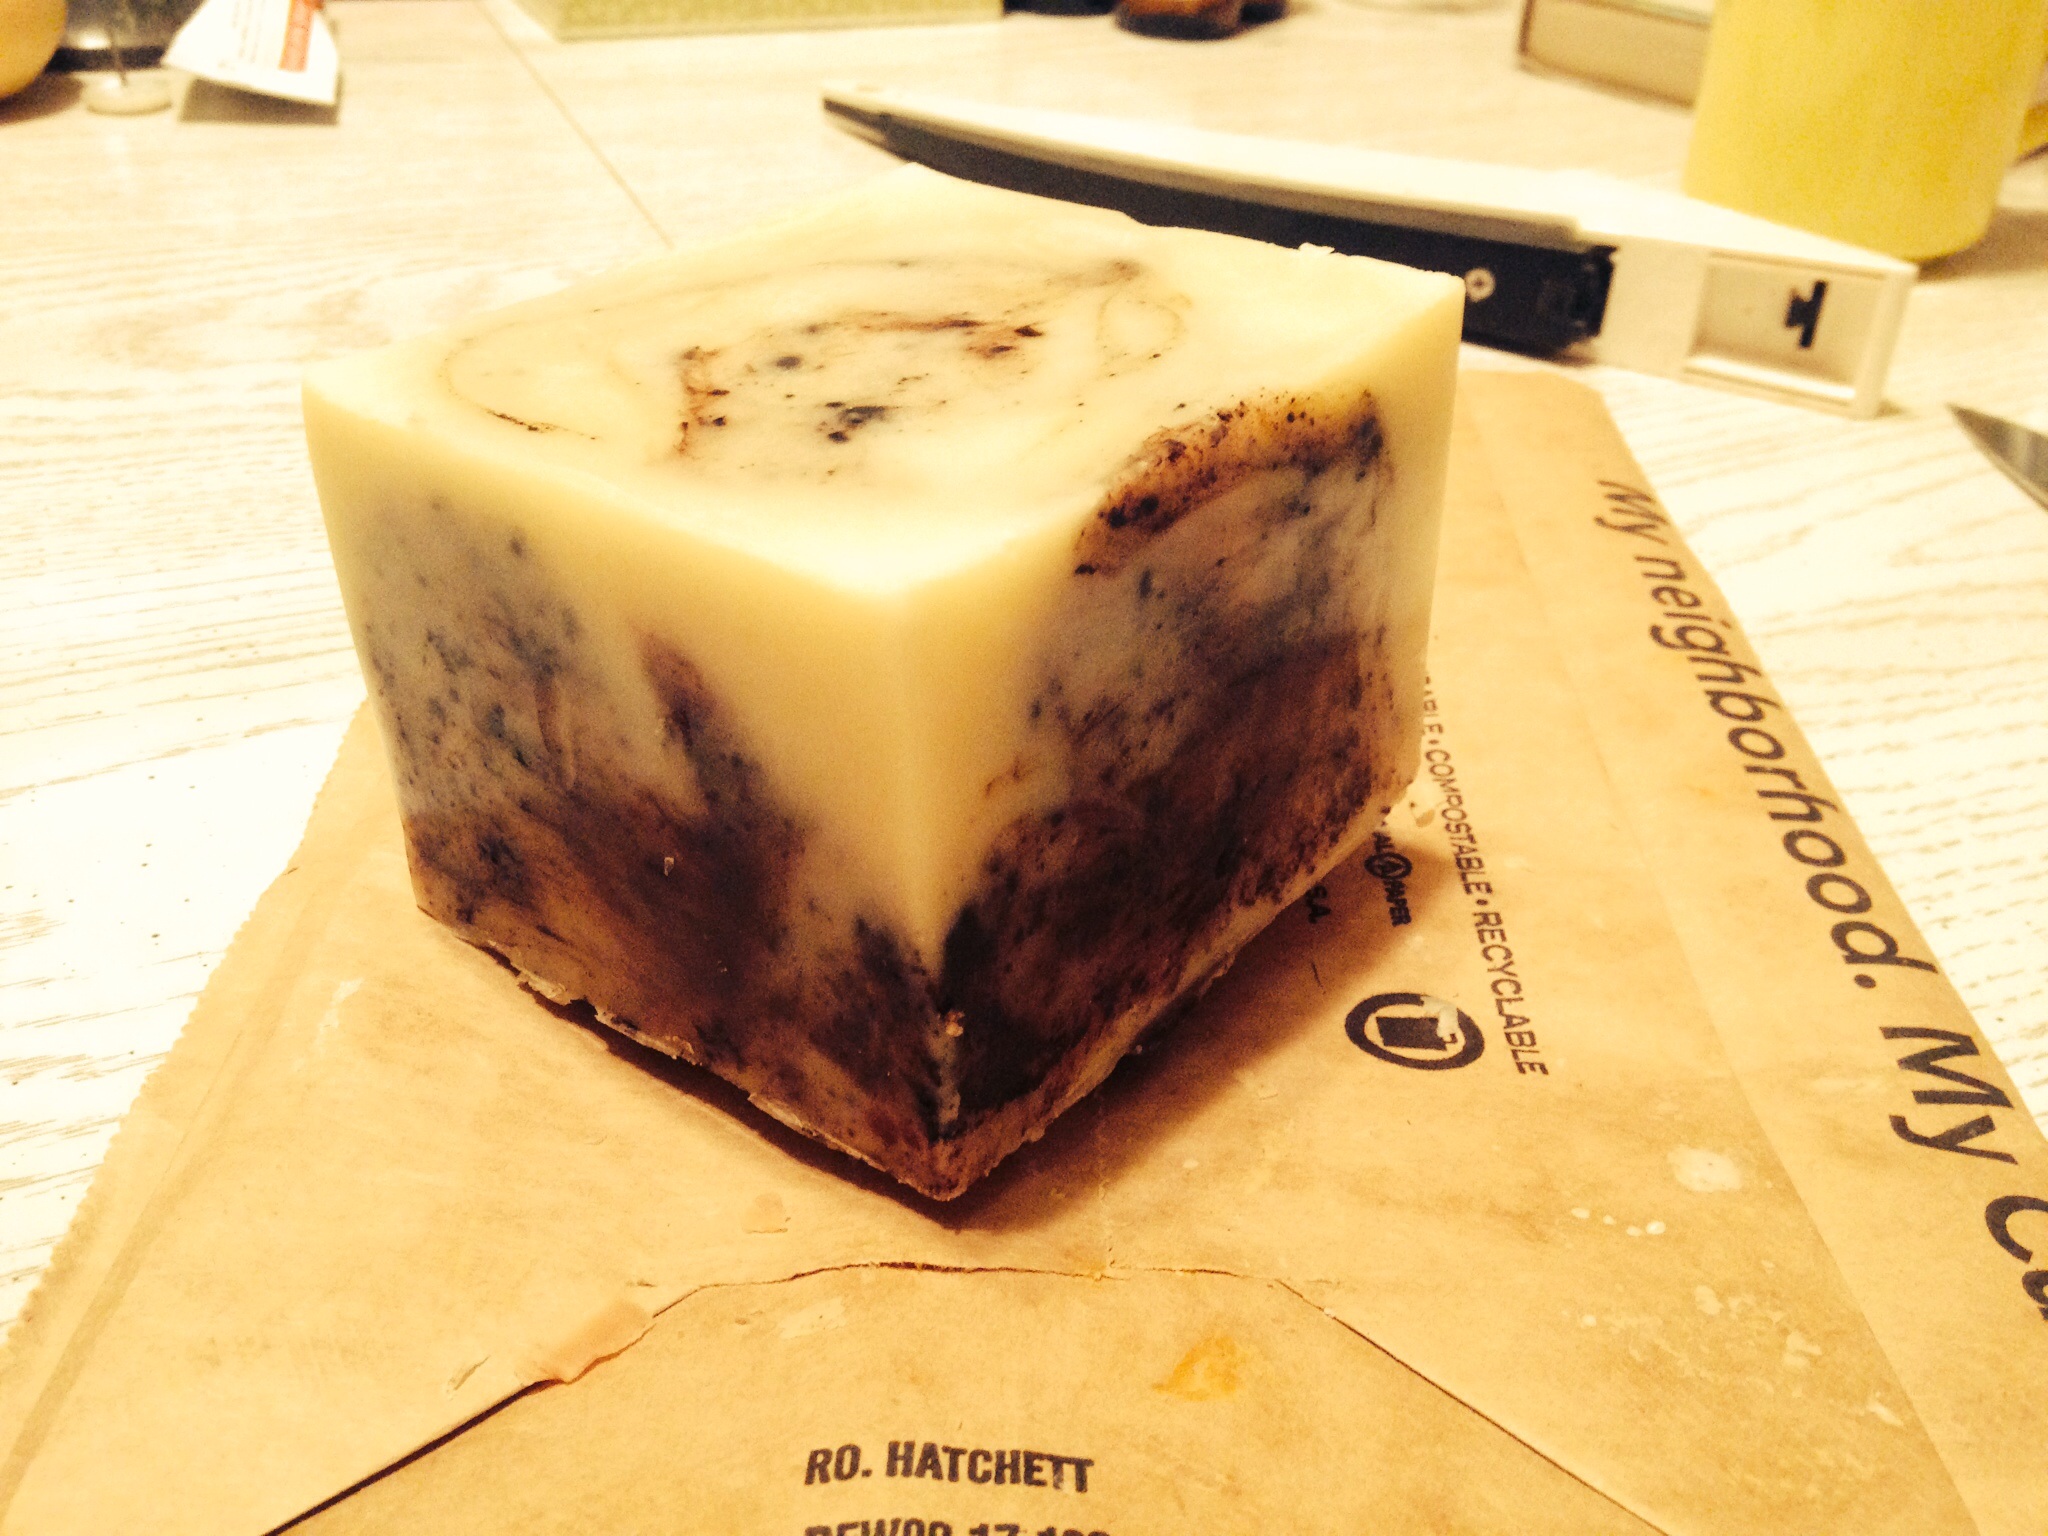
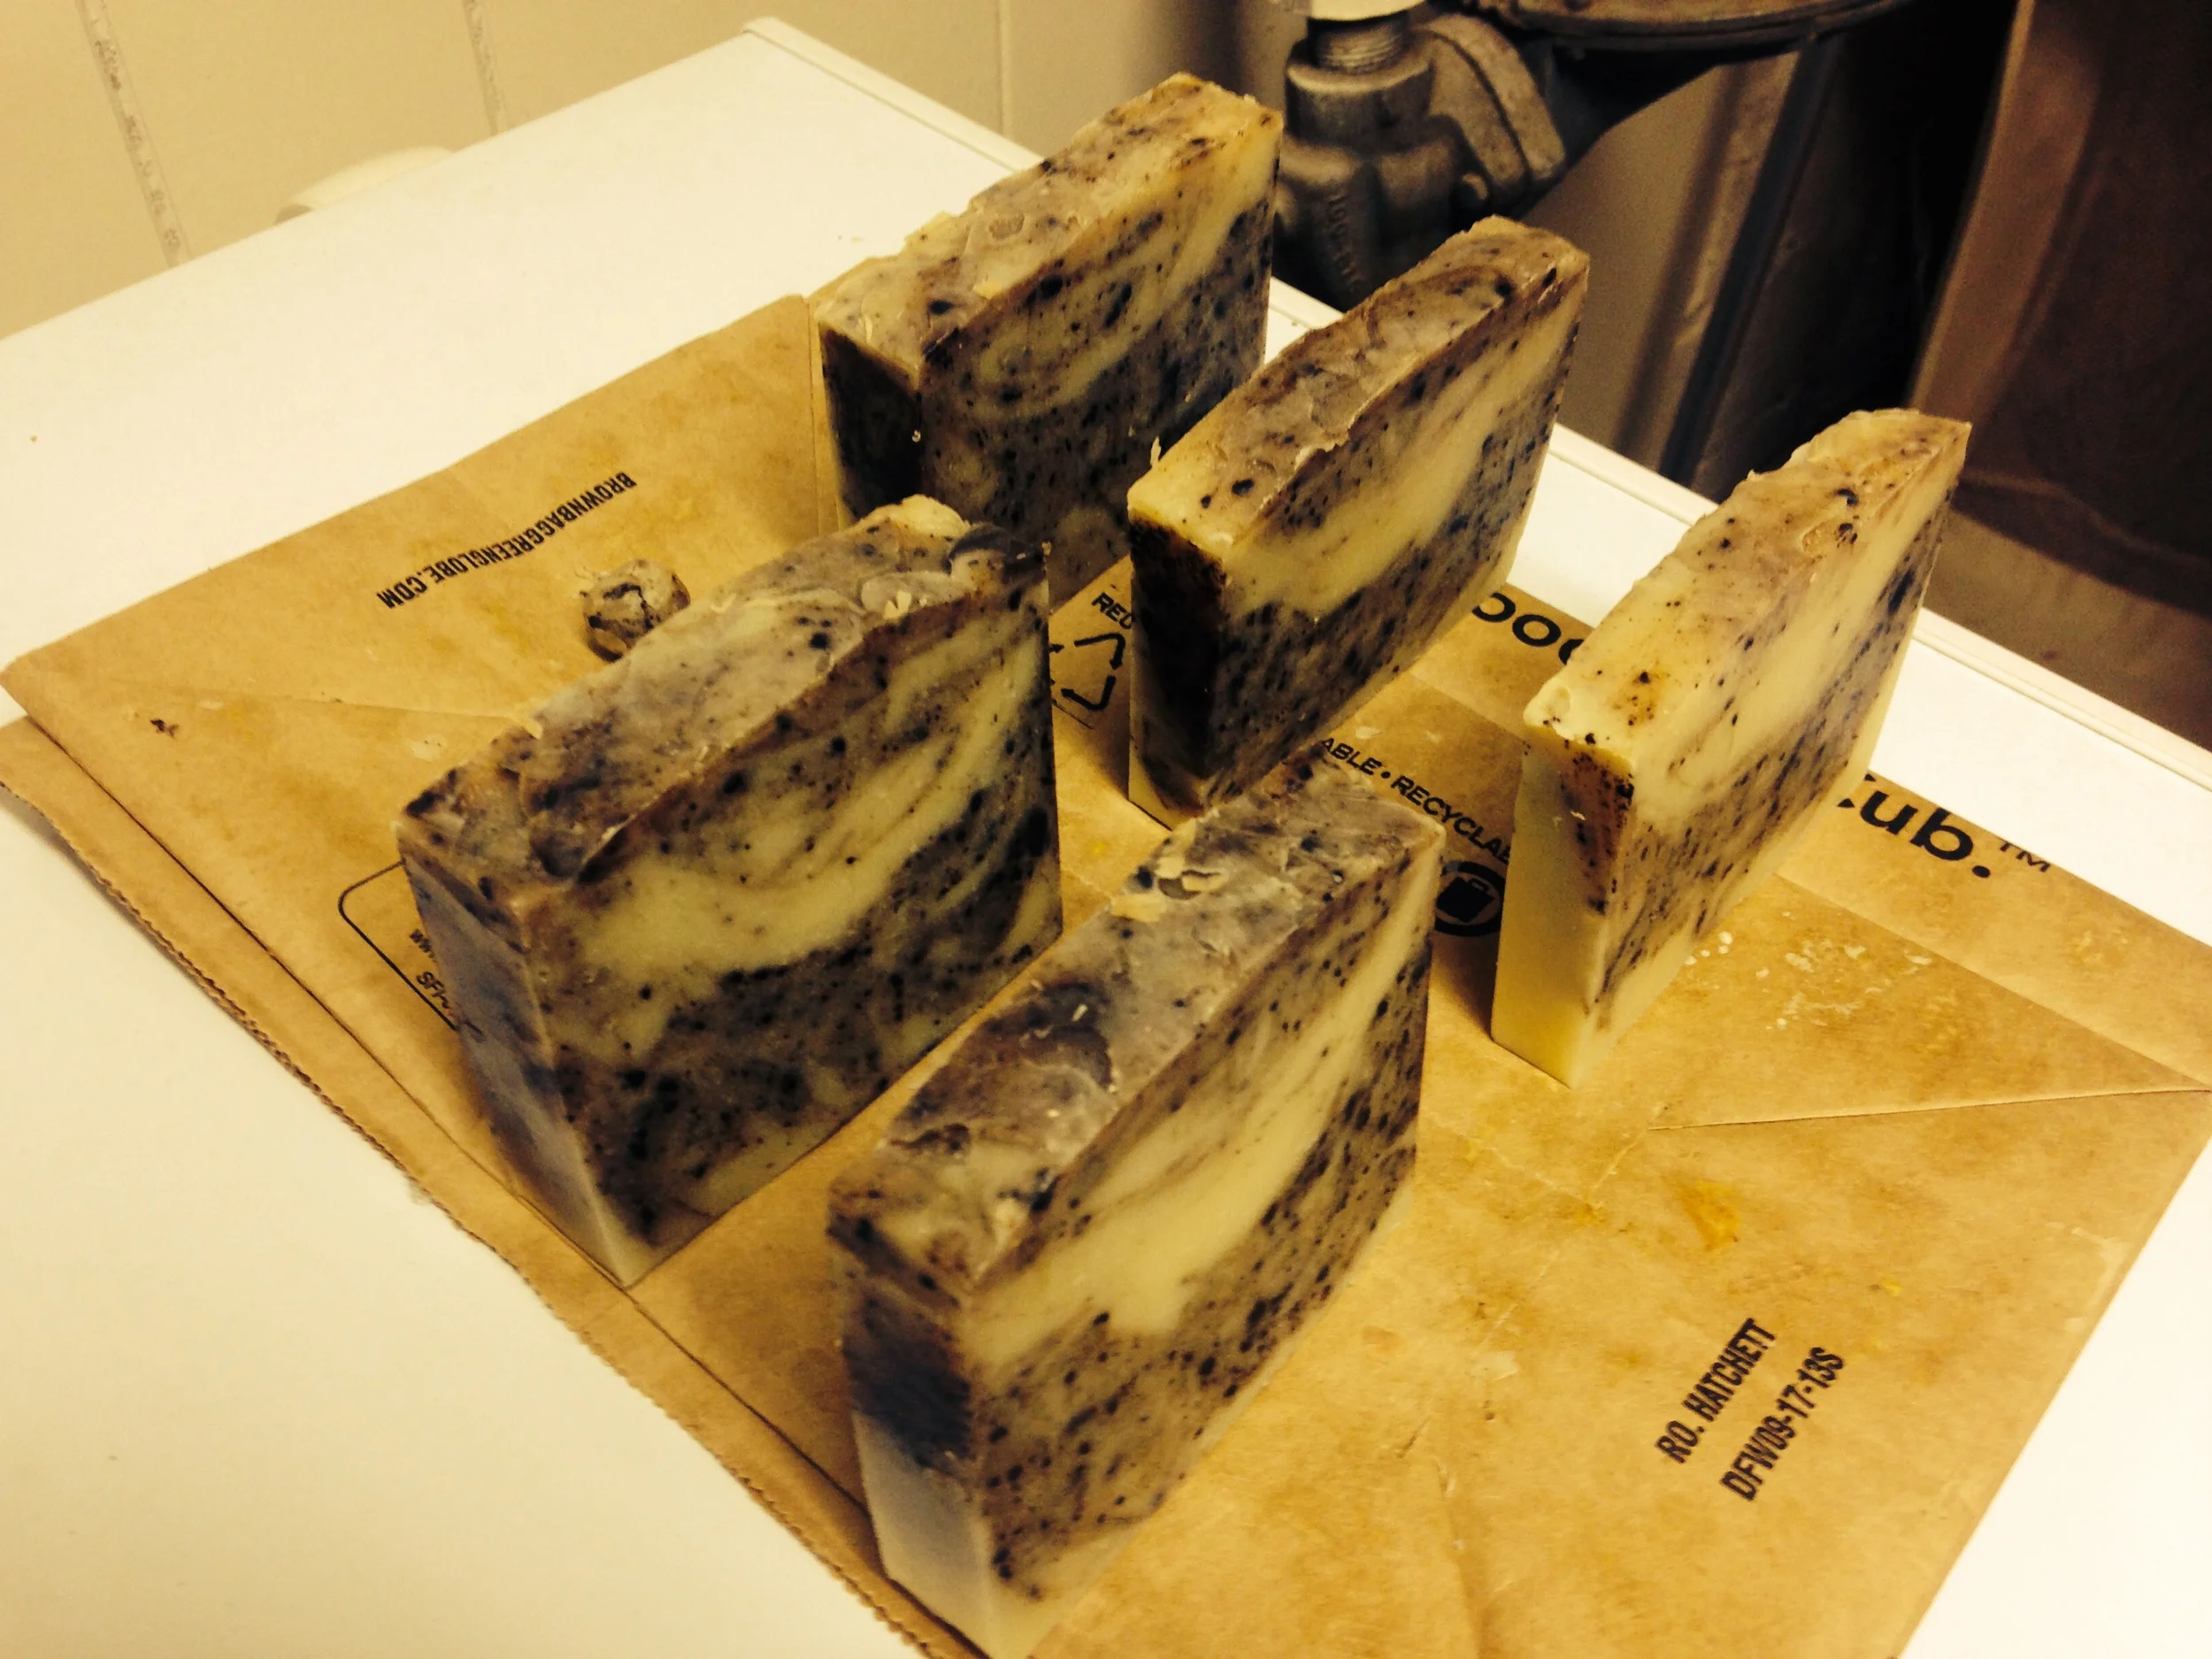
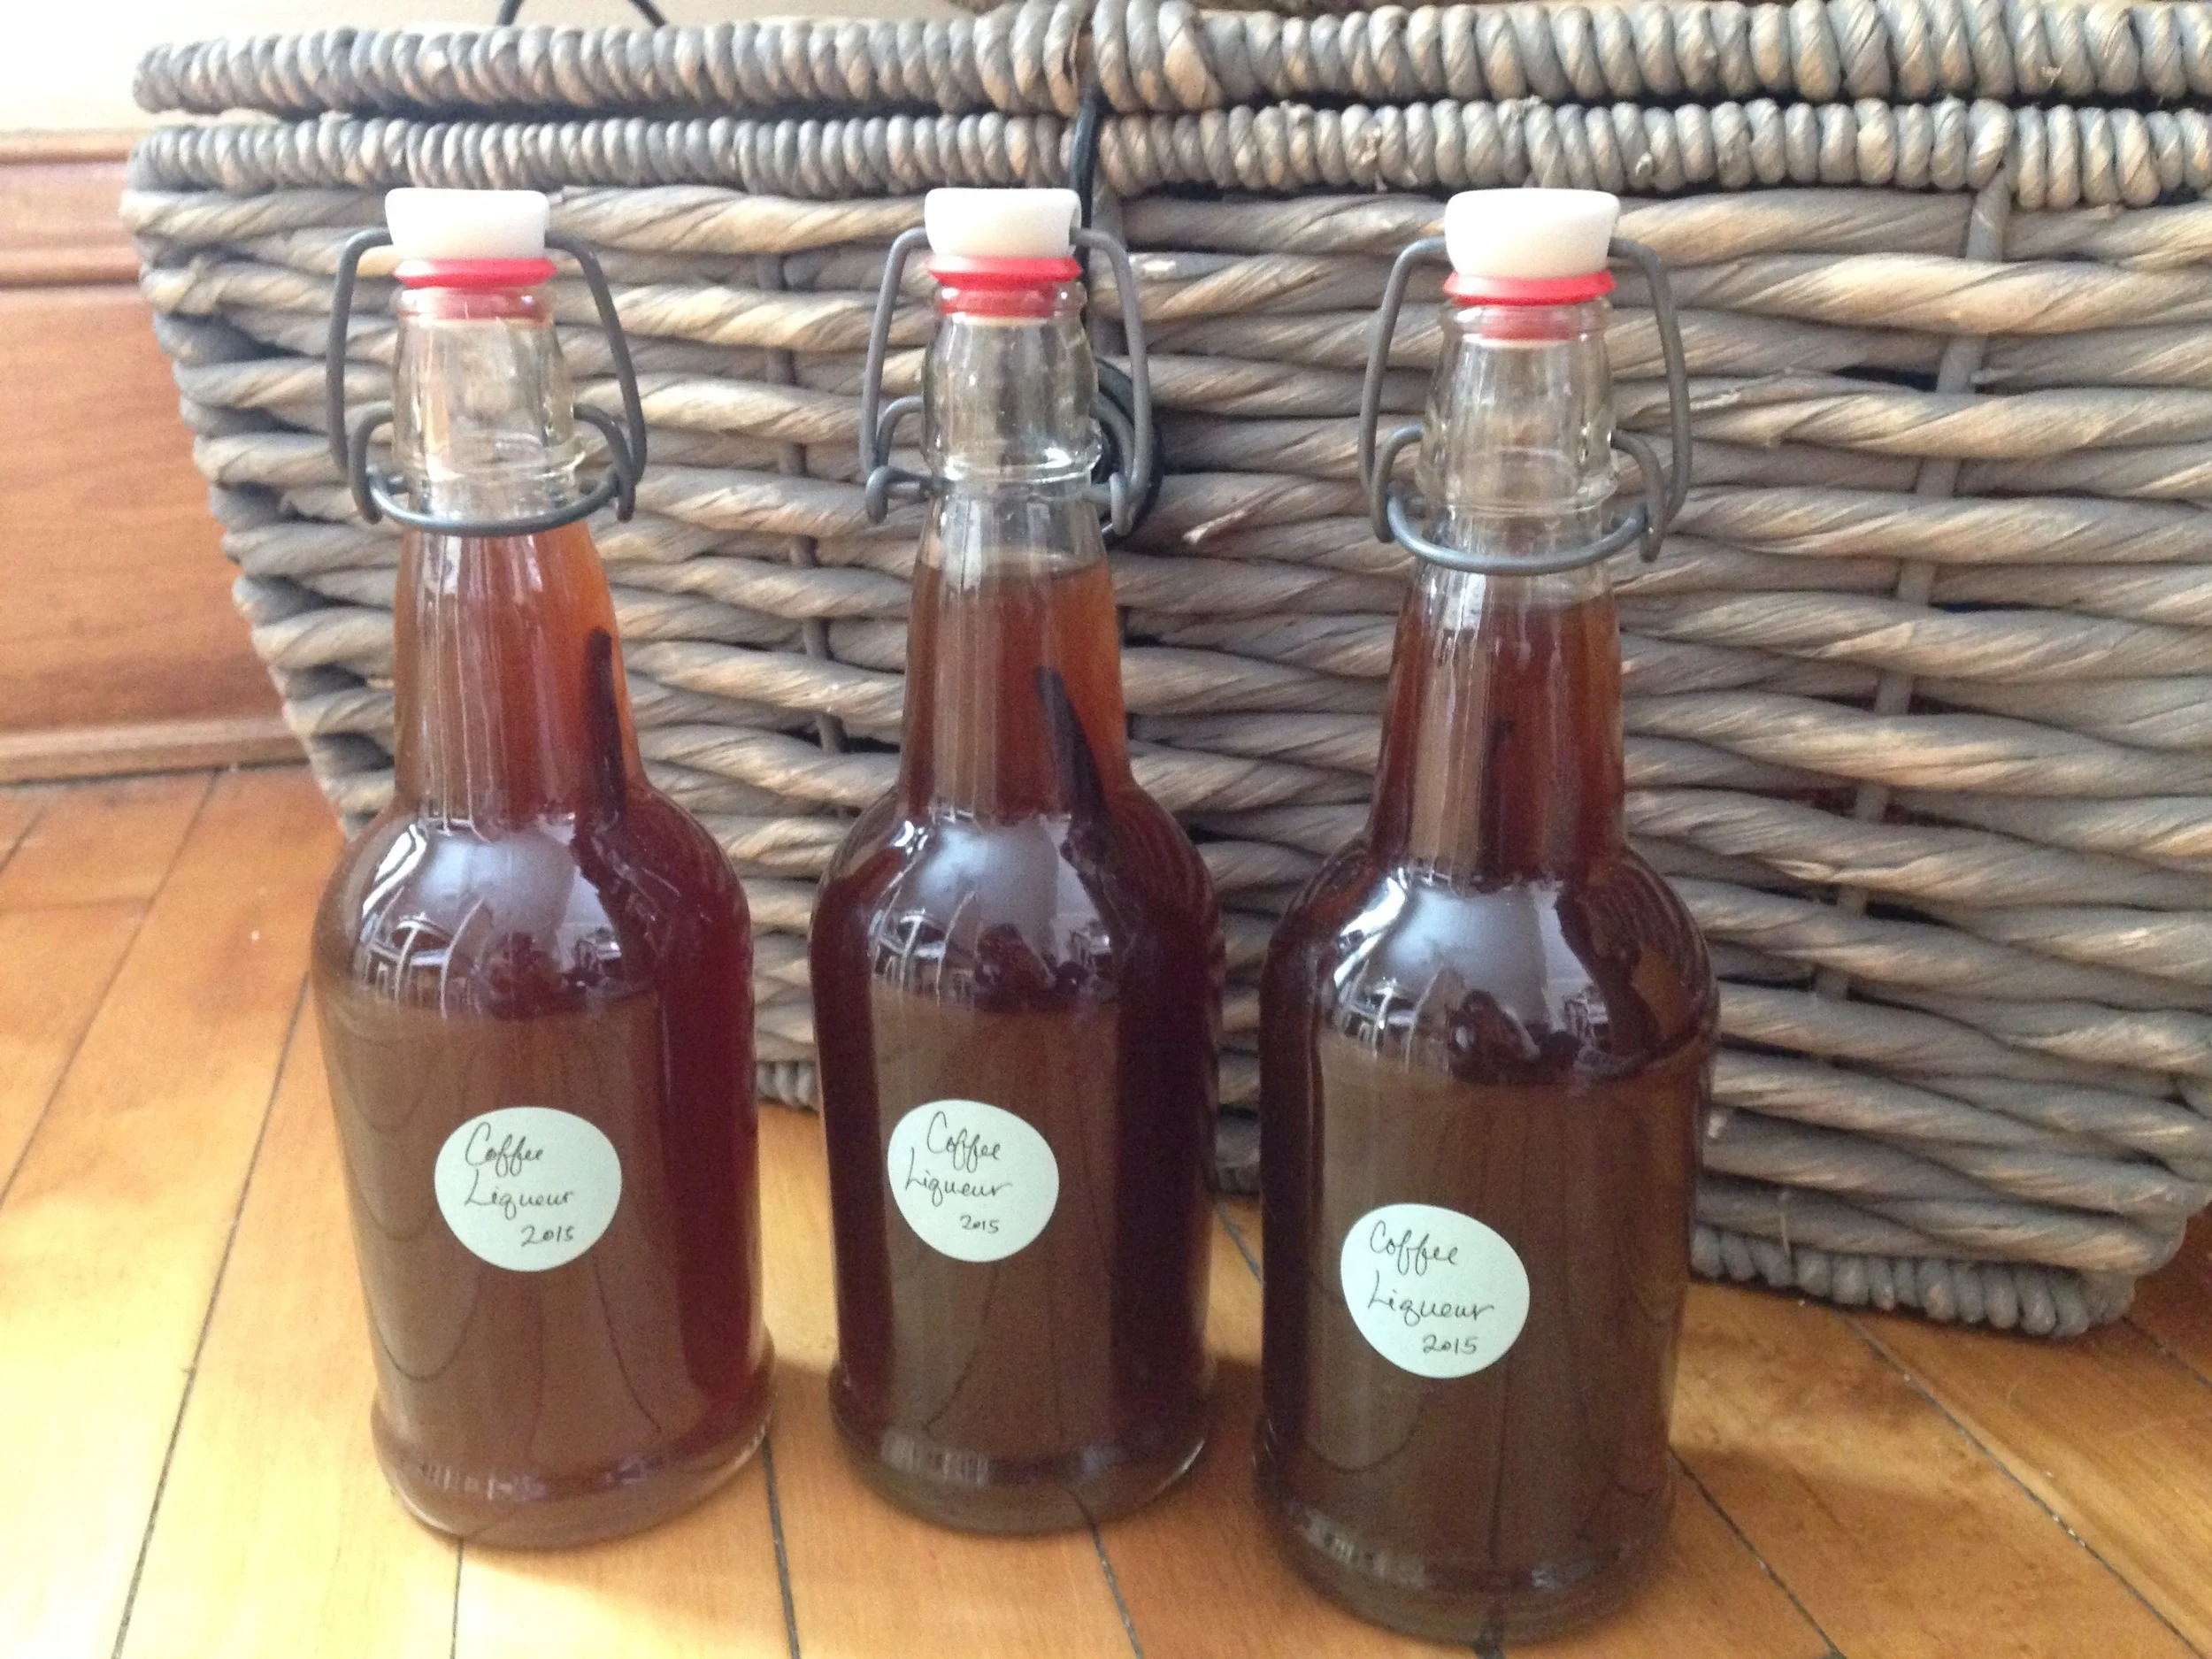
The last of the handmade gifts included bottles of our favorite coffee liqueur (recipe in Homemade Pantry), also made just days before being gifted.  My family knows me well enough to expect things like coffee liqueur and soap to come with a "best if used after date."  In spite of the recommended waiting period, the coffee liqueur was fought over and won with triumph in our annual dice game.  I'd say it was a hit!  

image.jpg

How about you??  Did some lovely handmade items make it under your trees this year??  I sure do hope so.  I love how handmade gifts bring more meaning back into what has become such a consumer driven holiday.  There is something so loving and intentional about the making process that reminds me of the importance of giving and showing others how they are worth more than our money, they are worth our time, energy, and creativity as well.  

As we wrap up this year and move into the next, I wish you all a very happy evening of celebrations and a fresh start into the year that awaits us!

my new friend

The holiday season is in full swing in this house and the itch to get the Christmas making underway is definitely on my mind throughout most days.  So, with all that, I'm so very thankful for my new friend, Naomi the Janome.  (Yes, I named my new sewing machine...who doesn't?!?)  She's beautiful and we are quickly becoming close friends.  You may be wondering how Naomi came to be in my life...well, don't worry...I'm about to tell you...

You see, this past Saturday, I finally had a day with little to nothing that I had to do and I was so very excited to spend a good chunk of the day sitting at my sewing machine.  With this baby on the way, there have been several sewing projects in the works and several more on the to-do list, and so the thought of sewing for hours while Christmas music played and Christmas lights lit up the house, sounded absolutely heavenly.  So, to my machine I went!  However, after about 30 minutes of sewing, a gear on my dear old 1967 Singer Stitch & Sew broke.  Now, I've had many a gear break on me with this machine over the past several years and I've become quite good at replacing them and resetting the timing.  And while I've thought many times that it would be lovely to have a machine that didn't give me so much trouble, it has been hard to imagine not using my dear old beauty.  She has become very dear to me, as I taught myself how to sew on her and she helped me sew my wedding dress and most of Baby's quilt (still in the works!), not to mention all the many, many other creations we've made together over the years.  However, with Baby's soon approaching arrival, I had been strongly considering getting a new machine in order to make my sewing experiences more efficient and more pleasant.  About a month ago I finally decided that it was time and so I started saving a bit of money and added "Sewing Machine Funds" to my Christmas lists.  

Then, when I wound up with a broken gear and a whole open day ahead of me on Saturday...I found myself rather upset about the timing of it all.  It is crunch time for Christmas making and Baby will be here in just 3 short months!  Not to mention, I had been so very excited to make things!  Sad, I was, very sad.  There may have even been some tears (which may or may not have been brought on by pregnancy hormones).  So, I busied myself with other little projects around the house, trying not to let it ruin my lovely Saturday.  But then my sweet, sweet husband came home and brought with him my new friend Naomi--the exact sewing machine that I had been looking at and all as a "just because" gift from him.  More tears flowed at this point.  A new sewing machine?!?!?!  For me?!??!?!  Oh, dear.  I was (and still am) ecstatic!  

For now, my dear old Singer is tucked safely in her table and Naomi is sitting gracefully on a cutting board on top of her.  The difference between the two machines is amazing!  Naomi sews so smoothly and quickly and the way she winds a bobbin is quite impressive!  I must admit...I have a bit of a crush on her... Over the past few days, we've managed to make quite a bit of headway on that baby to-do list.  It feels fabulous!!  I am so very thankful for her and even more so for my wonderful husband.  He is so generous, thoughtful, and loving.  I'm blessed to have a man who knows me so well and who supports my hobbies and me so completely.  I love you a bushel and a peck, my dear.  Thank you for making me feel like a queen. 

a ceydar cap for the chilly morns

I've been doing a lot of knitting over the past several months for this little one of ours, but this past weekend I decided to knit a little something for myself.  Besides, there is nothing quite as lovely as knitting a new hat for fall in a chilly rustic cabin in the woods.  So, that is exactly what I did!  This hat is The Ceydar Cap by Heidi May.  It was a quick knit using the PurlSoho Flax Down yarn in Steel Blue that I bought in New York, which resulted in a very soft lightweight hat perfect for fall!  I love it!  If you're interested, you can find my Ravelry notes here.  (Also, thanks to my friend Bethany for helping me with this little photoshoot yesterday!  And for capturing my baby bump so that I could share it with all of you!)

handmade gifts

All of the Christmas decorations have now been put away in our house and the quiet feeling of January has set in.  However, before we all officially move on from Christmas, I thought I'd share a little about some of the handmade goodness that we gifted this year.  I love giving meaningful, useful, and thoughtful gifts and with my love for crafting, I often find myself making quite a few gifts during the holiday season.  This year a few of my favorites were mittens for all of the nieces and nephews (note: 2 year old boys do not find mittens to be exciting, nor something they want to try on for a photo shoot...), a huge infinity scarf for my husband (I used this pattern with a worsted weight), peppermint lip balm (with a mixture of coconut and olive oils), candles, and rosemary-lavender salt scrub (with a mixture of epsom and kosher salts).   

image.jpg
image.jpg
image.jpg
image.jpg
image.jpg
image.jpg
image.jpg

I just love making and giving handmade gifts.  It just feels the way gift-giving should feel.  I love how it takes planning, time, and effort to create something--and not just anything, but a specific something for a specific person.  To me, it's a much more meaningful and enjoyable way to give gifts.  

How about you?  Did you make any gifts this year??  

making and wrapping

The fall semester has officially ended for me and the Christmas making and wrapping has taken over!  With one week left, I'm a bit behind in the making (and buying), so it will be a full week!  I nervously chuckled to myself as I wrapped three presents last night...the only three presents that are ready to be wrapped...oh dear...

Well, at least there is hot cider (with brandy) and my buddy Bing to keep me company as I knit, sew, shop, mix, and wrap over the next few days.

image.jpg
image.jpg

Wishing you and yours a productive week of making and wrapping!  My goal is to remember to enjoy the process as I think about the loved ones I'm making things for.  I hope you'll find yourself doing the same.  

filled with christmas cheer

The Christmas season has arrived!  Call me cliche, but to me it really is the most wonderful time of the year.  The winter is still exciting.  The snow is still welcomed.  There are fun get-togethers each weekend.  There are gifts to make, dream up, and find.  And the house is filled with Christmas cheer.  

Last year, in an effort to save money, I made my own Christmas door hanging and loved it!  It was creative, fun, and free (thanks to the woods on my Dad's property).  And so this year, we decided to do the same and not only stop there, but also to fill the house with exciting little goodies from outside.  It's lovely having our house smell of pine and finding fresh decorations in so many of the rooms. 

image.jpg
image.jpg
image.jpg
image.jpg
image.jpg
image.jpg
image.jpg
image.jpg
image.jpg

Filling our home with pieces of nature, keepsakes from the past, and special things my hands have crafted is truly one of my favorite things to do.  Pair that with the Christmas season and I'm one happy lady!  

I hope your holiday season is off to a lovely start as well!  I hope for each and every one of you that this time truly is merry and bright.  

making soap

I started making my own bar soap about a year ago after I bought a bar of handmade soap for about $5.00 and truly loved the product!  I'd seen a few blog posts about making soap and since people have been making their own soap for ages, I figured it couldn't be that hard.  So, I did some more research and got a few books from the library and gave it a try.  It took far longer to reach the "trace" stage (where it looks like pancake batter) than all the books told me, but I eventually ended up with bars of soap. Now, several batches later, I feel that I'm finally getting the hang of this soap making process.  With this last batch, I started using an immersion blender to mix the soap and lye and I fell far more in love with the soap making process!  So, if you're on my Christmas list...get ready for soap!! 

image.jpg
image.jpg
image.jpg
image.jpg

This batch is my "Home for the Holidays" flavor.  It's made with olive oil, coconut oil, and castor oil, scented with orange, clove, and rosemary essential oils, and colored with ground cloves and cocoa powder.  It smells just like Christmas and I love it.  The scents/colorants ratios were taken from this soap recipe and added to my standard bar soap recipe.  

If you're at all interested in soap making, there are some great books out there!  I have the first book listed below and like it.  All of the recipes in it are for big batches and I'm still working in the tiny batch stage, but I still find it to be a great resource.  

I got my soap mold and a few essential oils for soap making from Bramble Berry.  I've also found some great supplies from Essential Depot as well.  

While soap making is not for everyone, I do find it quite enjoyable and fun!  It's a fun little hobby of mine that keeps us (and our loved ones) nice 'n clean and smelling good.  

wedding this and that

Why, hello!  It's been a few days of intense grading around these parts, but I thought I'd squeeze in one more post about wedding goodness before moving on to all of the wonderful fall things that are beginning to fill my days.  

Last week I shared a bit about our wedding (our wedding day) and a few of the things that I created myself (my wedding dress, wedding flowers) in order to save money and truly make it my own.  Today, I'd thought I'd share a few more of those things, in hopes that you'd be inspired to take a simpler approach to event planning and celebrations.  

In our world of Pinterest and DIY craziness, it's easy to get swept away in the excitement and creativity of it all.  However, a lot of the DIY ideas out there aren't really all that cost effective!  My goal, when planning our wedding, was to be able to make things myself for much less than I would have been able to buy them.  I love making and creating things, but if the final product is not cheaper and/or better quality than the store-bought version, I don't usually think it's worth it.  

Today I thought I'd highlight a few of the things that I really enjoyed making and ended up being super happy with the finished products, both in cost and quality.  

The decorations were by far my favorite.  While I don't have pictures of everything, I was beyond satisfied with what I created for our reception and ceremony.  My inspiration for these started with a few pieces of fabric that I found in our wedding colors and accents.  These accent fabrics were then used for our "bride" and "groom" signs for the head table, for decorative shoe clips for my ladies, as a hair clip for my 'lil lady, and as the background for some of our beer-bottle and glass bead magnets that we gave as favors.  Being the coordinated person that I am, I thoroughly enjoyed incorporating these fabrics into as many things as possible.  

One of my favorite decoration pieces were the tissue paper flowers that I made with some of my girlfriends.  We spent one lovely summer afternoon at my house making these wonderful flowers for just a few dollars and they added so much to the beauty of our day!  They were made from the tissue paper of old unwanted sewing patterns that I got at a textile sale for $0.10 a piece.  I purchased 30 patterns (for a whopping total of $3.00) and I think we only used about 10 of them!  We secured the flowers with floral wire that I got at a craft store for a few dollars and put them into vases that were made from bottles that I saved from my kitchen recyclables and wrapped in twine.  I absolutely loved the way they turned out!  And this project was SOOOOO affordable! 

The table runners were made from burlap coffee bags that we got for free from a local coffee roaster and they were covered with a layer of sheer fabric that matched the sheer overlay on my wedding dress.  Once again, I adored the coordination and the prices! 

For our ceremony, my dad built us a gorgeous arbor, which now stands at the entrance of our garden, and we filled the area around it with hanging baskets and potted plants from my dad's and grandma's houses.  Since the ceremony was right next to the reception tent, the plants added color and life to our reception as well.

A friend of ours (pictured below) graciously lent us the beautiful birdcage that our 'lil lady carried down the isle.  I wanted something different for her and the bird theme was perfect.  A similar borrowed bird cage was also used as a "card basket" near the dessert table.  While I loved the color and fun that these pretty bird cages added, I also loved how I was able to borrow them and not spend a dime! 

We loved everything about our wedding, but one of the things that I loved the most was the fact that we were able to celebrate our love together and begin our lives together without any debt or wedding bills to pay after it was all said and done.  Part of this was due to the generosity of our family and loved ones, but it was also due to the fact that I got creative with the things that I could control.  It can be hard to save much money when it comes to venues and food, but you can most definitely save money by finding creative ways to decorate.  Making all of these things I did also provided so many opportunities to spend time with those I love.  We crafted together and enjoyed each other's company.  It made our wedding much more of a communal affair.  In my opinion, being surrounded by community is one of the best ways to start a marriage.

wedding flowers

When it comes to saving money for a wedding, making your own flowers is a quick and relatively easy way to do so!  If you're going for a more natural bouquet look, it's pretty easy to not only assemble bouquets and vases yourself, but boutonnières and corsages as well!  After helping to make most of the flowers for three of my cousins' weddings, I knew that flowers were definitely something that I wanted to do myself.  

I chose flowers for the wedding based on what I knew I could easily access in Minnesota in September.  I fell in love with maroon and yellow celosia and decided to try growing it at my dad's, my grandma's, and my apartment.  While we didn't end up with quite as much celosia as I'd hoped for, we still had enough for it to play a big role in our arrangements.  

To add to the arrangements, I purchased a few bunches of things from Market Flowers in Minneapolis.  They specialize in selling bulk flowers at prices that are close to wholesale.  I really wanted Billy Balls in my arrangements, and was beyond thrilled when I found out that they stocked them there.  

The last bit of filler flowers and greenery came from all around my dad's property.  We used hosta leaves in the boutonnières, wild plume grasses in bouquets, and anything else that caught our fancy as we walked around the yard with a pair of scissors.  The day before the wedding, my ladies of honor, aunts, grandma, and stepmom all offered their creativity as we made all of the floral arrangements for the following day.  After making flowers for several weddings, I've found that the time spent with the ladies that day is so valuable and it's so much fun to be able to really enjoy the flowers.  For some many weddings, there are gorgeous flowers that you hardly get to even smell!  Making the arrangements yourself gives you the opportunity to really enjoy them, and enjoy each other.  I loved that. 

I was beyond thrilled with the way the flowers turned out!  The colors were perfect, the shapes of the bouquets were just whimsical enough to make me smile, and the Billy Balls were so adorable!  In the end, I think I spent about $200 or less on all of the flowers.  I was pretty pleased with that price tag, and so happy with the finished product.  

If you feel unsure of your flower arrangement abilities, take a class, watch some YouTube videos, or just start experimenting!  It's really a rather simple and fun way to save money and your skills will certainly be called upon for years and years to come.  

my wedding dress

I've dreamed about my wedding since the day I first understood what the word wedding meant.  Every sleepover I had in elementary school and junior high was filled with giggles and innocent dreams about that day and all that it would hold.  The dress, of course, was one of the most important thoughts.  Would it be long and flowing?  Would the veil cover my face?  Would the dress sparkle in the candlelight??  I was a dreamer and for as long as I can remember, these thoughts have filled my mind.  

Once the reality of wedding bells grew closer, though, I began to realize that the dreams in my head of that perfect dress were going to be hard to satisfy.  You see, I'm rather picky when it comes to clothes.  This is mostly due to my love for vintage clothing, especially dresses from the 1950's.  When I picture the perfect dress in my mind, I see a full skirt with a fluffy petticoat peaking out from below the hem.  As I began to think through what type and style of wedding dress I really wanted to have, I began to realize that it was going to be very hard to come by, especially with my rather limited budget.  

So, I came to the only decision that made sense:  I decided to make my own dress. 

Now, at the time I was a novice seamstress, at best.  I had made a few aprons with full bodices, a couple simple dresses, a skirt, and a few random other things.  But, you see, I have this philosophy on life that if it's possible to make it myself, then, by golly, I'll make it myself!!  Because, you see, up until the last sixty years or so, women often made their own wedding dresses (or their mothers/grandmothers made them) and I do so despise the fact that we are losing the art of sewing in our society.  So, with all that in mind, I figured, it couldn't be that hard---I could, and would, figure it out.  And, so, I did! 

I found a picture of a vintage dress pattern, that I absolutely adored and a few pictures of wedding dresses that had a similar feel and I used them all as inspiration for my design.  (The sources for these images are long forgotten.  My apologies!)  I was able to use the picture of the back of the vintage dress pattern to give me an idea for the amount of fabric I would eventually need.  

I then ordered my fabric online, which took a lot of searching to find just what I was looking for! The sheer overlay ended up coming from an Etsy store based out of China and the main fabric of the dress I found at Joann.  

Then came the most challenging part--designing the pattern.  As I sat in my chilly apartment that winter and stared at my sketches before me, I regretted all of the times that I had thought that fractions were a waste of time...I decided through this designing endeavor that my future children will learn the practicality of fractions.  They are rather necessary in so many of the projects I find myself doing! 

After the initial pattern was designed and cut out of tracing paper, I got to working making my first sample dress out of an old white sheet.  

Although I thoroughly documented this entire process, I unfortunately lost the majority of the pictures in an unexpected phone crash right before the wedding.  Out of all of the pictures I lost, the ones of my dress were the most disappointing.  

After the white sheet dress was finished, I made a few adjustments and then started on the second sample, this one was made out of an adorable vintage sheet set with bright yellow flowers that I had slept on for years at our beloved cabin.  I ended up wearing that dress for my family bridal shower, which was perfectly delightful!  Those photos were also lost. Boo. 

Then, about a month before the wedding (Hah!!! Yikes, is right!!), I started on my actual wedding dress.  It came together rather quickly and I was so happy with the pattern tweaks that I had made along the way.  The final product was exactly what I wanted.  It fell to the perfect spot on my legs, it twirled just right, and I felt my absolute best in it.  

I also made my hair piece and veil, which were by far the easiest parts of the project, but they added just the right amount of vintage flair and feathered spunk to my full ensemble (especially when paired with my mustard pumps)!  Oh, I did so love how everything turned out!!

Now, I as I said earlier this week, I wanted to write about our wedding as a way to inspire.  I realize that the majority of the brides out there are not going to make their own dresses, and that's honestly not why I'm writing about this.  I am sharing it with you, though, to help you think outside of the box.  My dress, shoes, and accessories ended up costing me less than $200.  I made everything except my jewelry (a pearl necklace and earrings, which my mom had bought me for my 18th birthday) and my shoes, which I found online after months of searching.  The point is, when you stop to think about it, there are lots of ways to get creative with weddings and any event, for that matter.  Why spend so much money for something that so many people end up sealing away in a box and sliding under their bed?!  

For me, I couldn't do it.  So, I figured out an alternative.  And as for storing that lovely dress of mine?  It hangs in the closet of our spare bedroom so that each year, when our anniversary comes 'round, I can pull it out, put it on, and let my husband twirl me around our living room with our wedding songs filling the air with their sweet, sweet melodies.